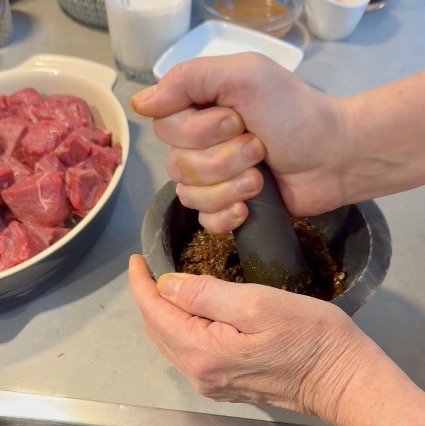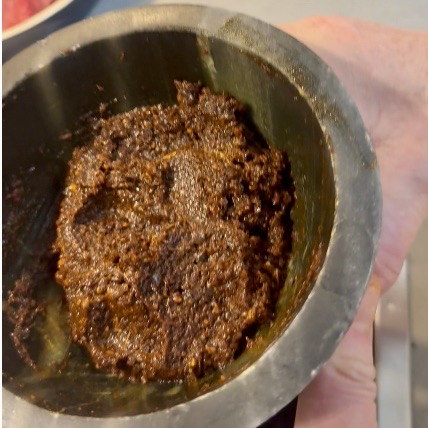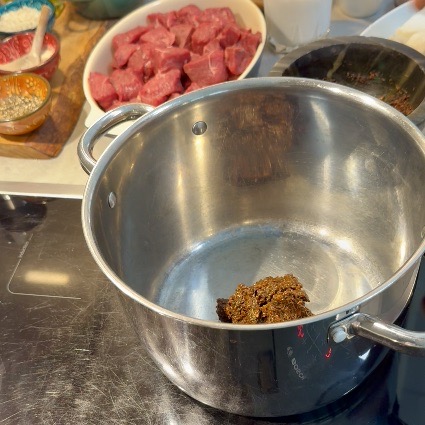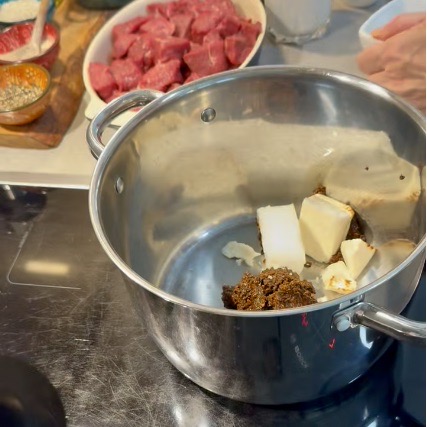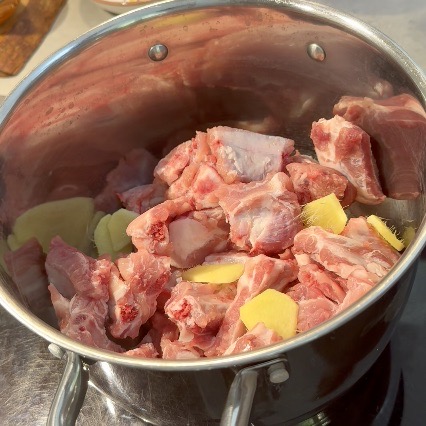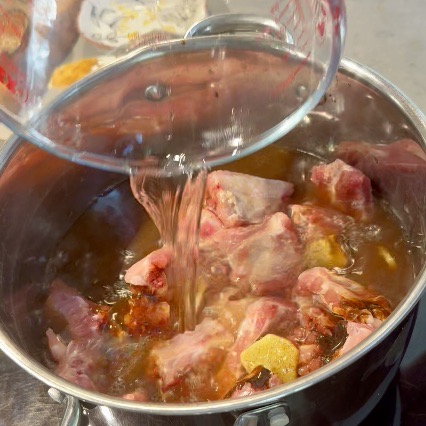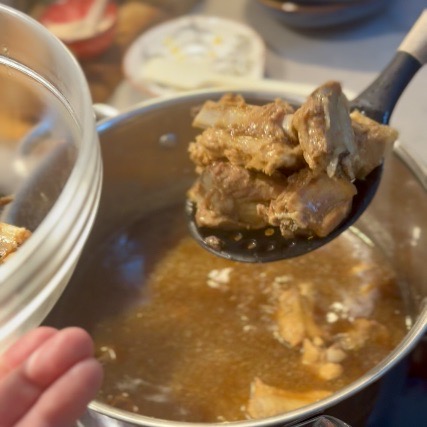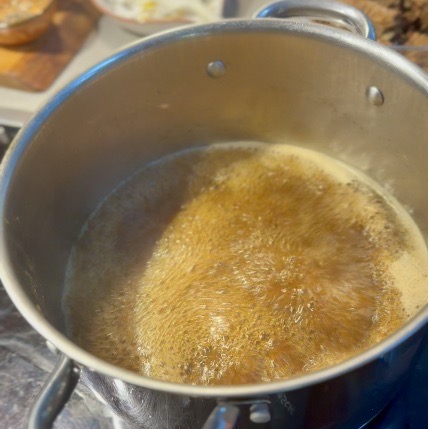
Hutspot with Klapstuk

Recipe Below

Inspired by the canals, culture and comforting food of the Netherlands

I have visited the Netherlands several times, and each trip has given me another reason to return. I love Amsterdam’s canals, narrow streets and beautiful old buildings. The city is filled with history, but it is also lively, welcoming and wonderfully multicultural.

There is a coziness to Amsterdam. Bicycles line the bridges, houseboats sit quietly along the canals and people gather in cafés. Even in the middle of a busy city, there is a sense of warmth, tradition and togetherness.


The first time we visited, we drove directly to our hotel without fully understanding what that would mean. We found ourselves navigating narrow streets and bridges surrounded by pedestrians and bicycles. It was intimidating at first, but there was a rhythm to it. The cyclists and pedestrians seemed to move together with an ease we certainly did not have!

After that experience, we were very happy to explore Amsterdam on foot.

We wandered beside the canals, crossed one bridge after another and stopped whenever something caught our attention. The hooks at the tops of many canal houses were once used to lift goods through the upper windows, a reminder of Amsterdam’s long history as a trading city.


The houseboats were especially intriguing. They seemed peaceful and tucked away while still being in the heart of the city. I could imagine living in one, enjoying the tranquility of the water with everything the city offers just outside the door.

Paul and I took an evening canal cruise during one visit, and I took a daytime cruise when I returned with my niece. Both were wonderful. At night, the lights reflected across the water. During the day, we could see the houses, bridges and details of the city from an entirely different perspective.

And then there is the food. Amsterdam is filled with flavors from around the world, but we also enjoyed its traditional, comforting dishes and treats. The poffertjes, small Dutch pancakes served warm beneath a generous dusting of powdered sugar, were delicious.

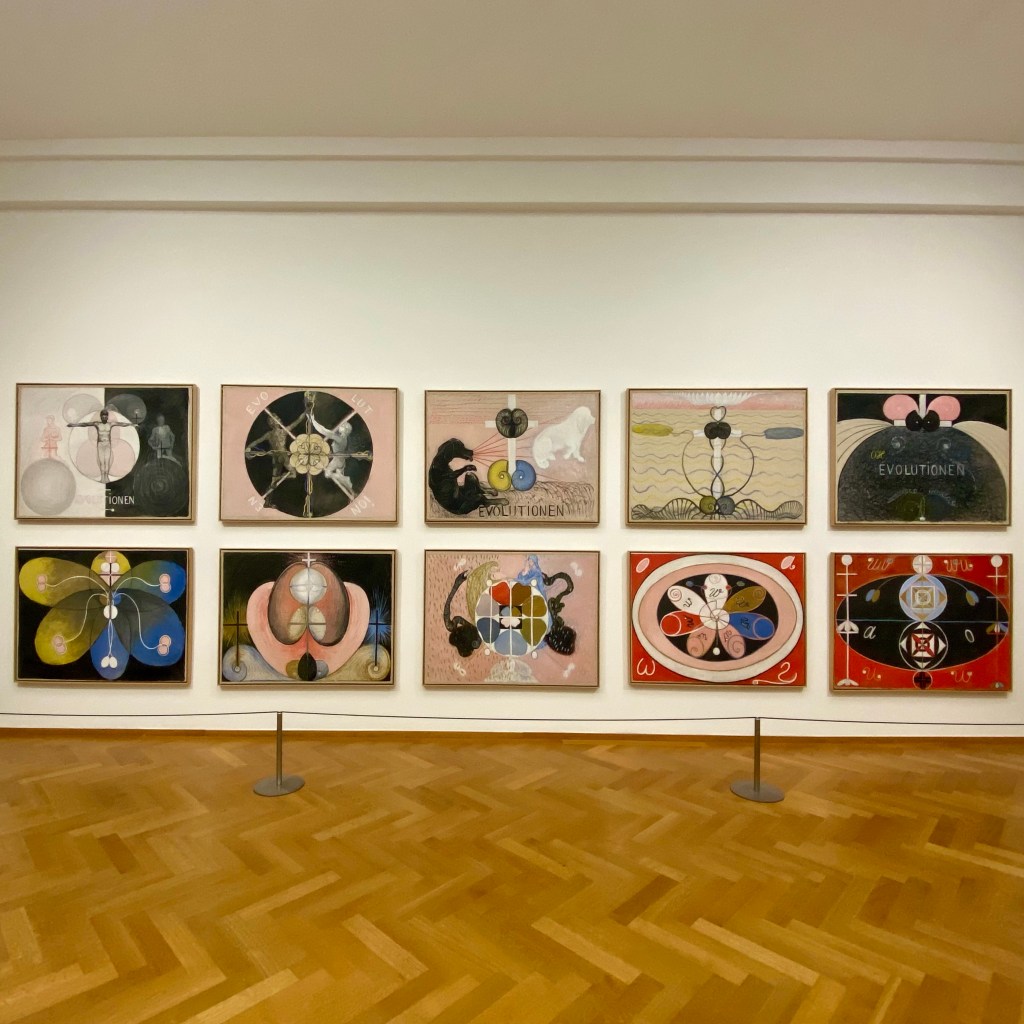
I also visited The Hague with friends to see the Hilma af Klint exhibition at the Kunstmuseum. Af Klint is now recognized as one of the earliest pioneers of abstract art, although her work was largely overlooked while artists such as Kandinsky, Mondrian and Malevich became known for the movement.

Standing in front of her enormous, boldly colored paintings was breathtaking. They felt spiritual, mysterious and far ahead of their time.

And, of course, we did some shopping. What else would you expect on a girls’ trip?
Why I Chose Hutspot with Klapstuk

I chose hutspot with klapstuk because of its connection to Leiden, a city located between Amsterdam and The Hague.

My own experience of Leiden was brief and far from leisurely. Bad weather canceled our flight from Luxembourg to Schiphol, so we took the train instead. When our connecting train was also canceled, we ended up taking another train to Leiden and then a bus to Schiphol.

It was a classic train, bus and plane adventure.

All I saw of Leiden was the train station at night, so I plan to return one day and replace that memory with a proper visit.

I also chose this dish because it reminded me of the homestyle cooking we enjoyed in Amsterdam. Hutspot is a comforting mixture of potatoes, carrots and onions, traditionally served with slowly cooked beef and gravy. It feels like the kind of meal made for gathering around the table on a cold evening.

From the Cookbook

Dutch Cookbook by Laura de Grave explores the food of the Netherlands through its regional dishes and the stories behind them.

Hutspot with klapstuk immediately caught my attention. It connected a traditional Dutch dish with my memories of Amsterdam, The Hague and my very brief stop in Leiden. It was also exactly the kind of simple, homestyle cooking I wanted to bring into my own kitchen.

Hutspot with Klapstuk
Ingredients

For the Klapstuk

500 g beef brisket or chuck
Salt and black pepper, to taste
75 g butter, divided
1 small onion, diced
1 carrot, cut into chunks
1 celery stalk, cut into chunks
40 g tomato paste
1 large bay leaf
240 ml dry red wine
240 ml veal stock
30 ml Ruby port

For the Hutspot

500 g potatoes
500 g carrots
400 g onions
30 g butter
30 ml milk
Salt and white pepper, to taste

Method

Making the Klapstuk
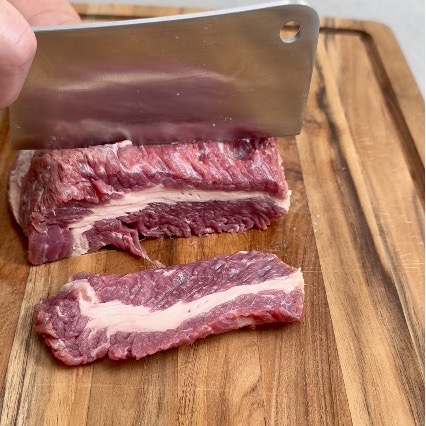
Preheat the oven to 120°C.

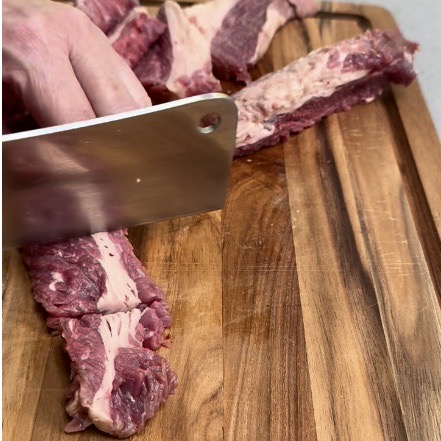
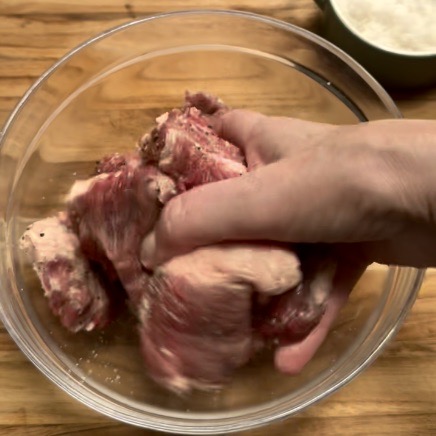
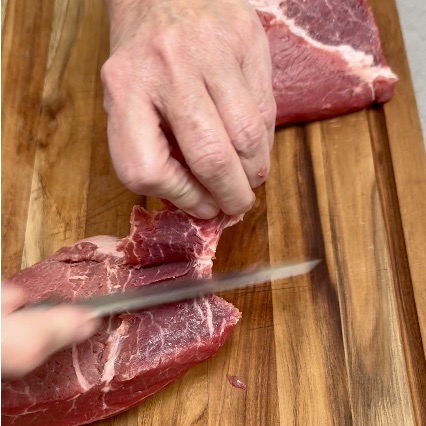
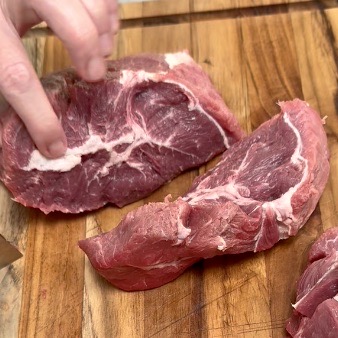
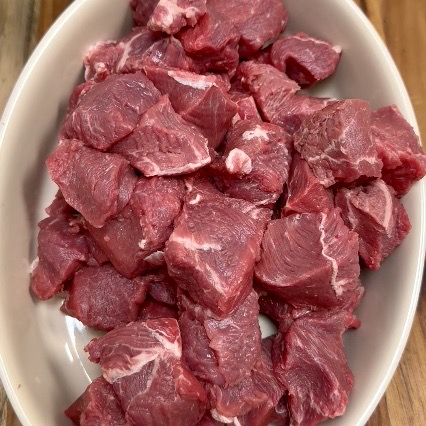
Cut the brisket into large pieces and season with salt and black pepper.

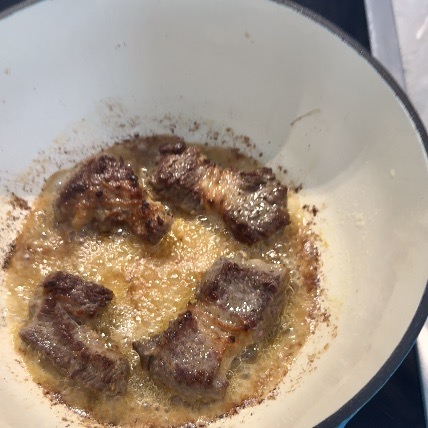
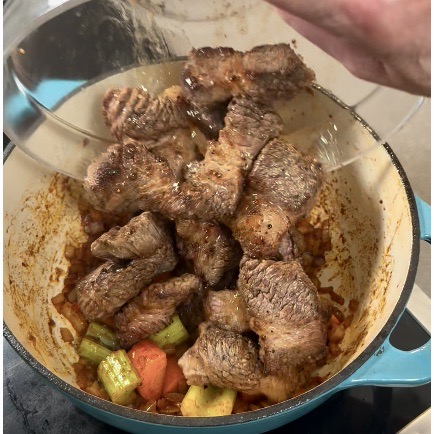
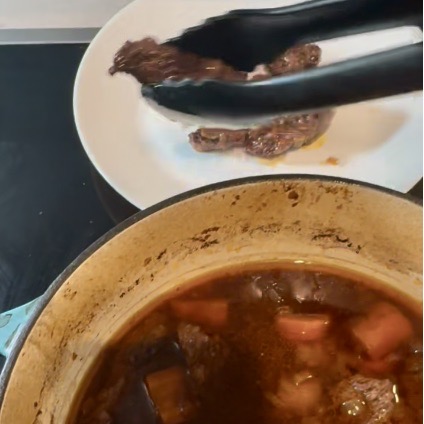
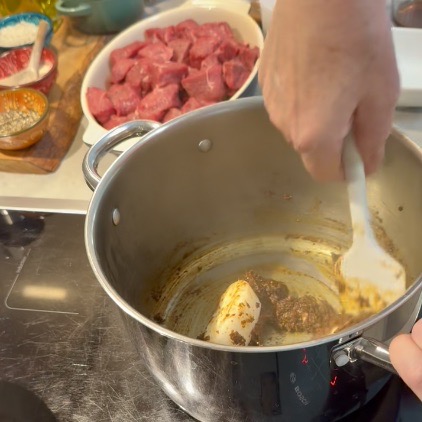
Add 25 g of the butter to a Dutch oven over medium high heat. Brown the beef on all sides, working in batches to avoid overcrowding the pan. Transfer each browned batch to a plate.

Browning gives the meat a deep color and creates a flavorful base in the pot.
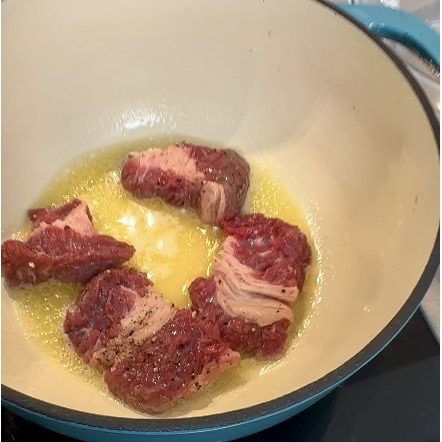
After browning the final batch, remove it from the pot and reduce the heat to medium.

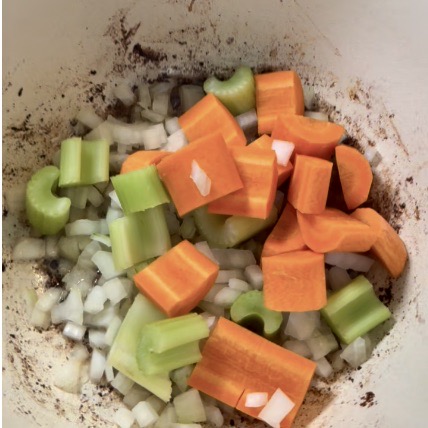
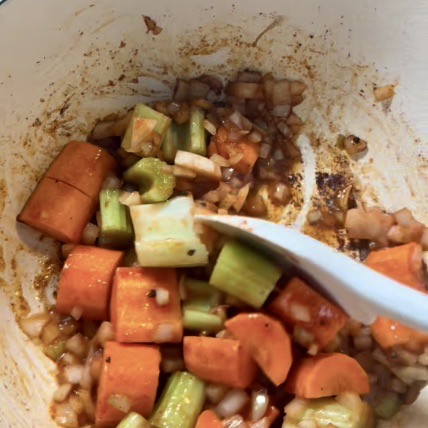
Add the onion, carrot and celery. Cook for 3 to 5 minutes, until the onion begins to turn translucent.

Add the tomato paste and stir, scraping the browned bits from the bottom of the pot.
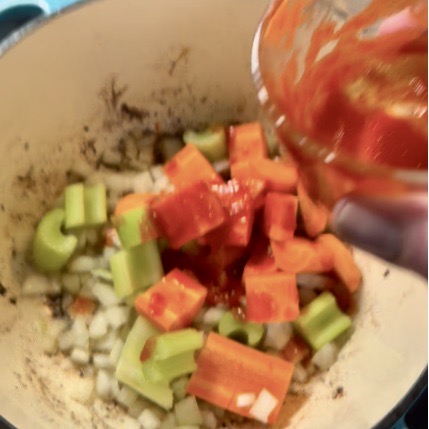
Return the beef to the pot and add the bay leaf. Stir to combine.

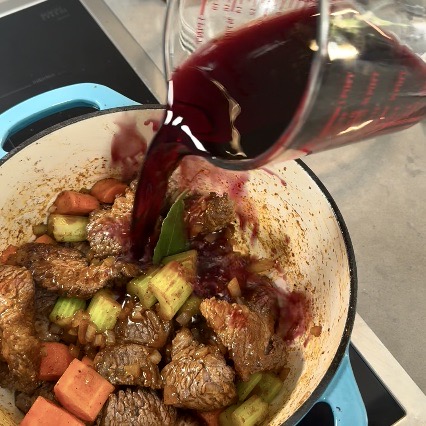
Pour in the red wine and homemade veal stock.
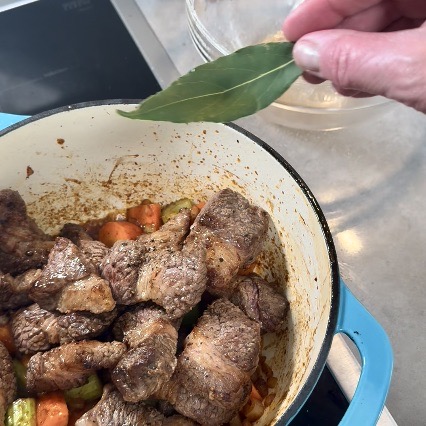
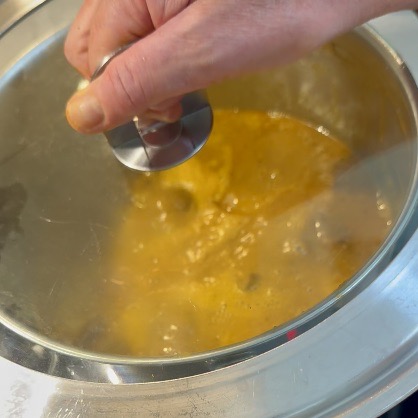
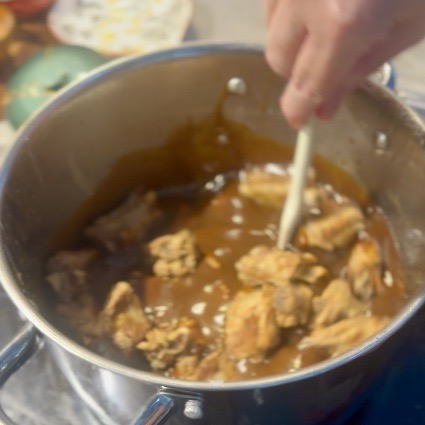
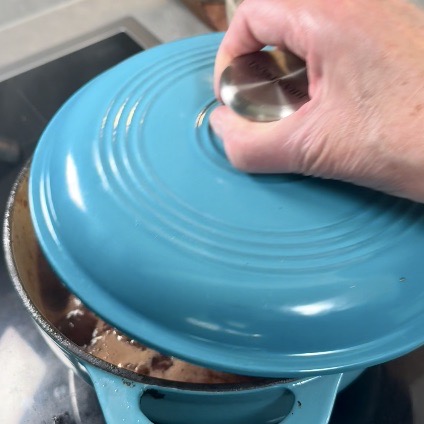
Bring the liquid to a boil. Cover the Dutch oven, place it in the oven and braise the beef for 3 hours, stirring occasionally.
Making the Hutspot
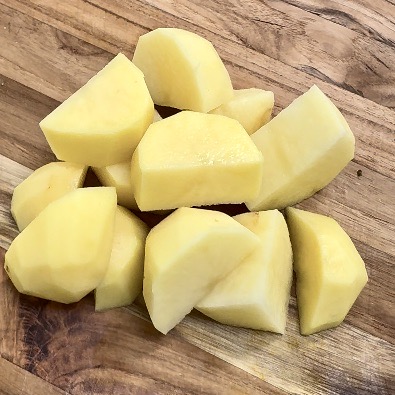
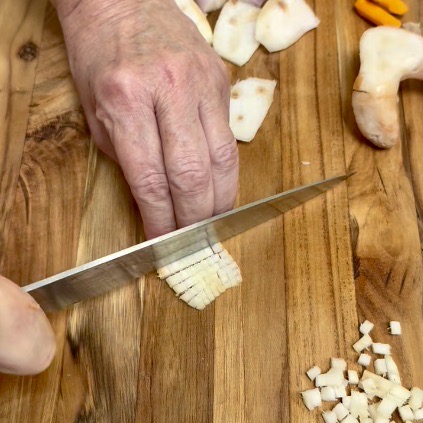
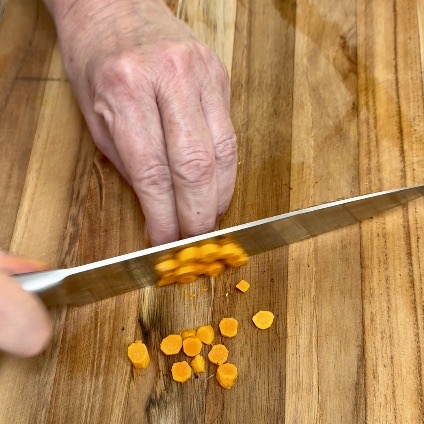
Cut the potatoes and carrots into chunks and dice the onions.

Place all the vegetables in a large saucepan and cover them with water. Bring the water to a boil, then reduce the heat to a gentle boil and cook until the vegetables are tender.
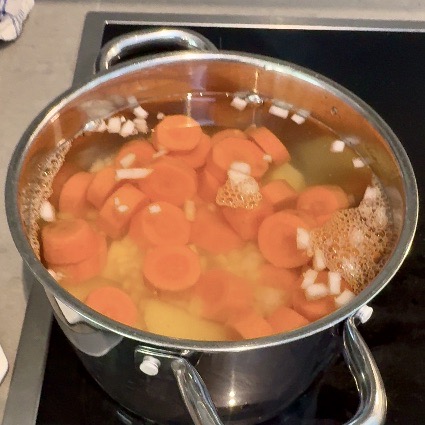
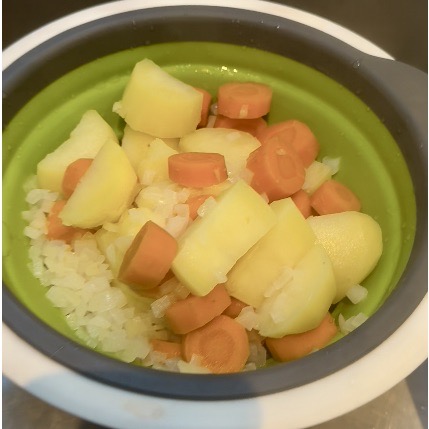
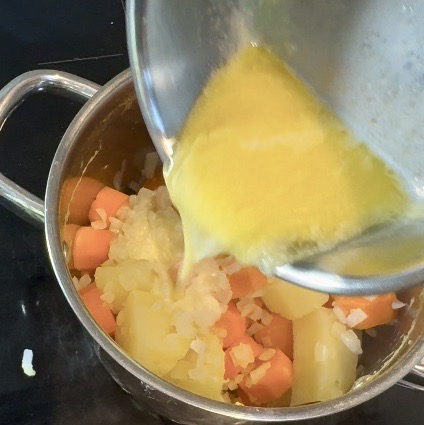
Meanwhile, gently heat the butter and milk together until the butter has melted.

Once the vegetables are tender, drain them and reserve 60 ml of the cooking water.
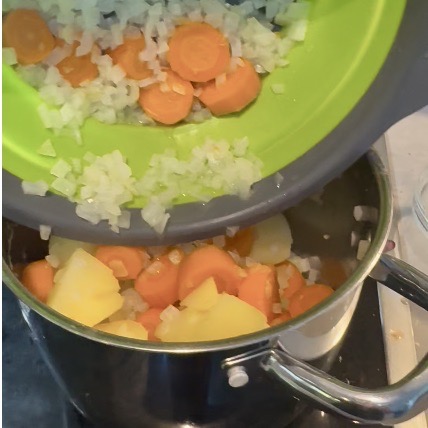
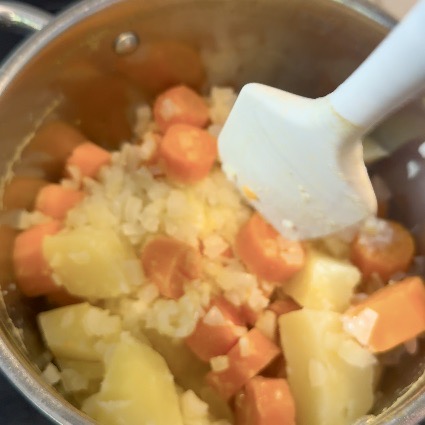
Return the vegetables to the saucepan. Add the warm butter and milk, then roughly mash everything together. Leave some texture rather than making the mixture completely smooth.

If the hutspot seems too dry, add a little of the reserved cooking water. Season with salt and white pepper.
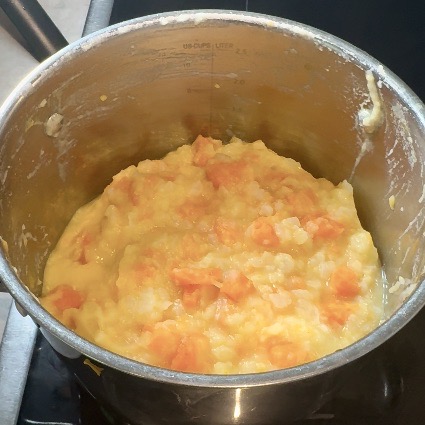
The carrots give the potatoes a soft golden color and gentle sweetness, while the onions add another layer of flavor.

Finishing the Gravy
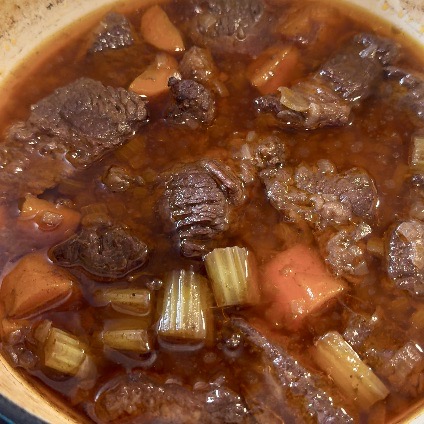
Once the beef is tender, remove it from the pot and keep it warm.

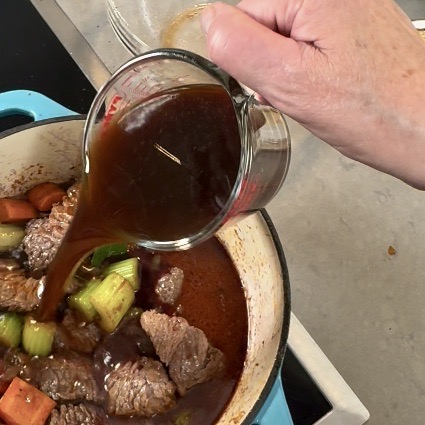
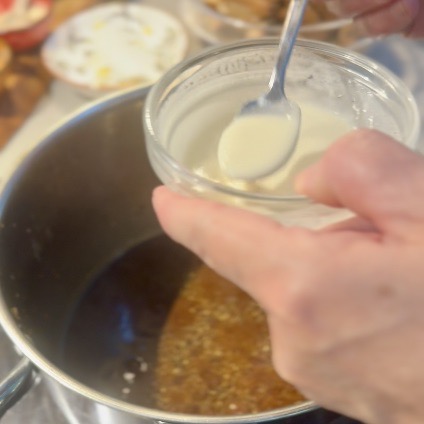
Add 30 ml of Ruby port to the braising liquid.
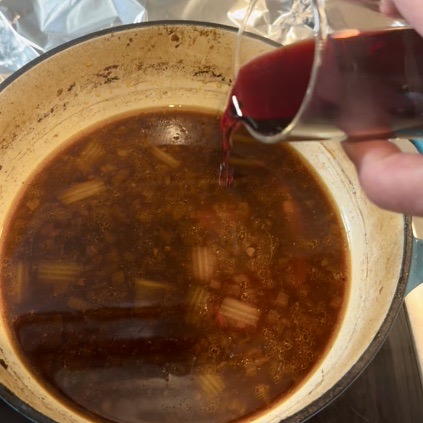
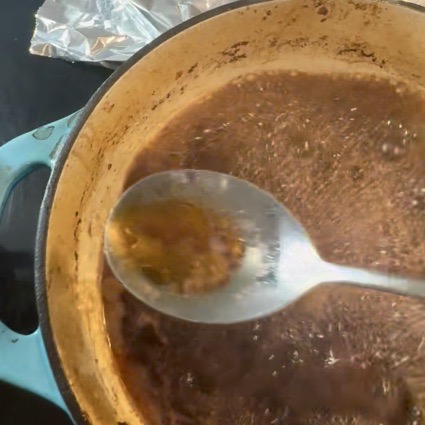
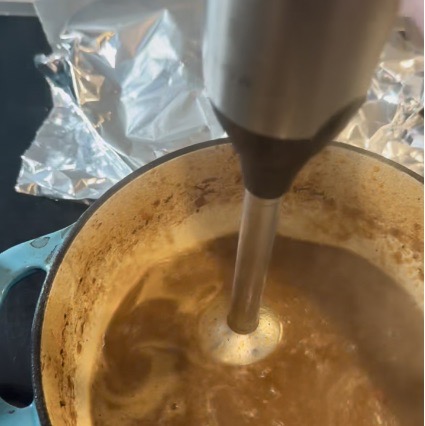
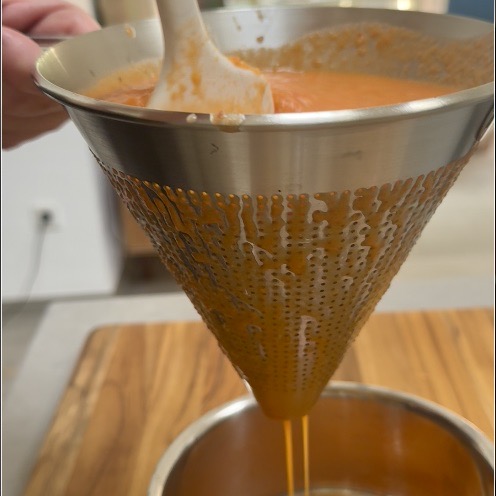
Use an immersion blender to purée the vegetables into the braising liquid, creating a smooth, rich gravy without flour or another thickener.
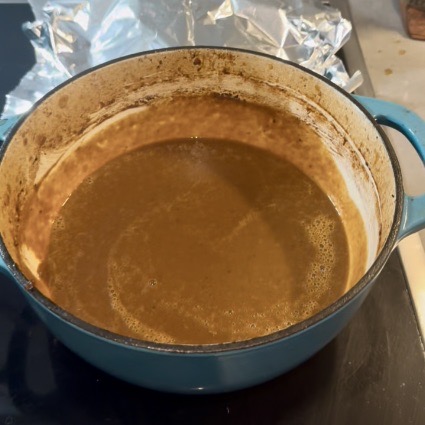
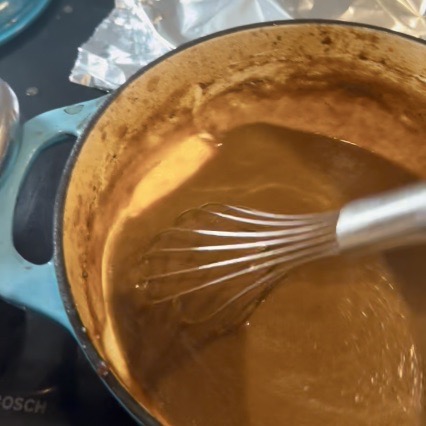
Add the remaining 50 g of butter and whisk until the gravy is smooth. Taste and adjust the seasoning before serving.

Bringing It Together
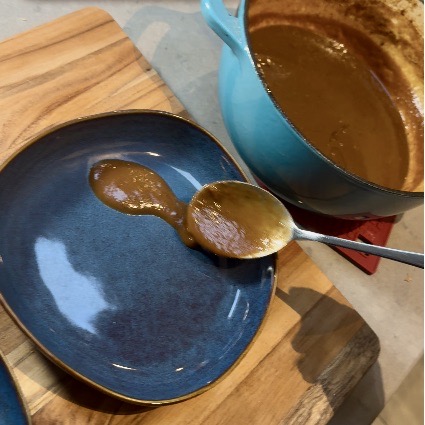
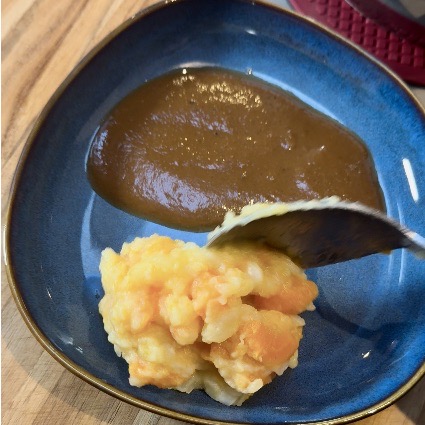
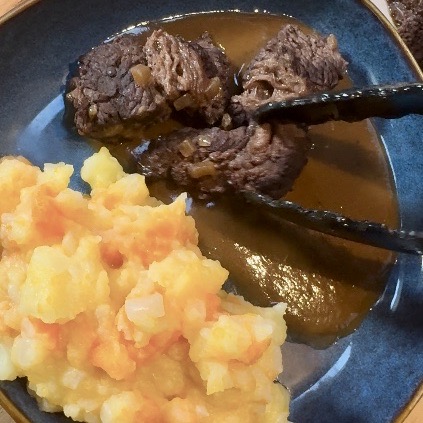
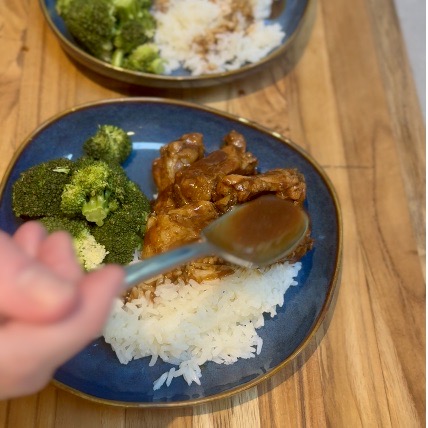
Spoon the hutspot onto each plate. Add the tender beef and finish with plenty of gravy.

How It Turned Out

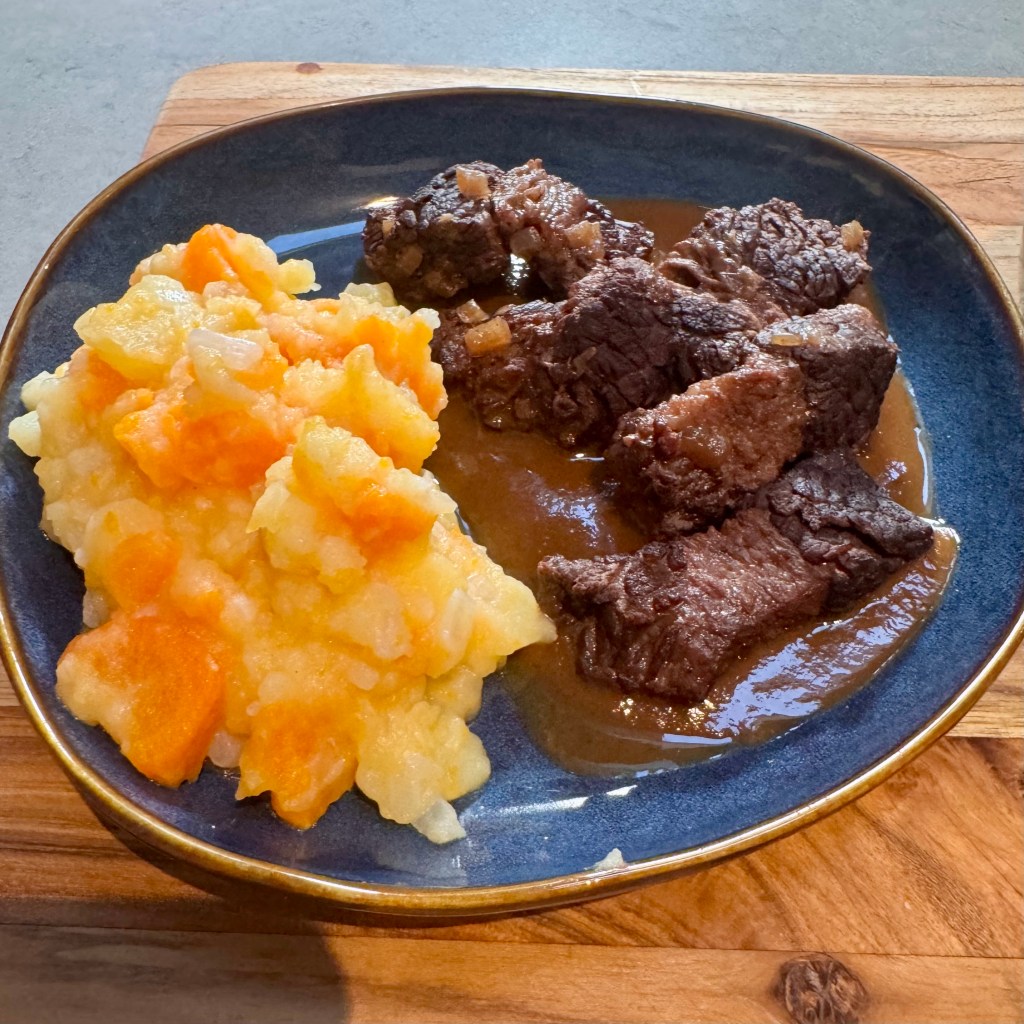
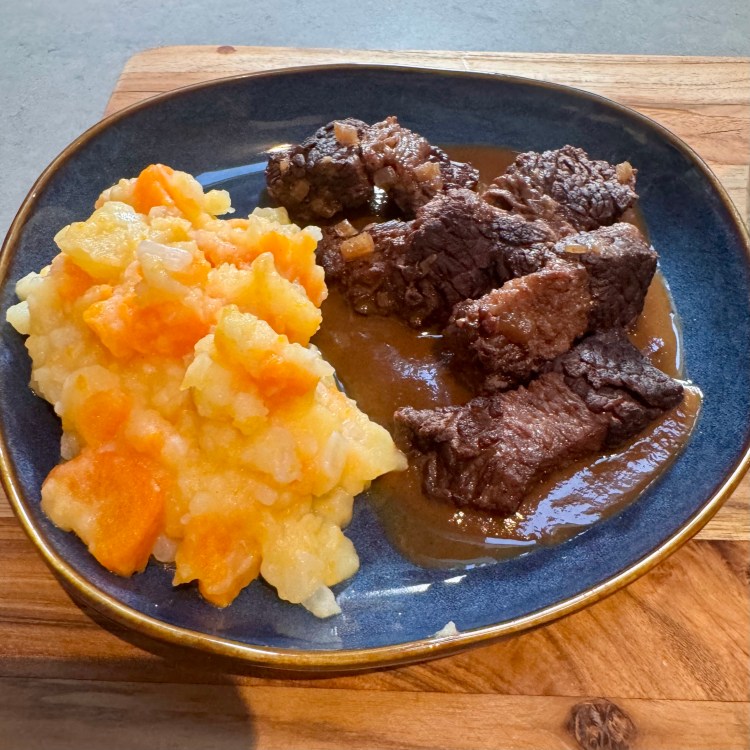
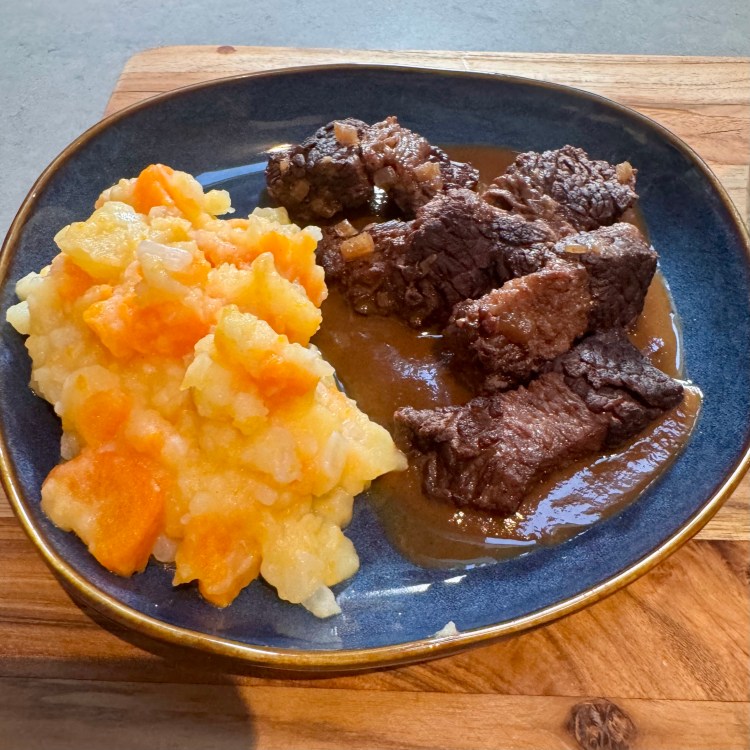
The hutspot was rustic, comforting and full of flavor. The potatoes and carrots were creamy without being completely smooth, and their gentle sweetness balanced the richness of the beef.

The brisket was tender, and the gravy brought everything together. Puréeing the braising vegetables into the liquid gave the gravy body while preserving all the flavor that had developed during cooking. The Ruby port added another layer of richness.

It was definitely the homestyle meal I had hoped for. Simple ingredients, slowly cooked, became something deeply satisfying.

The dish brought back memories of our visits to the Netherlands and gave me another reason to return, this time for a proper visit to Leiden.
From My Kitchen

  • I used beef brisket for the klapstuk.
  • I browned the beef before braising it to add color and deepen the flavor.
  • I substituted my homemade, unsalted veal stock for the beef stock.
  • I left some texture in the hutspot rather than mashing it completely smooth.
  • I added 30 ml of Ruby port to the braising liquid after removing the cooked beef.
  • I puréed the braising vegetables into the liquid to make a rich, smooth gravy.

This is a comforting dish that would be especially welcome on a cold autumn or winter evening.
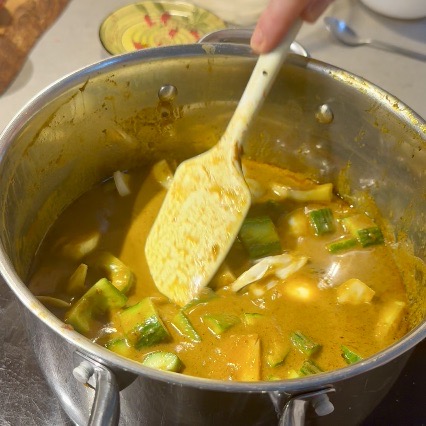
Thai Beef and Cucumber Curry

Recipe Below

After exploring Bangkok, we flew to Phuket. We spent several days at the Pullman Phuket Karon Beach Resort and Spa, a lovely hotel directly across from the beach. It felt secluded and peaceful, and we spent our time relaxing and exploring Phuket.

Phuket felt very different from Bangkok. The pace was slower, with mornings near the water and evenings having dinner or sitting by the pool as the sun went down. We enjoyed the resort amenities and especially the spa.

We took a boat through Phang Nga Bay, passing dramatic limestone cliffs rising out of the water. We snorkeled in some of the most beautiful places. I love floating in the water and seeing the beauty both above and below the waterline. Life, nature and a long pause.

We also stopped at a floating village for lunch and had time to walk around and take in how the community was built over the water.

Another memorable experience was visiting the Phra Phutta Mingmongkol Akenakkiri Buddha, sitting high above Phuket. The Buddha was magnificent, but I also remember the peaceful atmosphere and the sweeping views across the island. Remembering what we learned from the flower lady in Bangkok, we brought lotuses and marigolds to honor the culture. It was peaceful and tranquil, and I am so glad we experienced more of Phuket beyond soaking up the sun by the water.

There was so much to see in Phuket, but one of my favorite memories was learning to prepare Thai food at the Phuket Thai Cookery School .

Cooking Beside the Beach

The school was located on Siray Beach, just steps from the sea, and it was absolutely beautiful. While I cooked, Paul sat nearby painting with watercolors. I remember looking out at the water as we prepared the food and thinking there could not be a more beautiful place to learn about Thai cooking.

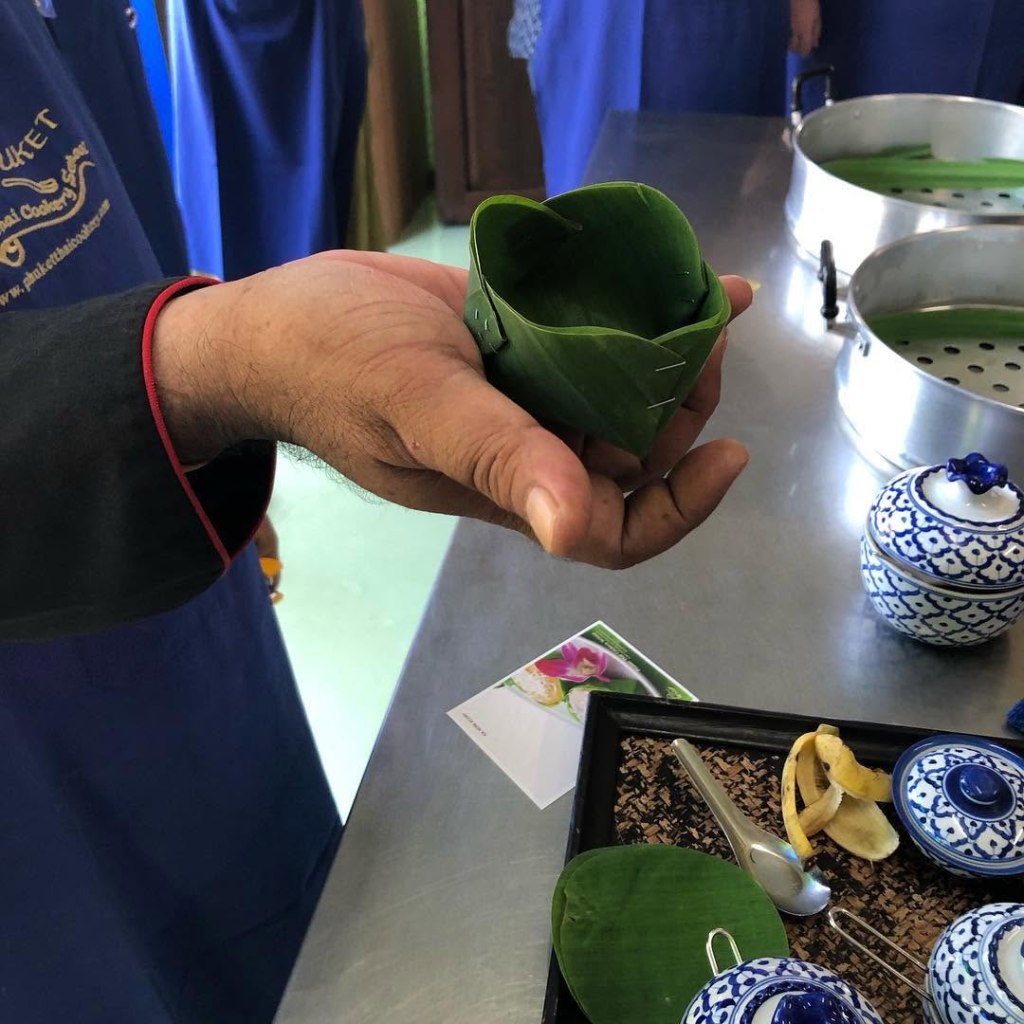
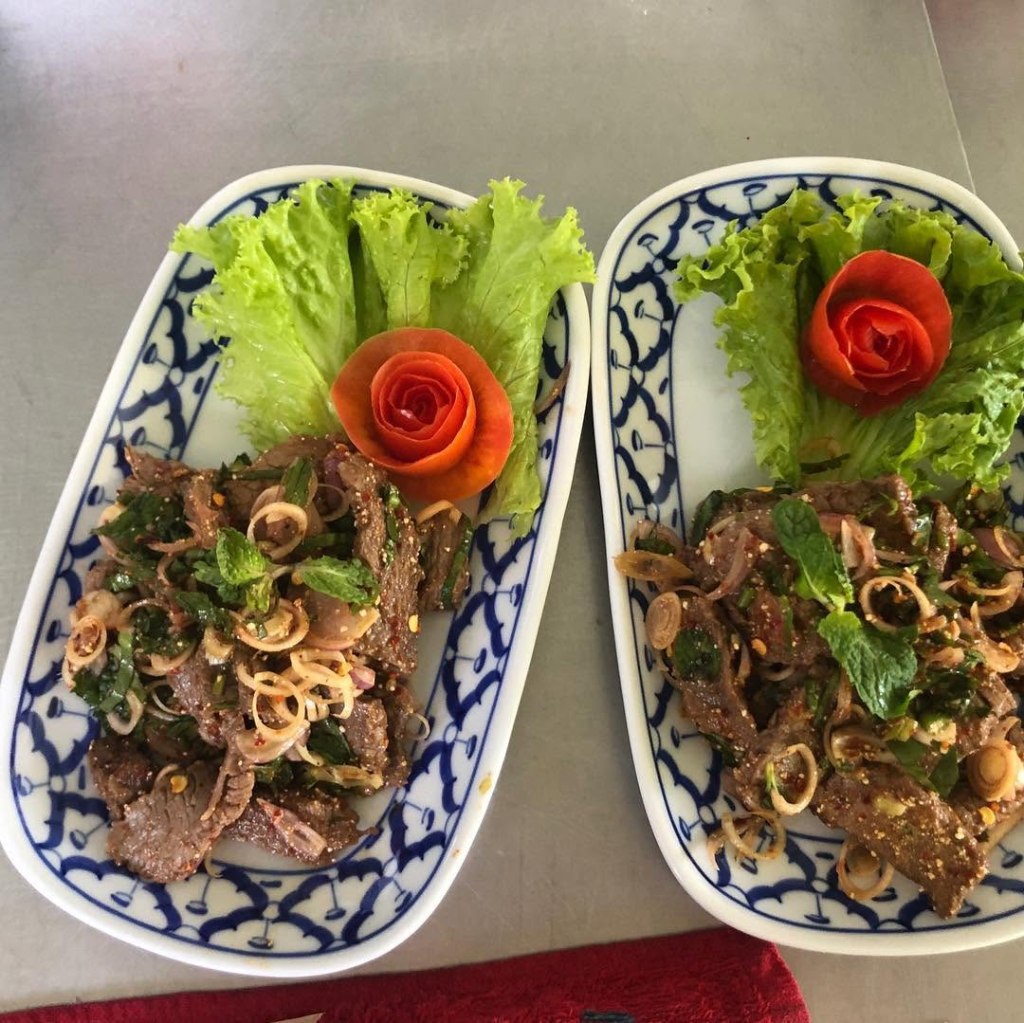
Before we began cooking, we learned about Thai curry pastes, worked with banana leaves and prepared several dishes, including a spicy grilled beef salad and the classic cucumber relish.

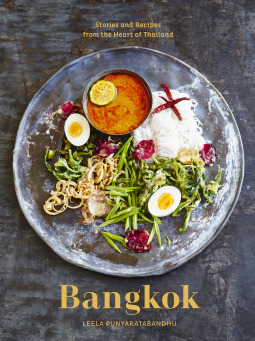
Years later, when I found a recipe for beef and cucumber curry in Bangkok: Recipes and Stories from the Heart of Thailand by Leela Punyaratabandhu, I immediately thought about that day beside the beach in Phuket.

I had never thought of combining beef and cucumber in a curry. Cucumber was something I used fresh in salads, not an ingredient I imagined simmering in coconut milk and spices. This is a dish I will revisit because it is so different from the way I normally cook.

Making the Curry

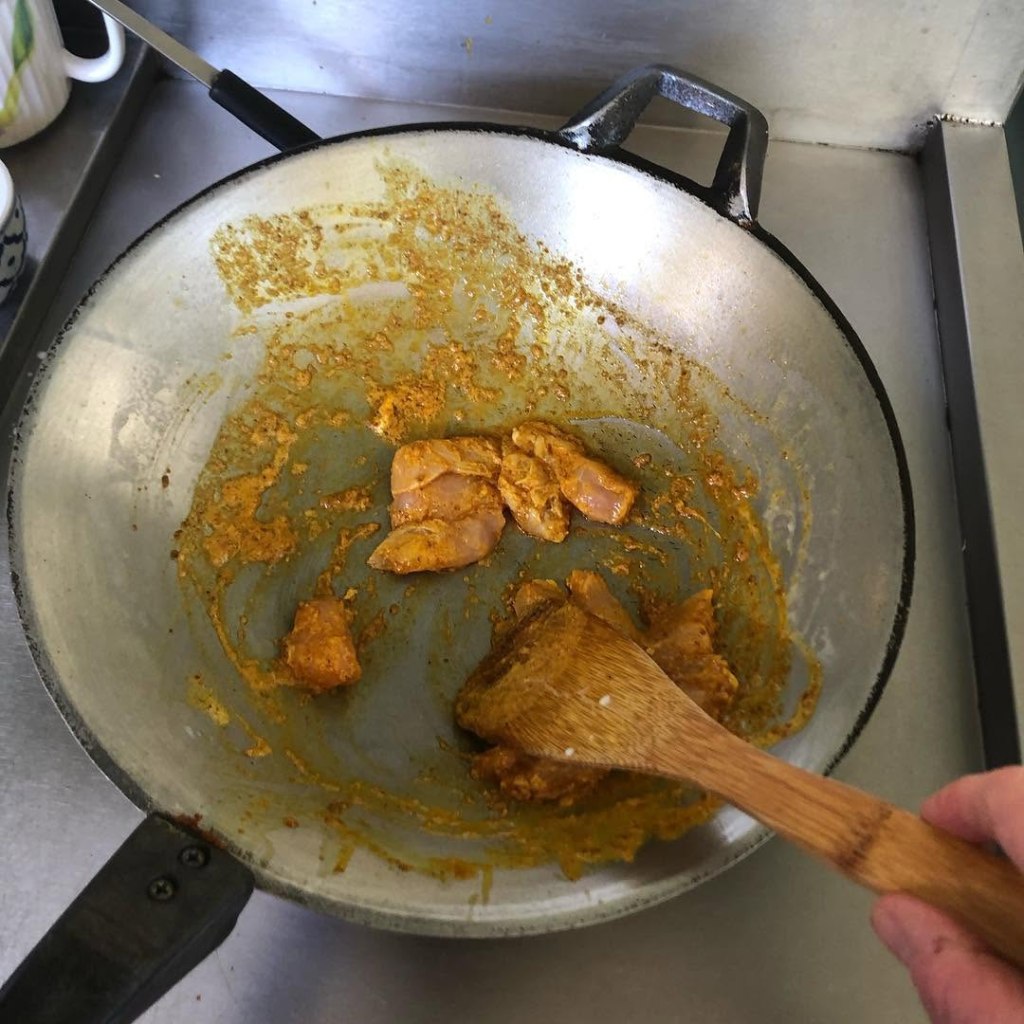
The recipe begins with a curry paste made from scratch. The ingredients include shallots, galangal, dried chiles, turmeric, cumin and coriander. Some of the ingredients are toasted first, and then everything is pounded together with a mortar and pestle.

Thai curry paste traditionally includes shrimp paste. Since I am allergic to shrimp, ugh, I had to omit it from the curry paste. I added more fish sauce as a substitute.

Making the paste takes time and effort, but it is worth it. As the ingredients break down, their aromas are released and the paste becomes dark, fragrant and full of flavor.

The curry paste is cooked with thick coconut cream before the beef and the remaining liquid are added. As the coconut cream cooks, it releases its oil and adds flavor to the curry paste.

Once again, I had to resist my instinct to season and sear the meat first. The beef goes directly into the curry without salt, pepper or browning.

I chose to trust the process.

The curry then simmers slowly until the beef is tender and the sauce has reduced. I removed the lid during the final 45 minutes so the sauce could thicken. The recipe calls for adding the onion and cucumber near the end, simmering them for two minutes and then letting the curry rest.

I was concerned that the onion would not have enough time to cook, so I added it first and let it simmer for about 10 minutes. I then added the cucumber, simmered everything for another two minutes, covered the pot and removed it from the heat. I let it rest for 15 minutes.

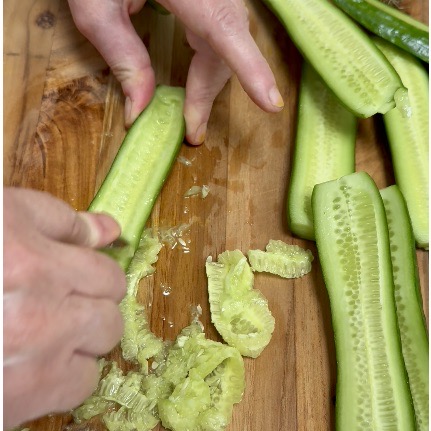
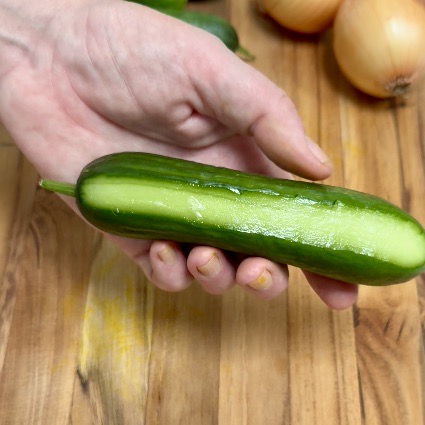
Before adding the cucumber, I cut it lengthwise and removed the soft center and seeds. This helped it hold its shape once it was added to the hot curry.

How It Turned Out

The beef was incredibly tender and flavorful. I was honestly surprised by how much flavor it developed without being seasoned or seared first.

Removing the lid for the final 45 minutes worked perfectly. The sauce reduced to the right consistency without becoming too thick. It was rich, moderately spicy and full of flavor from the cumin, coriander and galangal.

I was also happy that I added the onion before the cucumber. The onion had enough time to soften, while the cucumber stayed tender without completely disappearing into the sauce.

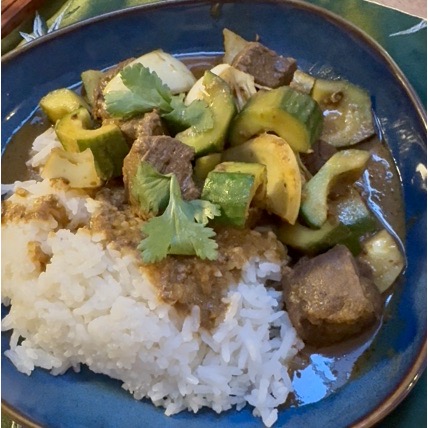
The cucumber surprised me. It was an unusual addition to a slow cooked beef curry, but it worked. It absorbed some of the sauce while adding a lightness that helped balance the richness of the beef and coconut milk.

Served with jasmine rice, it was comforting, flavorful and beautifully balanced. I would definitely make it again.


Thai Beef and Cucumber Curry

Serves 4

Ingredients

For the Curry Paste

  • 2 teaspoons coriander seeds
  • 2 teaspoons cumin seeds
  • 4 whole allspice berries
  • 2 tablespoons minced galangal
  • 3 inches fresh turmeric, chopped
  • 2 ounces shallots, diced
  • 2 large dried guajillo chiles, or pasilla chiles as a substitute, chopped, soaked in warm water until softened and drained
  • 1 teaspoon white peppercorns
  • 3 tablespoons fish sauce

If you are lucky enough not to be allergic to shrimp, replace the 3 tablespoons of fish sauce with 2 teaspoons packed Thai shrimp paste.

For the Curry

  • 1/2 cup fresh coconut cream paste
  • 2 1/2 pounds boneless beef shank
  • 5 tablespoons tamarind paste
  • 3 tablespoons fish sauce
  • 2 teaspoons finely packed palm sugar
  • 1 cup coconut cream
  • Water as needed
  • 8 ounces onion, cut into small wedges
  • 1 1/2 pounds Persian cucumbers, sliced lengthwise, seeds removed and cut into 1 inch pieces
  • Thai jasmine rice, for serving
  • Fresh cilantro leaves, for garnish

Method

Remove any silverskin from the beef shank and cut the meat into 2 inch pieces. Remove any cartilage or tough tendons as you cut the meat. Place the beef in the refrigerator until needed.

Prepare the shallots, galangal, tumeric and chili pepper. Be sure to use a small dice on the vegetables. It will make it easier to crush into a paste with the mortar and pestle.

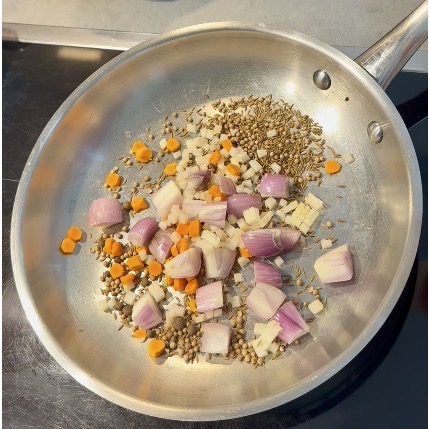
Add the coriander seeds, cumin seeds, allspice, galangal, turmeric, peppercorns, and shallots to a sauté pan. Cook over medium to medium low heat until the spices are lightly toasted and the shallots have softened.

Transfer the toasted spices and vegetables to a mortar. Drain the rehydrated chiles and add them to the mortar with 3 tablespoons of fish sauce, or the shrimp paste if using. Pound everything together until it forms a paste. You can also use a food processor, but the mortar method produces a more flavorful paste with a better texture.

Place the curry paste and coconut cream paste in a large saucepan that is big enough to hold the beef and liquid. Cook over medium low heat until fragrant and the coconut cream paste has melted.

Add the beef, tamarind paste, remaining 3 tablespoons of fish sauce and palm sugar. Stir to combine.

Add the coconut cream and just enough water to cover the beef. Bring the curry to a boil, cover the pot and reduce the heat to a low simmer.

Cook for 2 hours, stirring occasionally. Check the level of the liquid as the curry cooks. If the sauce is reducing too quickly, add a little water as needed. If the sauce needs to thicken, remove the lid during the final 45 minutes of cooking.

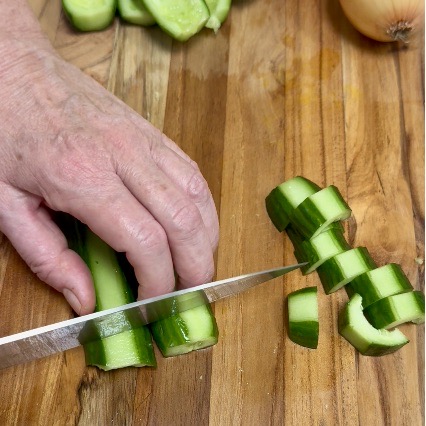
While the curry is simmering, prepare the cucumbers. With a vegetable peeler, peel off a strip of the skin on each side of the cucumbers. Slice off the ends and slice in half lenthwise. Scoop out the seeds, and cut into 1 inch pieces. Set aside with the onions.

After 1 hour and 50 minutes, add the onion and stir it into the curry. Let it simmer for the final 10 minutes of the 2 hour cooking time.

Add the cucumbers and gently push them beneath the sauce without stirring. Cover the pot and simmer for 2 minutes.

Remove the curry from the heat and let it rest, covered, for 15 minutes. This will lightly cook the cucumbers while helping them hold their shape.

Serve with Thai jasmine rice and garnish with fresh cilantro leaves. Enjoy.


From My Kitchen

  • Because of my shrimp allergy, I omitted the traditional shrimp paste and added a little more fish sauce.
  • I could not find dried guajillo chiles, so I substituted pasilla chiles.
  • I trusted the traditional method and added the beef directly to the curry without seasoning or searing it first. The beef became incredibly tender and flavorful.
  • I removed the lid for the final 45 minutes of cooking. This allowed the sauce to reduce to the right consistency without becoming too thick.
  • I added the onion first and let it simmer for about 10 minutes. I then added the cucumber, simmered everything for two minutes, covered the pot and let the curry rest off the heat for 15 minutes.
  • I cut the cucumber lengthwise and removed the soft center and seeds. This helped it hold its shape in the curry.
  • The cucumber softened and absorbed the sauce while adding a lightness that balanced the rich beef and coconut milk.
  • This recipe brought back memories of cooking beside the beach in Phuket while also making me reconsider some of the habits I have developed in my own kitchen.

Thailand: Bangkok, Street Food and Braised Spareribs

Recipe Below

Our visit to Thailand was a special one. We were celebrating our 25th wedding anniversary, and we rang in the New Year there. What a wonderful way to begin a new year together.

We arrived in Bangkok, and wow. What an experience.

Experiencing Bangkok

We took a boat tour along the Chao Phraya River and travelled through the Thonburi canals. From the water, we saw another side of Bangkok. Boats moved along the busy river while homes, temples and everyday life lined the quieter canals.

We visited Wat Arun, the Grand Palace and Wat Phra Kaew. The temples were magnificent. Everywhere we looked, there was another intricate detail, golden statue or beautifully scluptured garden.

We tried to absorb it all while appreciating the peaceful atmosphere of these sacred places.

What stayed with us most was the warmth of the Thai people. They were among the most gracious, kind and generous people we have met during our travels.

Bangkok by Tuk Tuk

One evening, we took a night Tuk Tuk tour through Bangkok.

It was fun, fast and a little wild. The colourful lights and rush of speeding around the city made the evening feel lighthearted, while every stop introduced us to another part of Bangkok’s food culture.

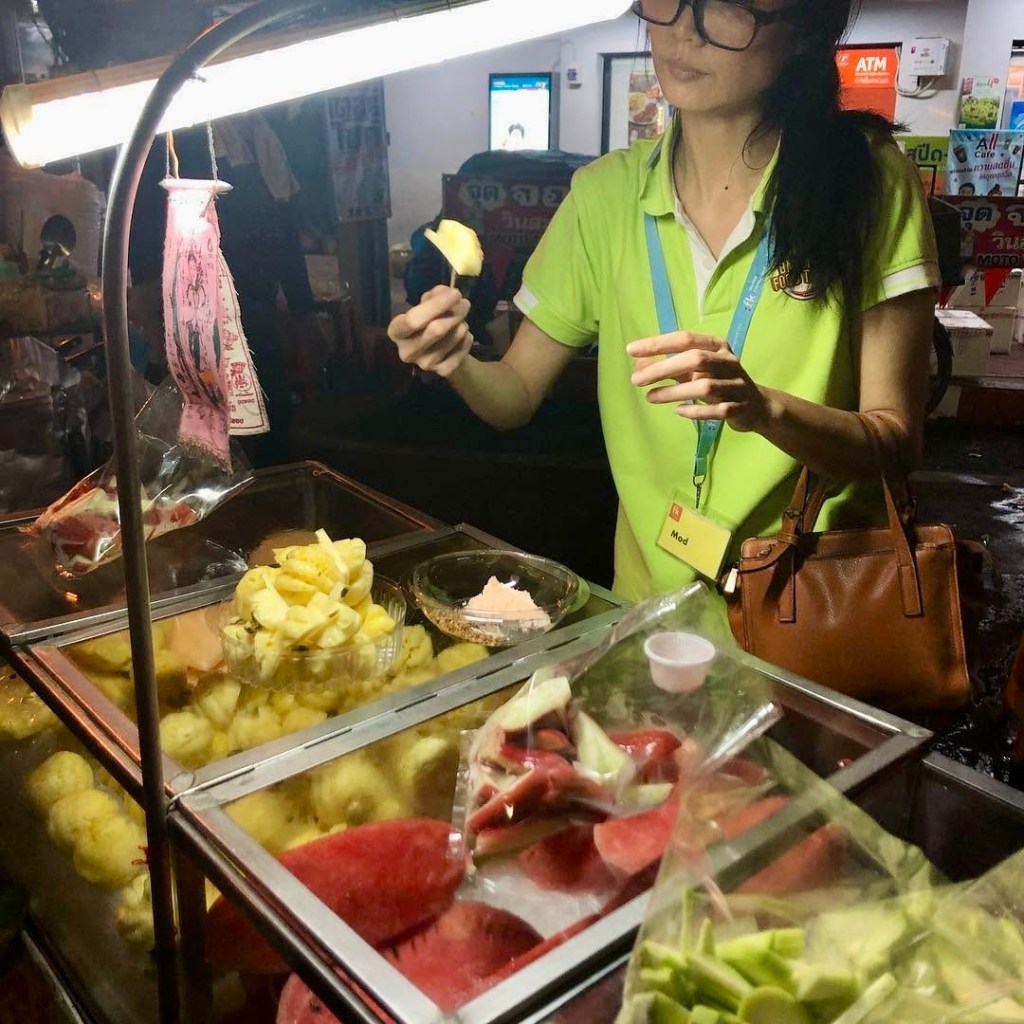
We sampled so many delicious and authentic Thai dishes. Each place was special and unique in its own way. We ate papaya salad, grilled meats, crispy catfish, Thai crepes, sweets and so much more! It was unlike anything we had tasted before.

The food was simple, fresh and full of flavor.

This is what I remember most about our time in Bangkok. Sitting alongside locals at small tables, sharing dishes and tasting food prepared by people who make it every day.

Food connects us all.

A Lotus to Remember

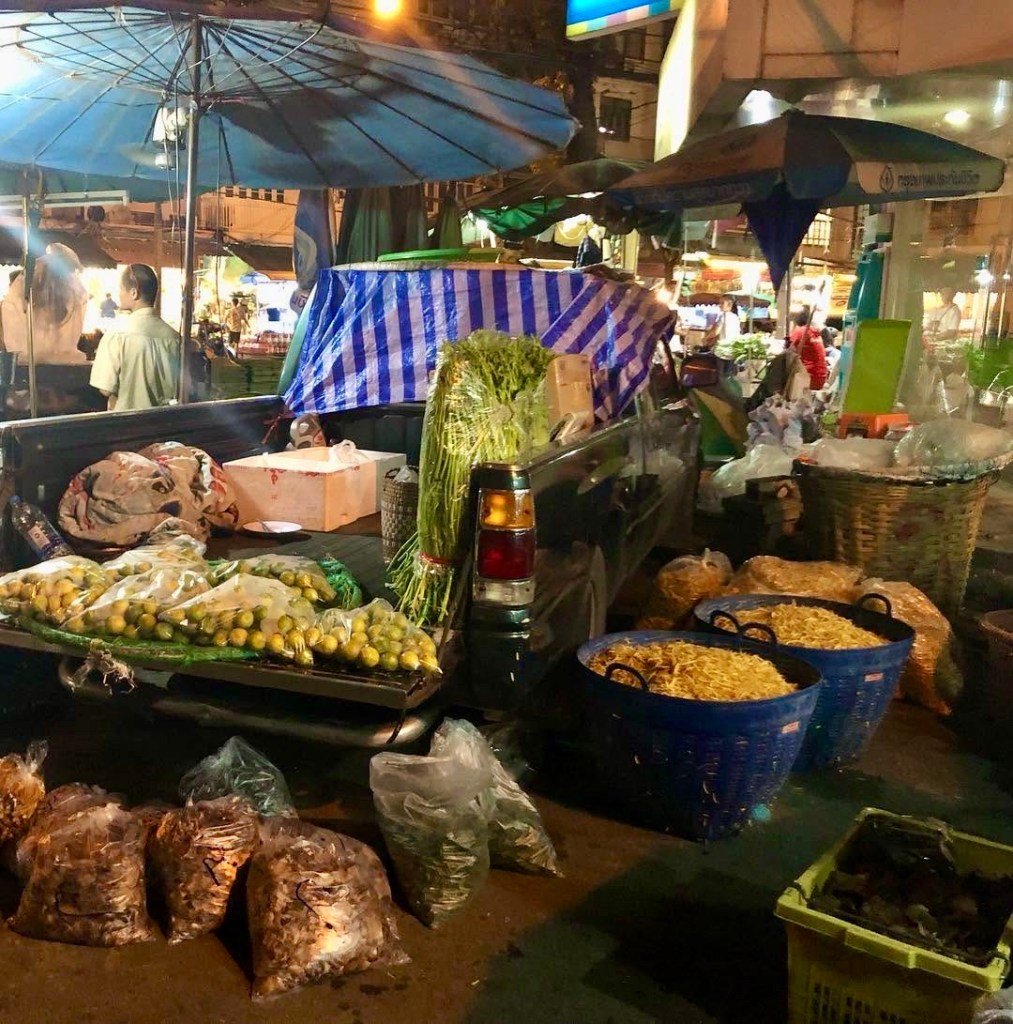
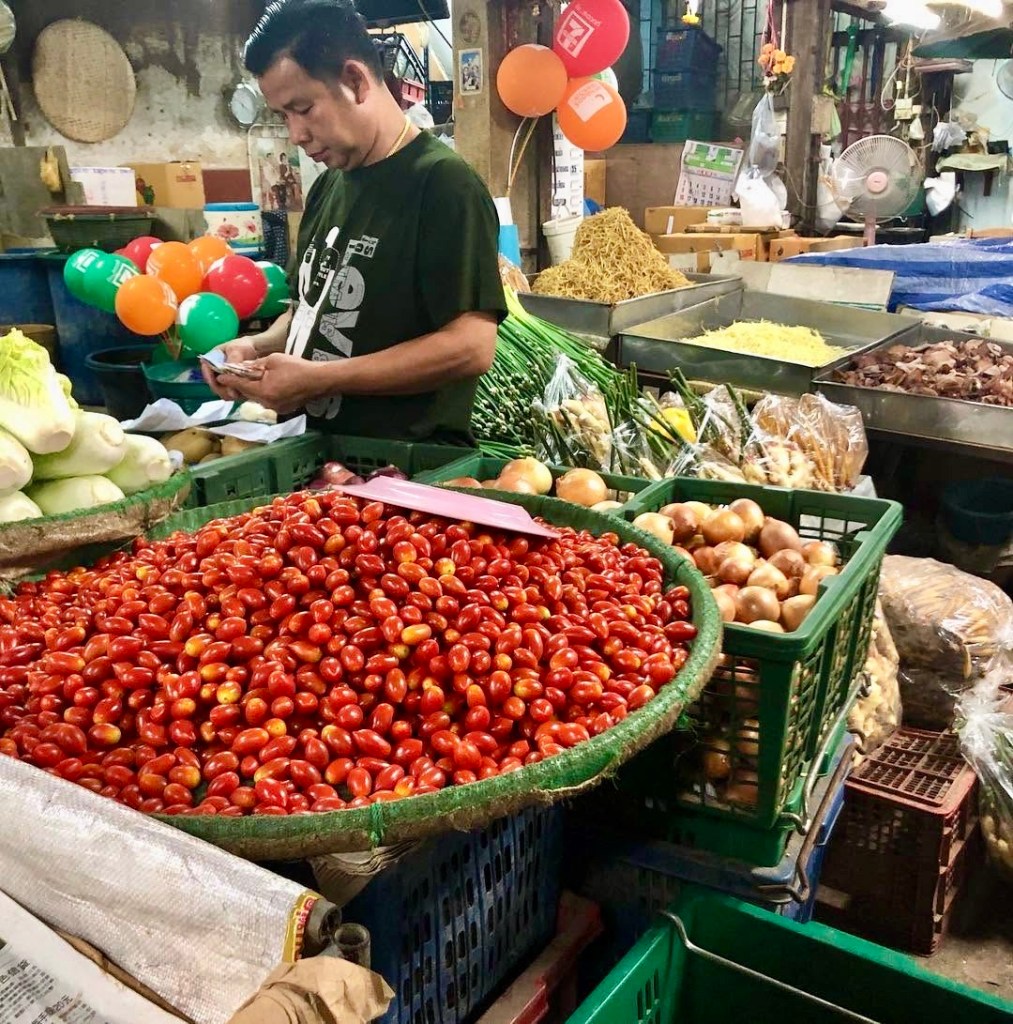
We also visited the night market and marvelled at the fresh produce, flowers and activity all around us.

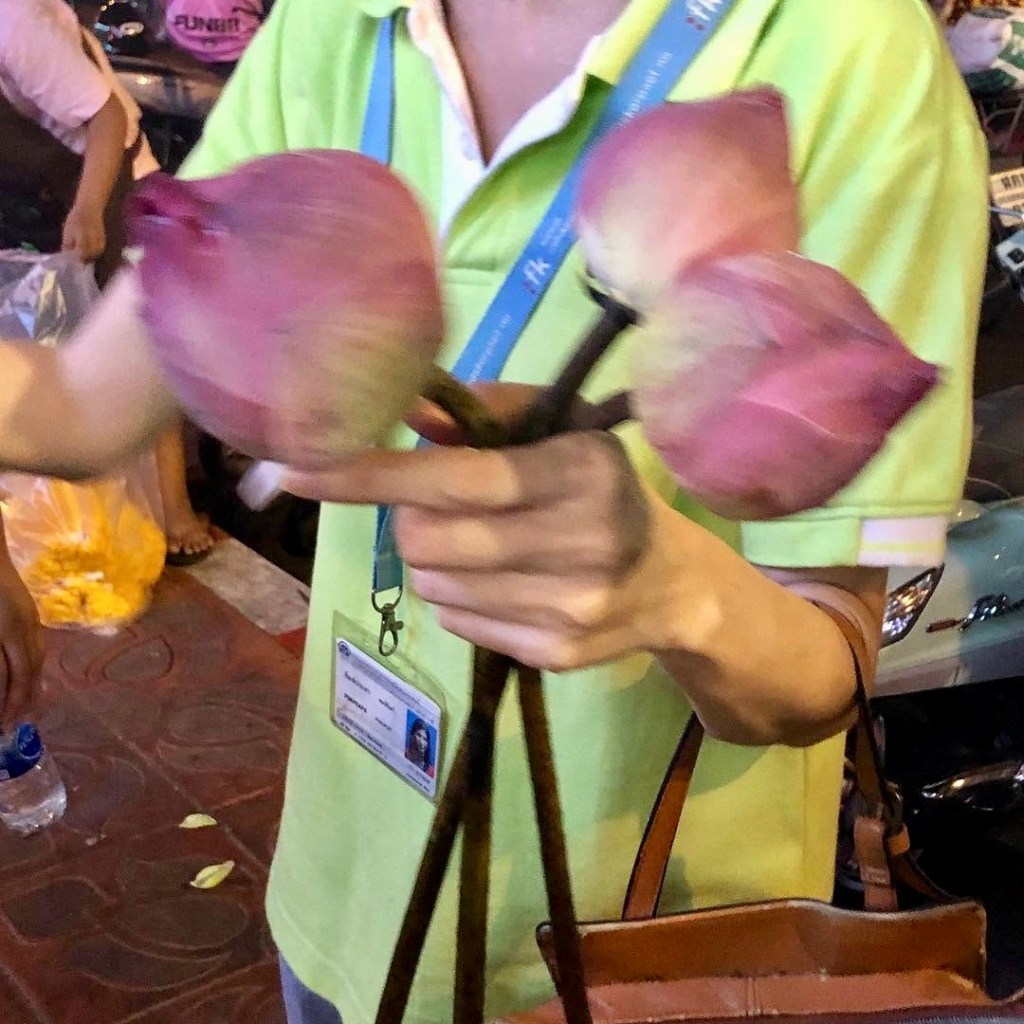
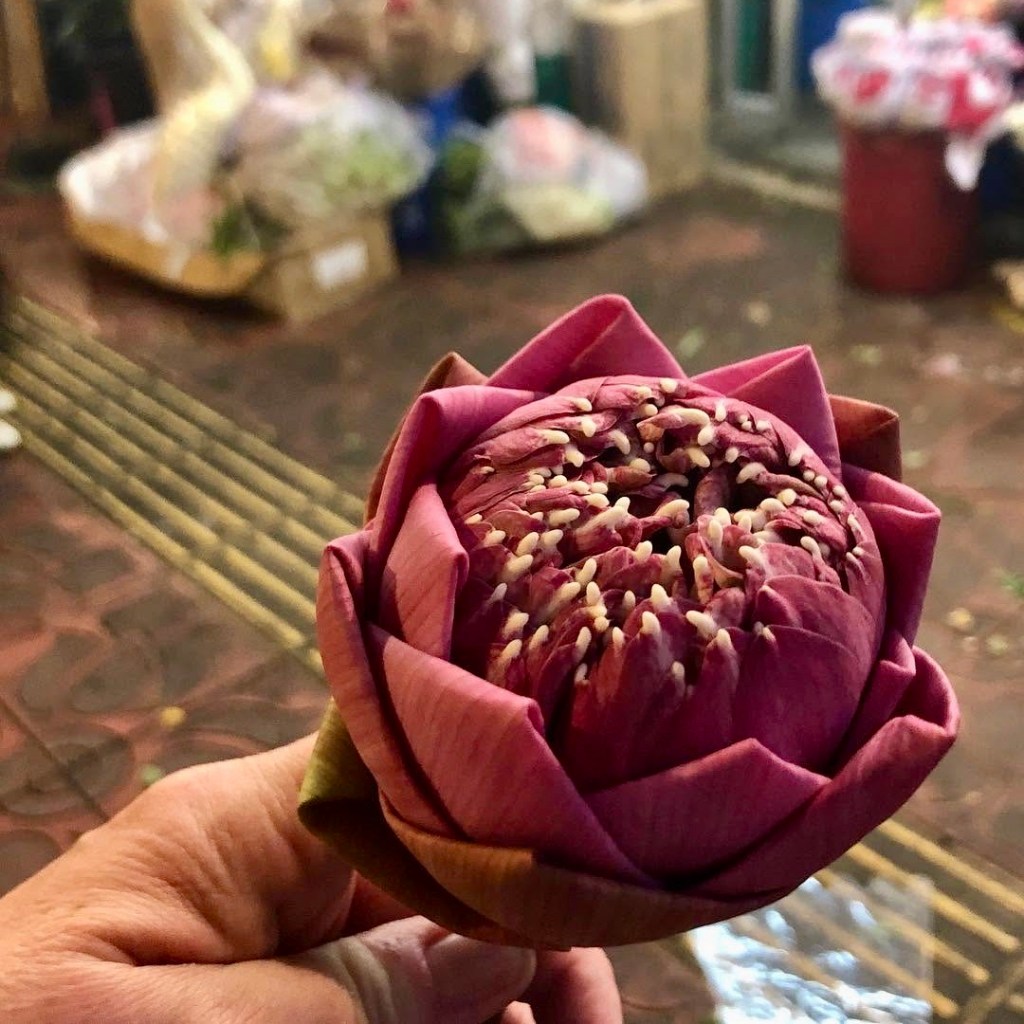
There, we met a lovely woman selling lotus flowers. She showed us how to fold the petals in the traditional Put Tan style. We watched as an ordinary lotus bud was carefully transformed into something even more beautiful.

Folding the petals felt mindful and artistic. The lotus is closely connected to Buddhist tradition and is often presented as an offering.

We kept our folded lotus flowers and placed them at the feet of a Buddha we visited the following day.

It was a small moment, but one I have never forgotten. The spiritual traditions we experienced in Thailand were beautiful, soulful and calming.

Bringing Bangkok Home

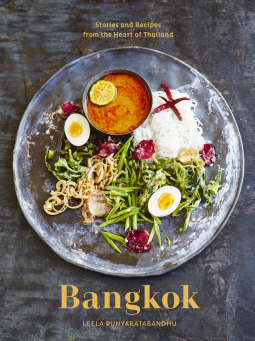
When I chose Bangkok: Recipes and Stories from the Heart of Thailand by Leela Punyaratabandhu, I was drawn to its stories about everyday food culture in Bangkok.

The author also lives in Chicago, where I was born and raised. I am always drawn to those full circle moments.

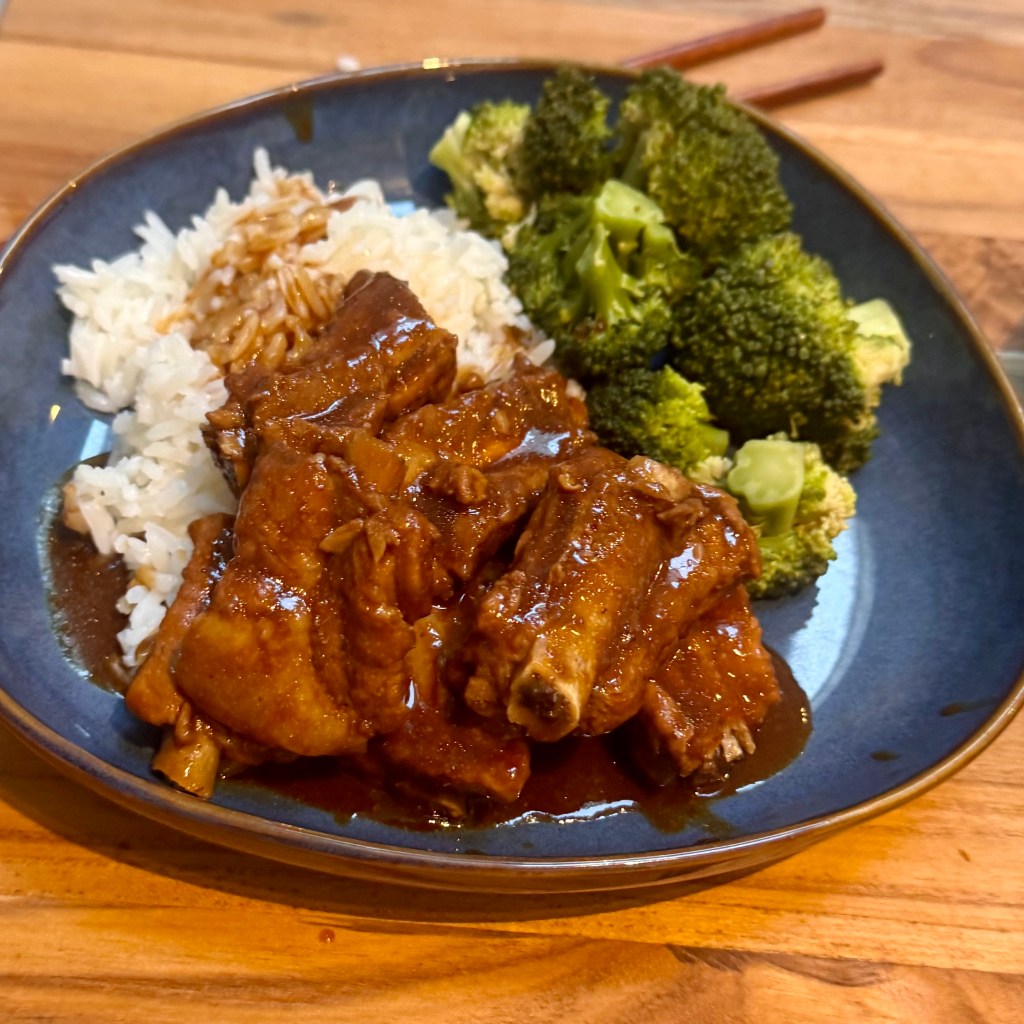
The first dish I made was Braised Spareribs in Salted Soybean Sauce. I chose it because it reminded me of the simple, deeply flavored food we experienced during our Bangkok street food tour.

I had to make a few substitutions. I could not find dark salted soybean paste, so I used salted soybeans and increased the dark soy sauce slightly. I used Muscovado sugar in place of rock sugar and dry sherry instead of Shaoxing wine. I also used cilantro stems in place of cilantro roots and doubled the amount to compensate.

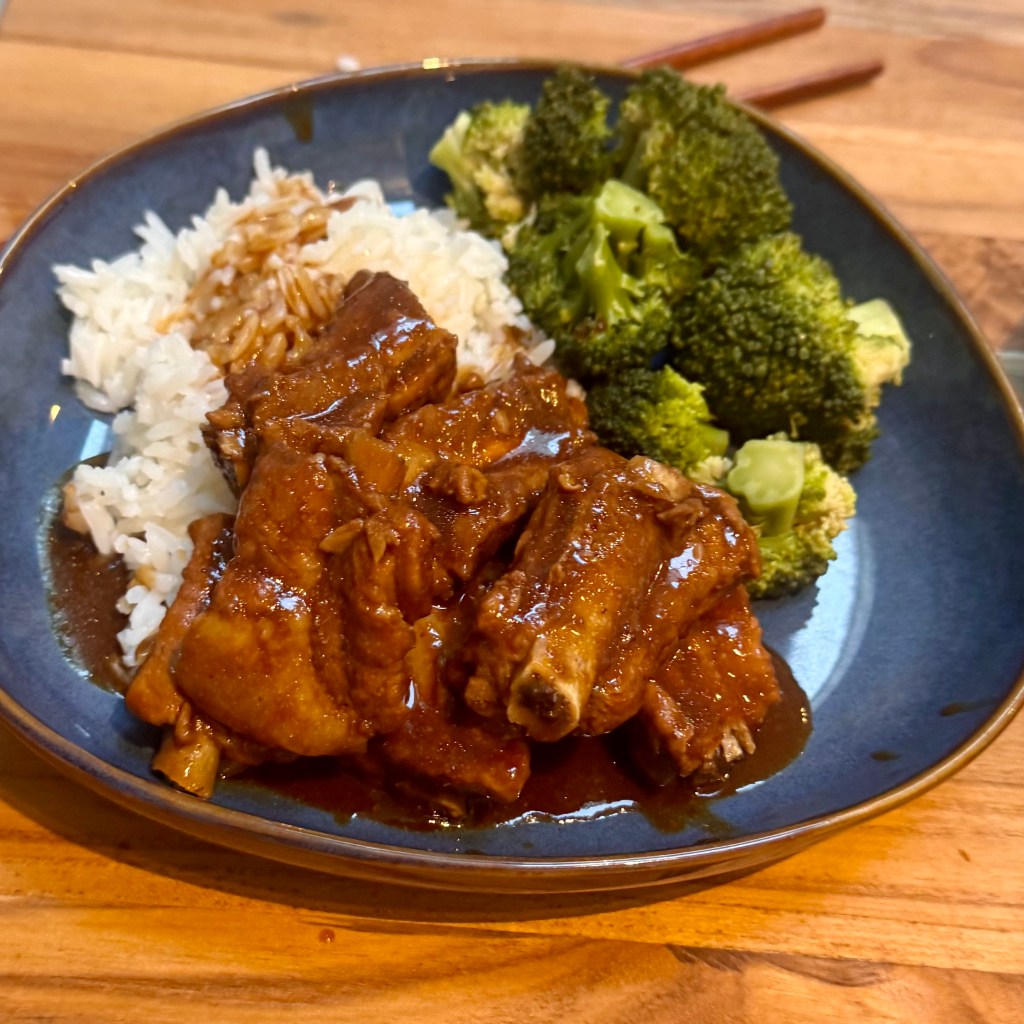
The ribs were incredibly tender and fell easily from the bone. The sauce was savory and comforting. It was good, simple comfort food, and we enjoyed it.

I am looking forward to making it again once my local Asian Market has dark salted soybean paste, cilantro roots and Shaoxing wine in stock.

This is what I enjoy most about cooking. I try a recipe, learn from the process and make adjustments when needed. Sometimes it also inspires me to create a dish of my own.

Cooking these spareribs brought a little of Bangkok back into my kitchen. The temples, the boats, the night markets, the rush of the Tuk Tuk and all the food we shared along the way.


Braised Spareribs in Salted Soybean Sauce

Serves 4

Ingredients

2 pounds pork spareribs
2 inch piece fresh ginger
2 tablespoons oyster sauce
2 1/2 tablespoons salted soybeans
4 tablespoons chopped cilantro stems
4 large garlic cloves
1/2 teaspoon ground white pepper
2 tablespoons light soy sauce
1-1/2 tablespoon dark soy sauce
2 tablespoons Shaoxing wine or dry sherry
1 packed tablespoon Muscovado brown sugar
Water as needed to barely cover the ribs

For the slurry

1 tablespoon cornstarch
1/4 cup water

Method

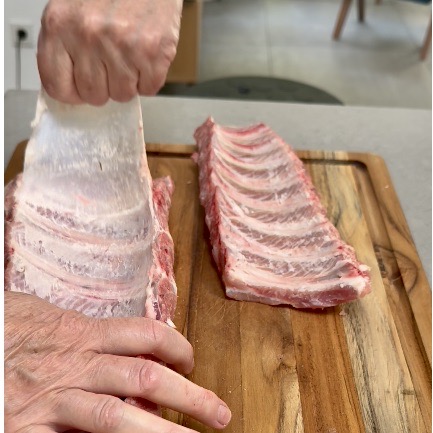
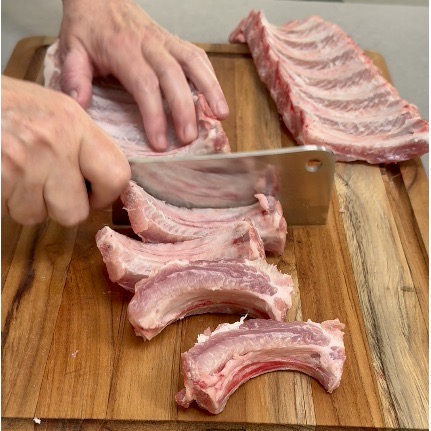
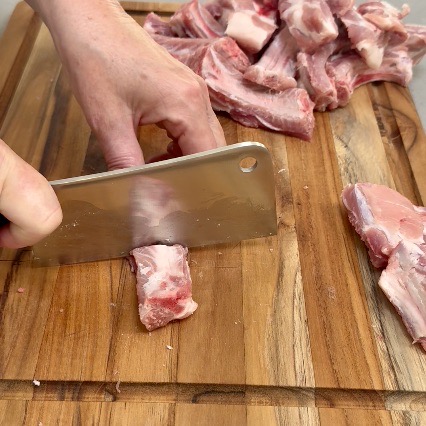
Remove the membrane from the back of the spareribs. Cut between the bones to separate the ribs. Using a heavy cleaver, carefully cut each rib in half. Set aside.

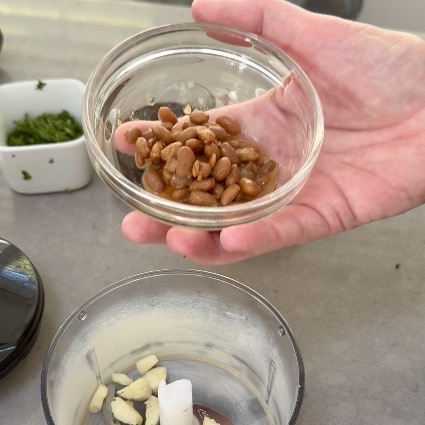
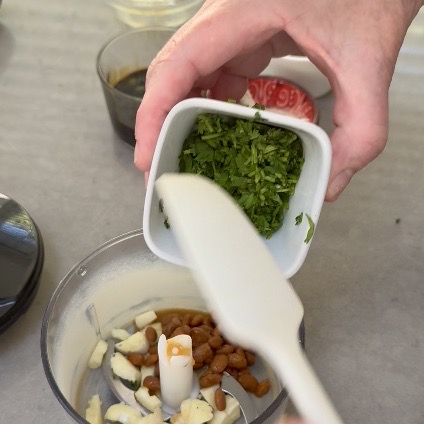
Add the oyster sauce, salted soybeans, cilantro stems, garlic, white pepper, light and dark soy sauce, Shaoxing wine and brown sugar to a food processor. Process until smooth. Set aside.

Peel and slice the ginger.

Place the ribs in a large pot. Add the ginger and prepared sauce, then mix well to coat the ribs.

Add just enough water to barely cover the ribs. Bring the liquid to a boil, then reduce the heat to a gentle simmer. Cover and simmer for one hour, stirring occasionally.

Remove the ribs from the cooking liquid and set them aside.

Bring the liquid to a boil and reduce it by half. Taste the sauce. If it is flavorful, stop reducing. If it still tastes weak, continue reducing until the flavor is where you want it.

If necessary, add a little more oyster sauce. Be careful, as too much can make the finished sauce overly salty.

Mix the cornstarch and water together to make a slurry. Slowly pour some of the slurry into the cooking liquid while whisking continuously. Simmer over low heat until the sauce begins to thicken.

Add more slurry only if necessary. The finished sauce should remain fairly light and pourable, rather than becoming thick like gravy.

Return the ribs to the pot and gently heat them through.

Serve over Thai jasmine rice with broccoli.


From My Kitchen

  • This recipe uses a traditional braising method. The ribs go directly into the seasoned liquid without being browned first. They became incredibly tender and fell easily from the bone.
  • I could not find dark salted soybean paste, so I used salted soybeans and increased the dark soy sauce slightly.
  • I used Muscovado sugar instead of rock sugar and dry sherry instead of Shaoxing wine.
  • Cilantro roots were unavailable, so I doubled the amount and used cilantro stems instead.
  • Reducing the cooking liquid after removing the ribs is important. Taste as it reduces and stop when the flavor is where you want it.
  • The cornstarch slurry should be added gradually. The finished sauce should remain light and pourable, not thick like gravy.
  • Will I make it again? Yes. It was tender, savory and comforting. I would especially like to make it again with dark salted soybean paste, cilantro roots and Shaoxing wine.

Codfish Gomes de Sá

Recipe Below

One of my favorite memories from our trip to Porto was searching out A Margarida in Matosinhos, a restaurant one of Paul’s colleagues recommended. It was about a twenty-minute Uber ride from where we were staying, up the coast to Matosinhos.

We arrived early, so we spent some time walking along the waterfront before lunch. The Atlantic was beautiful that day. The town itself was small, with clusters of old buildings, little plazas, and old stone turrets lining the waterfront. It felt like a real fishing village, not someplace built for tourists. Matosinhos felt completely different from Porto.

When we found the restaurant, I remember looking at Paul and thinking, this is going to be good.

One of the things I loved most about Portugal was how many restaurants were family owned. You just get the feeling that everyone has a role. Someone is greeting guests, someone is cooking, and somewhere in the back Grandma is making sure her recipes are being cooked exactly the way they’ve always been.

I love that.

I admire that.

Honestly…I aspire to that.

When we sat down, every table already had a plate of boiled prawns waiting. Our server asked what we were interested in and then smiled and said, “Would you like me to choose for you?”

We looked at each other and said yes.

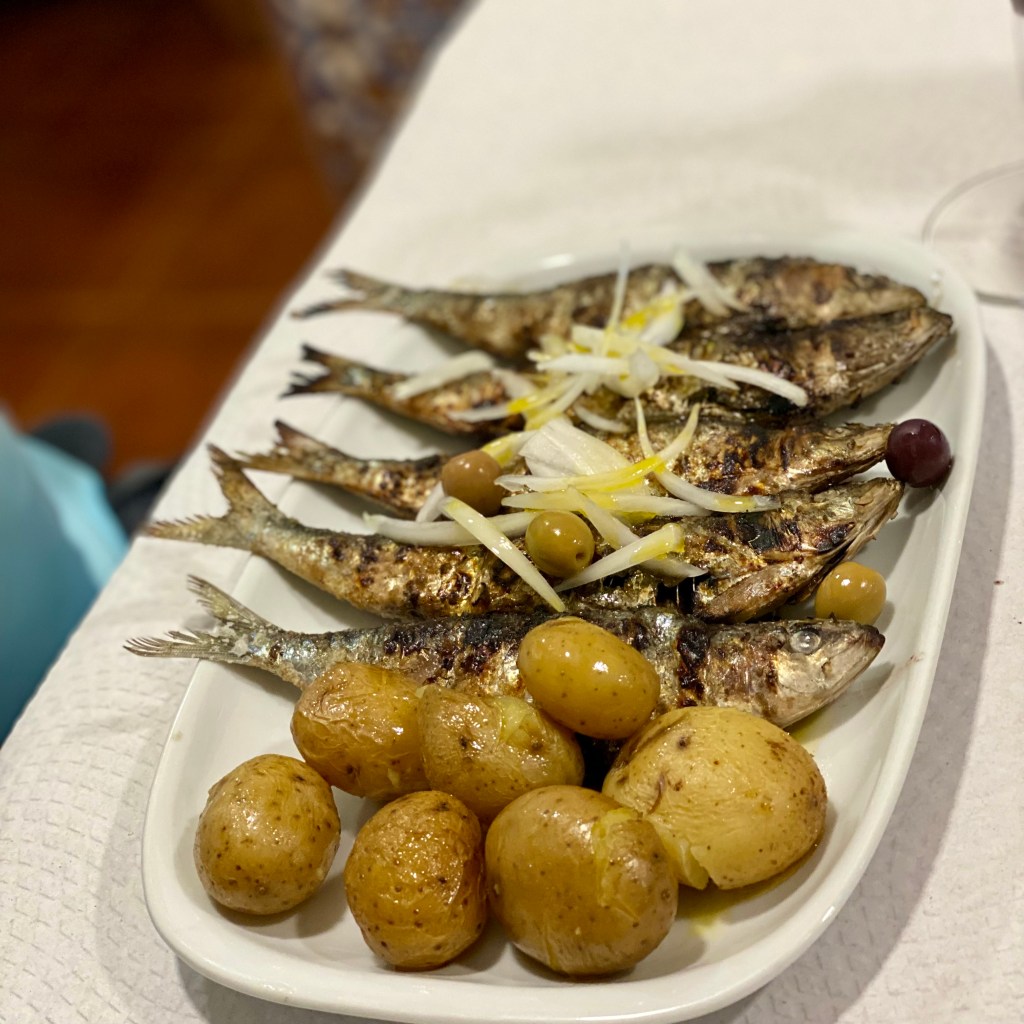
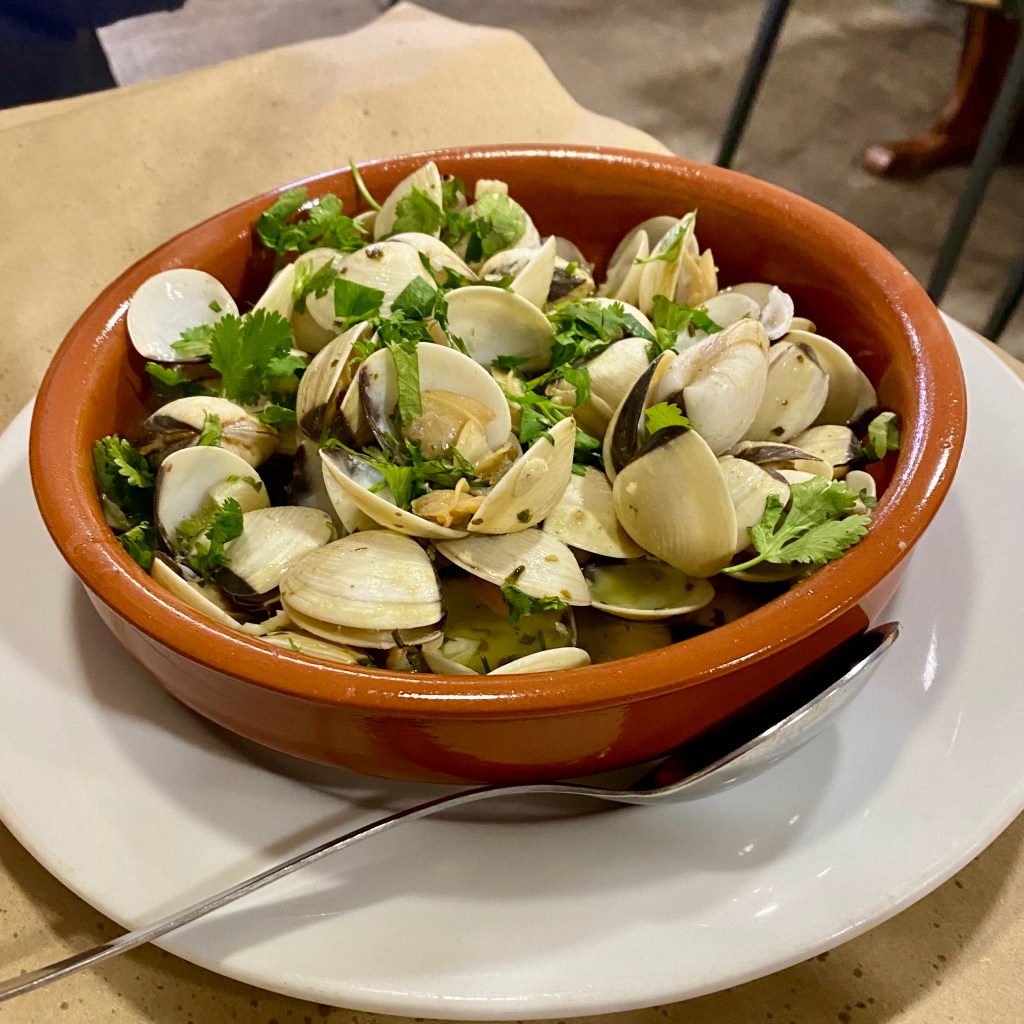
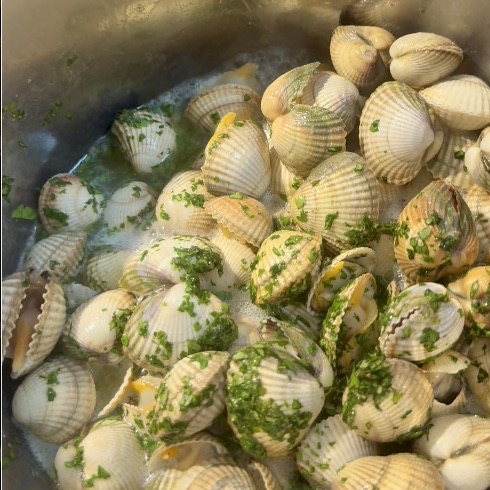
The food just kept coming. Croquettes. Grilled sardines. Calamari. Then a small pot of clams cooked in white wine, served right in the pot they were cooked in. I loved that simple Portuguese tradition. Nothing fancy, just good food brought straight from the stove to the table. Then came the main course—beautiful grilled turbot with simple Portuguese potatoes and cabbage. Every dish was better than the last.

What made it even more special was that the grill wasn’t even inside the restaurant. It sat just across the street from the front door with fish cooking over charcoal all afternoon. You could smell the wood smoke before you even reached the restaurant.

This is exactly the kind of restaurant Paul and I hope to find when we travel. Small. Local. Family run. Good food without any fuss. By the end of the meal we almost felt like regulars.

And then we met Grandma.

She didn’t say much, but you knew immediately she was the heart of that restaurant. Quietly watching over everything and making sure the food leaving her kitchen reflected her family’s recipes and traditions.

That made the whole afternoon even more special.

That lunch stayed with me long after we returned home. When I opened Portugal: The Best Fish in the World looking for my next recipe, I found myself thinking about that afternoon in Matosinhos and wanting to recreate a little piece of it in my own kitchen.

I chose Codfish Gomes de Sá because it seemed fresh, light, and simple.

This recipe was a hit.

We thoroughly enjoyed every bite.

At first, I wondered if it would be filling enough on its own. I thought about adding a salad or another vegetable, but I didn’t want to overwhelm the plate. Instead, I added sautéed enoki mushrooms, fresh podded peas, and zucchini curls. They added just enough color and texture while still letting the cod be the star.

I also decided to make my own version of confit onions. I slowly caramelized thick onion rings in unsalted butter until they became soft and sweet. After straining the onions, I saved the butter and drizzled it over the finished dish. I think that may have been my favorite addition.

I wanted to stay close to the chef’s vision, so I assembled two individual plates, warmed them gently on a sheet pan, and finished them with the mushrooms, peas, zucchini curls, chives, onions, and Kalamata olives.

If I were making this for family or friends, I’d probably layer everything into a casserole dish, warm it in the oven, and garnish it just before serving. I think it would be much easier to serve that way.

I’m still chasing the perfect jammy egg. Too soft and it falls apart. Too firm and it becomes a hard-boiled egg. I came pretty close this time.

For the cod, I went back to the “quasi sous vide” method I used for the stone bass recipe. The cookbook gently cooks the fish in garlic-infused milk. Since I don’t own a sous vide machine, I sealed the cod with the milk and garlic and carefully held the water at temperature. I also added a little more garlic than the recipe called for because I thought the flavor might be too subtle otherwise.

The cod turned out beautifully. Moist. Tender. It flaked apart perfectly.

I also swapped the traditional black olives for Kalamata olives. I wanted their slightly briny, tangy flavor.

In the end, everything worked together just the way I hoped. The cod was delicate with just a hint of the sea. The mushrooms added an earthy note. The peas brought a little sweetness and crunch. The potatoes and egg made the dish satisfying without feeling heavy. The onion butter quietly tied everything together.

This is definitely one I’ll make again.

Codfish Gomes de Sá

A Portuguese classic inspired by a family-run restaurant in Matosinhos.

Serves 4

Ingredients

4 fresh free-range eggs (this is important since they are not fully hard-boiled)
4 starchy potatoes
4 small onions
¾ L whole milk, room temperature
6 garlic cloves, crushed
800 g cod fillets
Olive oil
Salt and pepper
Flaky finishing salt

Suggested Garnishes

Chives, finely sliced
Kalamata olives, minced
Fresh podded peas, blanched
Zucchini strips, blanched and rolled into curls
Enoki mushrooms, trimmed and sautéed

Method

Peel the onions, leaving them whole. Slice them into ½-inch rounds.

Add about 2 tablespoons of butter to a saucepan over medium heat. Once melted, add the onions and stir to coat them with the butter. Reduce the heat to low and cook gently until the onions are soft, sweet, and caramelized, about 1 hour.

Transfer the onions to a sieve set over a bowl. Let them drain until the butter has separated from the onions. If needed, gently press on the onions to release more of the butter. Reserve both the onions and the onion butter.

Bring a saucepan of water to a boil. Carefully lower in the eggs and cook for 7 minutes. Immediately drain and crack the eggs gently against one another before plunging them into an ice bath. Once cooled, peel the eggs under the water. I find the shells come off much easier this way. Slice each egg into four rounds and refrigerate until ready to assemble.

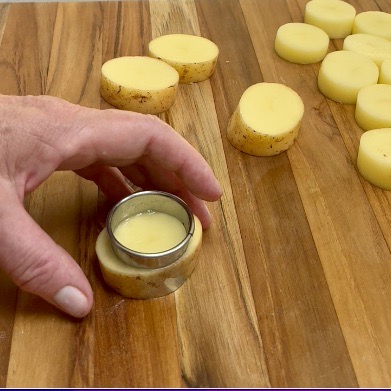
Place the potatoes, skins on, into a pot of salted water. Bring to a boil and cook just until tender. Drain and rinse under cold water. Once cool enough to handle, peel the potatoes and slice them into four ½-inch rounds. Using a round cookie cutter, trim each slice into an even circle.

Add a few of the crushed garlic cloves to the milk and let it infuse for about 30 minutes.

Place the cod fillets into zip-top bags (I had two fillets, so I used two bags). Divide the remaining garlic between the bags and pour in enough milk to completely submerge the fish. Seal the bags tightly.

Screenshot
Screenshot

Heat a large pot of water to 54°C. Submerge the bags and maintain the temperature until the cod is almost cooked through. Remove the fish from the bags and gently flake it along its natural lines.

To Assemble

Preheat the oven to 180°C.

Using either a casserole dish or individual oven-safe plates, layer the ingredients in the following order:

Fish, potato, onion, egg.

Repeat the layers three or four times, finishing with the fish on top.

Drizzle generously with olive oil and warm in the oven for about 15 minutes. You’re not cooking the dish at this point—just heating everything through. The cod will finish cooking in the oven, and the eggs will continue to set.

If serving family-style from a casserole, garnish with the chives and drizzle generously with the reserved onion butter. Serve the peas, zucchini curls, and mushrooms alongside or arrange them around the casserole.

If serving individual plates, garnish each plate with the peas, zucchini curls, mushrooms, chives, Kalamata olives, and finish with a generous drizzle of the warm onion butter.


From My Kitchen

  • This would make a wonderful appetizer for a dinner party. Assemble it ahead of time, warm it gently in the oven, and garnish just before serving.
  • The jammy eggs are important. You want them just set with a creamy center—not runny, but not fully hard-boiled either.
  • Don’t skip the garnish. The fresh peas, zucchini curls, mushrooms, chives, and especially the onion butter are what bring the whole dish together.
  • If you prefer, you can drizzle the finished dish with a good extra-virgin olive oil instead of the onion butter.
  • Be careful not to overheat the dish in the oven. The cod should be just shy of done before assembling. It will finish cooking as the dish warms through, and the eggs will continue to set.
  • Of all my additions, the fresh podded peas and sautéed enoki mushrooms were my favorites. They added freshness, a little earthiness, and balanced the richness of the potatoes and eggs without overwhelming the cod.
  • I chose Kalamata olives instead of traditional black olives because I liked their slightly briny, tangy flavor with the cod.

If you try this recipe, let me know what garnishes you choose.

Portugal: Stone Bass with Clams

Recipe Below

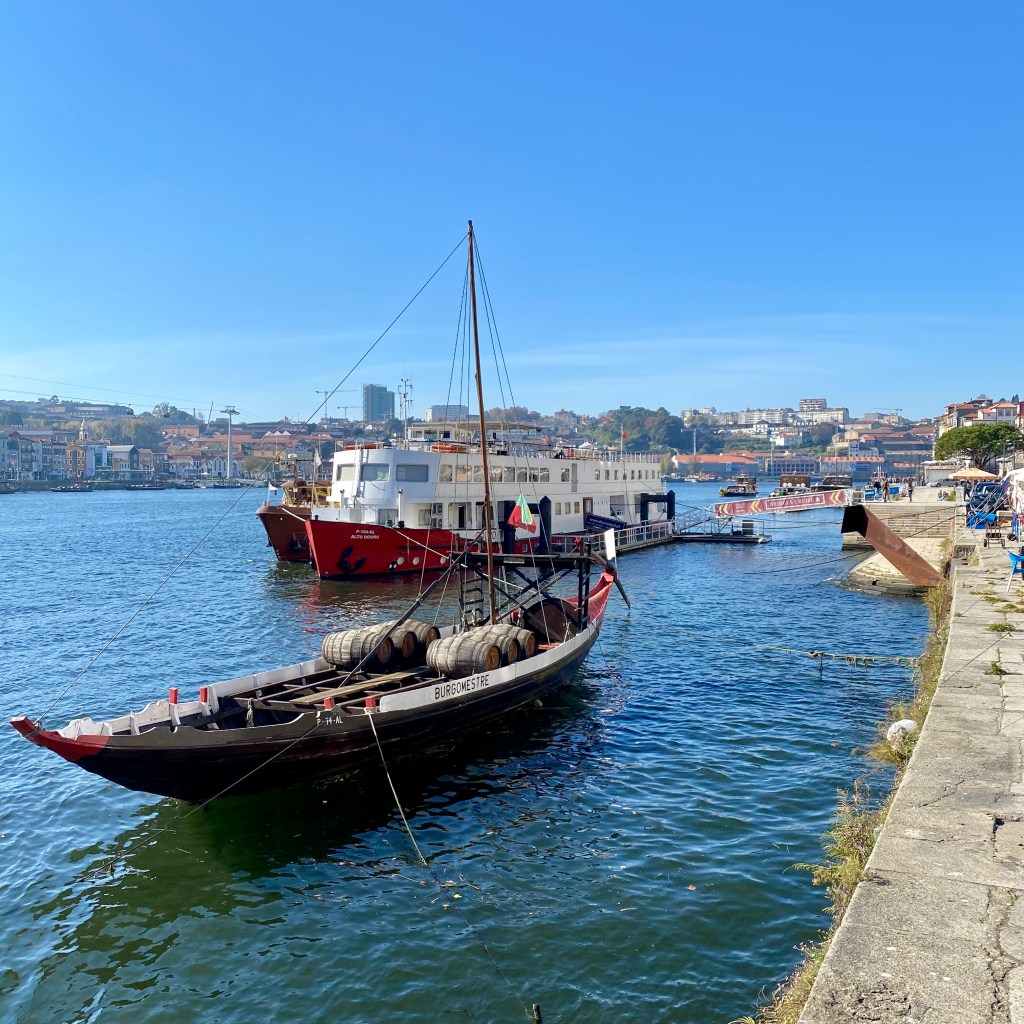
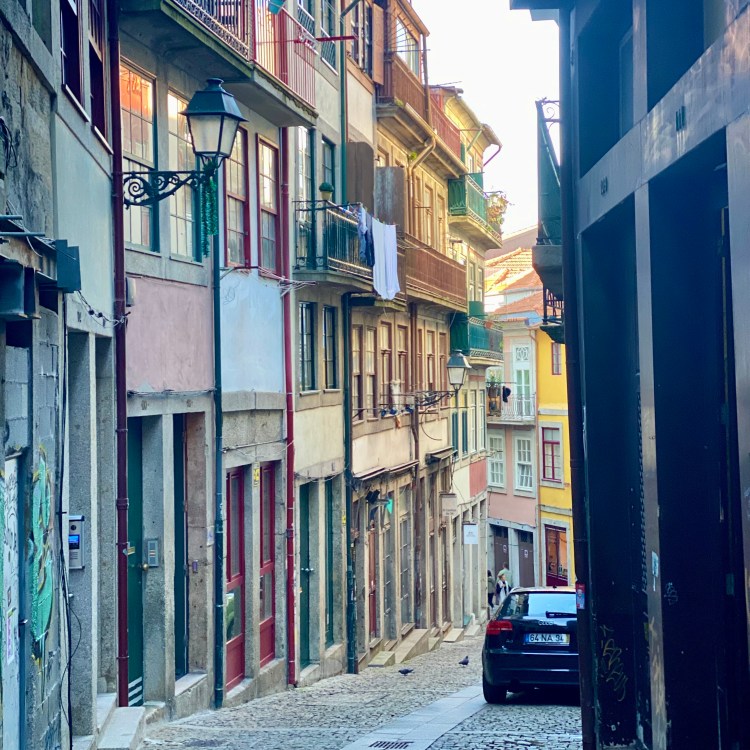
A few years ago Paul and I spent a week in Porto, Portugal. It is one of my favourite cities to visit. I know… I say that a lot. But Porto is different. It has its own personality.

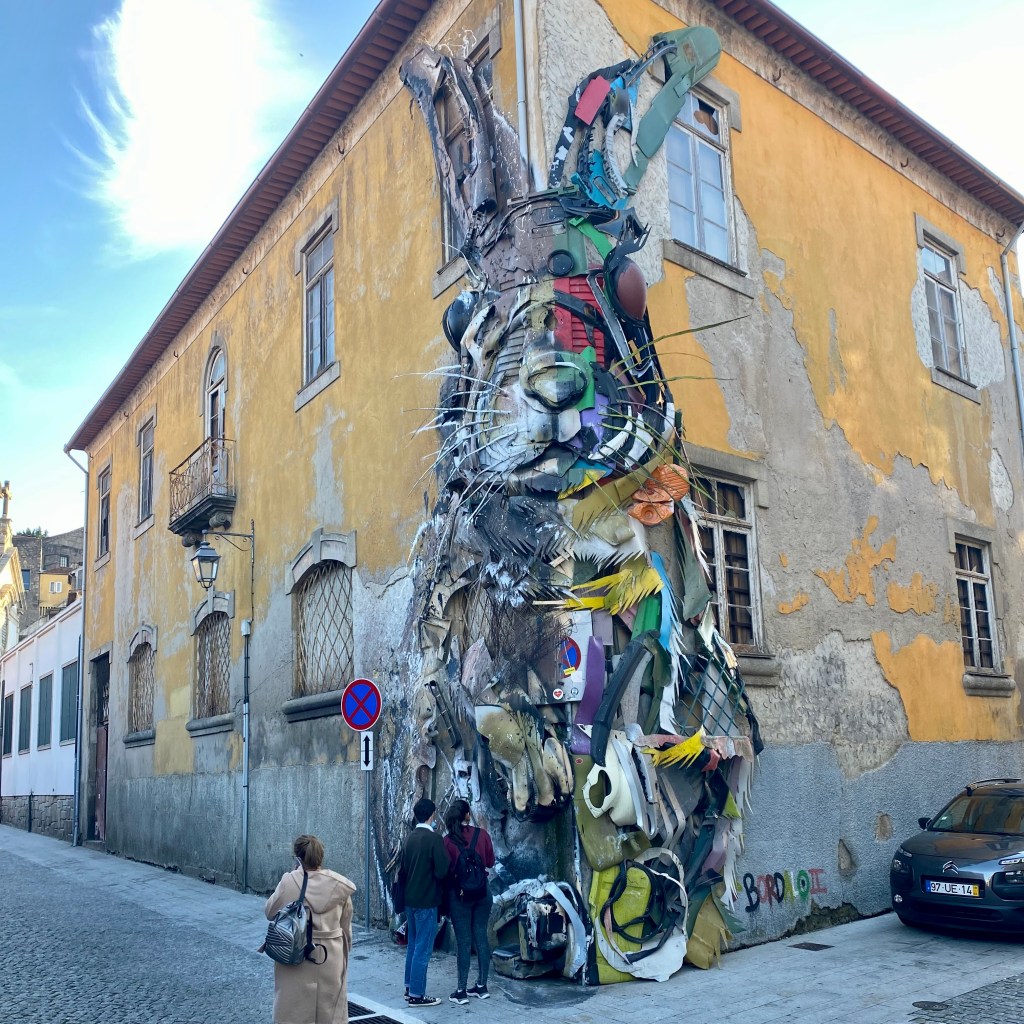
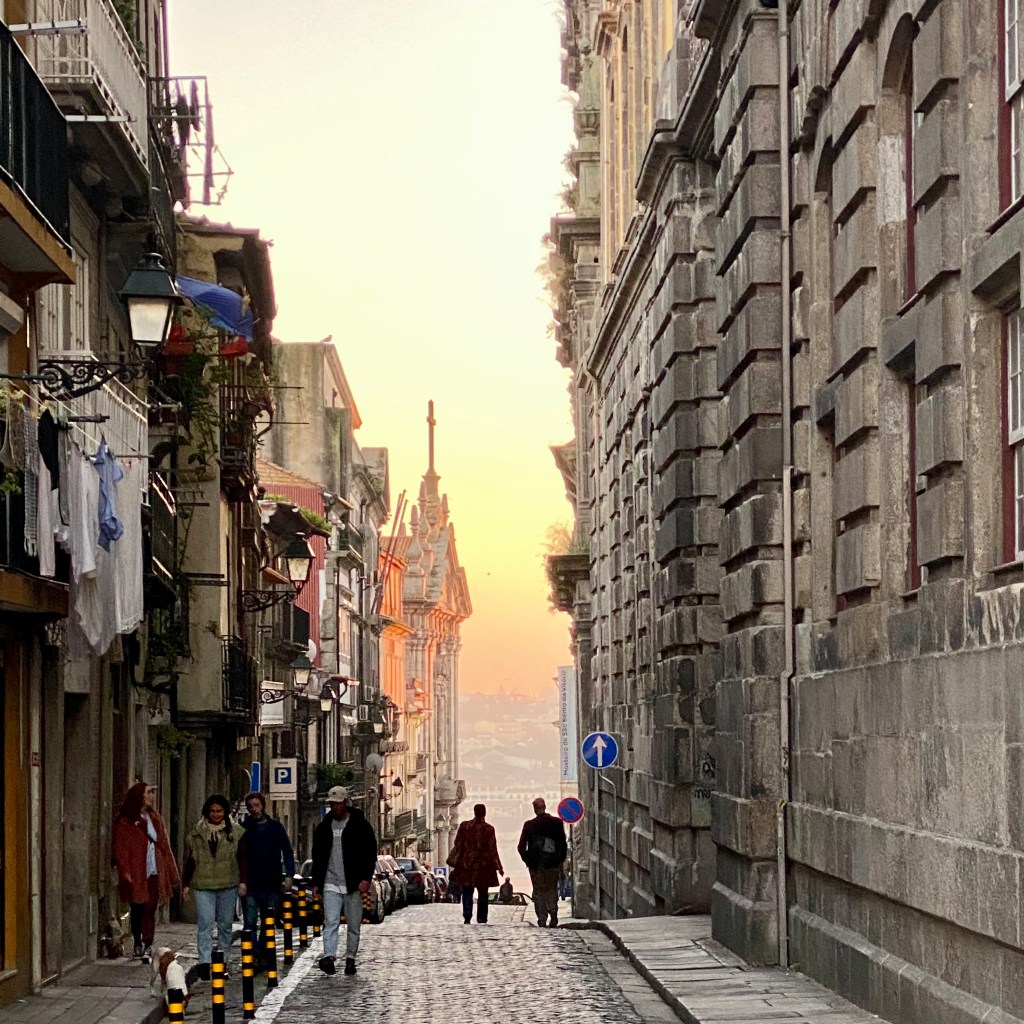
The buildings are old and weathered. Paint peels. Stone has been worn smooth by centuries of people walking the same streets. Nothing feels polished or perfect, and that’s exactly what I love about Porto. It feels lived in.

The people make the city come alive. Everywhere we went we were welcomed with a smile, and before long Porto felt like somewhere we’d happily return.

One afternoon we joined a private street art walking tour, and it turned out to be one of the highlights of our trip. We wandered through neighbourhoods we never would have found on our own and discovered another side of the city.

Most evenings we simply wandered, watching the sun set over the Douro River before finding another little restaurant for dinner.

The food…it was amazing.

Fresh fish. Fresh seafood. Traditional dishes made with simple ingredients. The seafood was always the star, and every meal reminded me just how connected Portuguese cooking is to the sea.


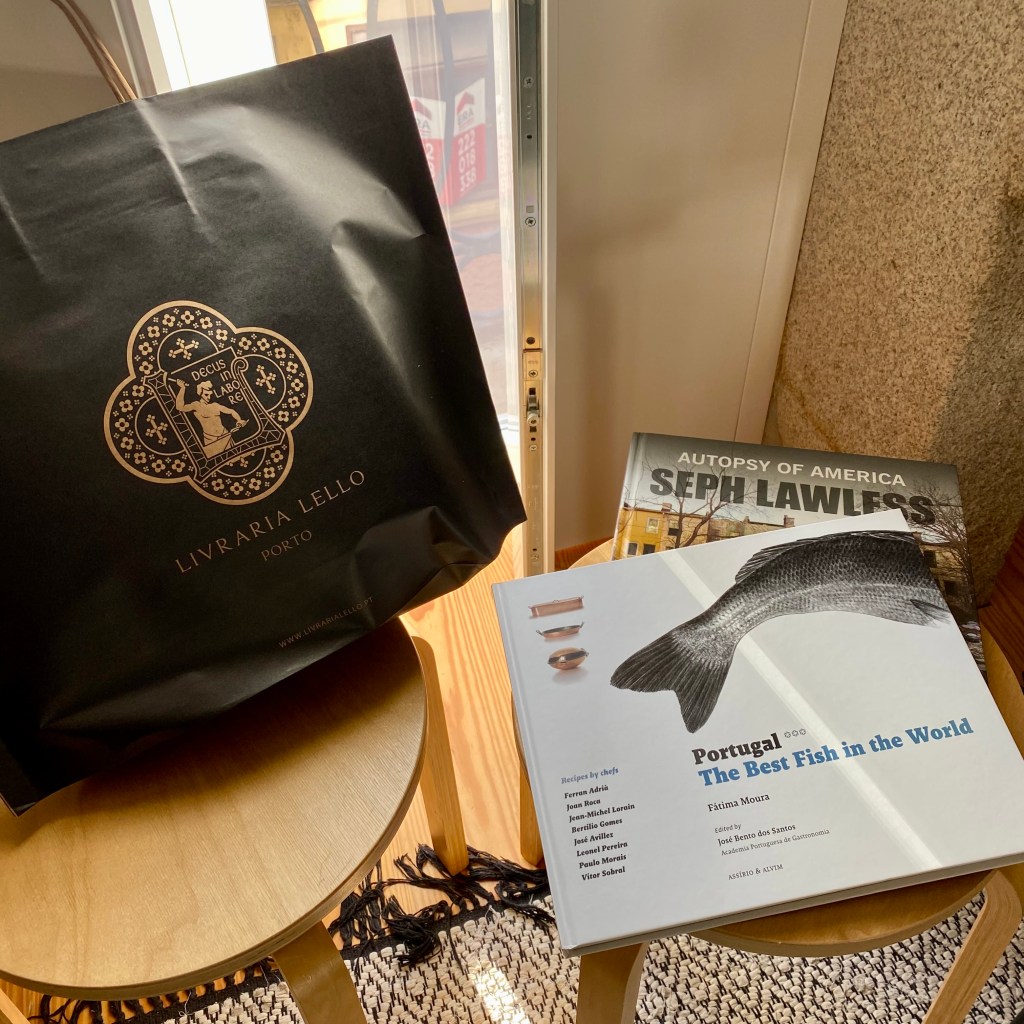
For my return to Portugal through memory, I pulled Portugal: The Best Fish in the World from my Cookbook Shelf.

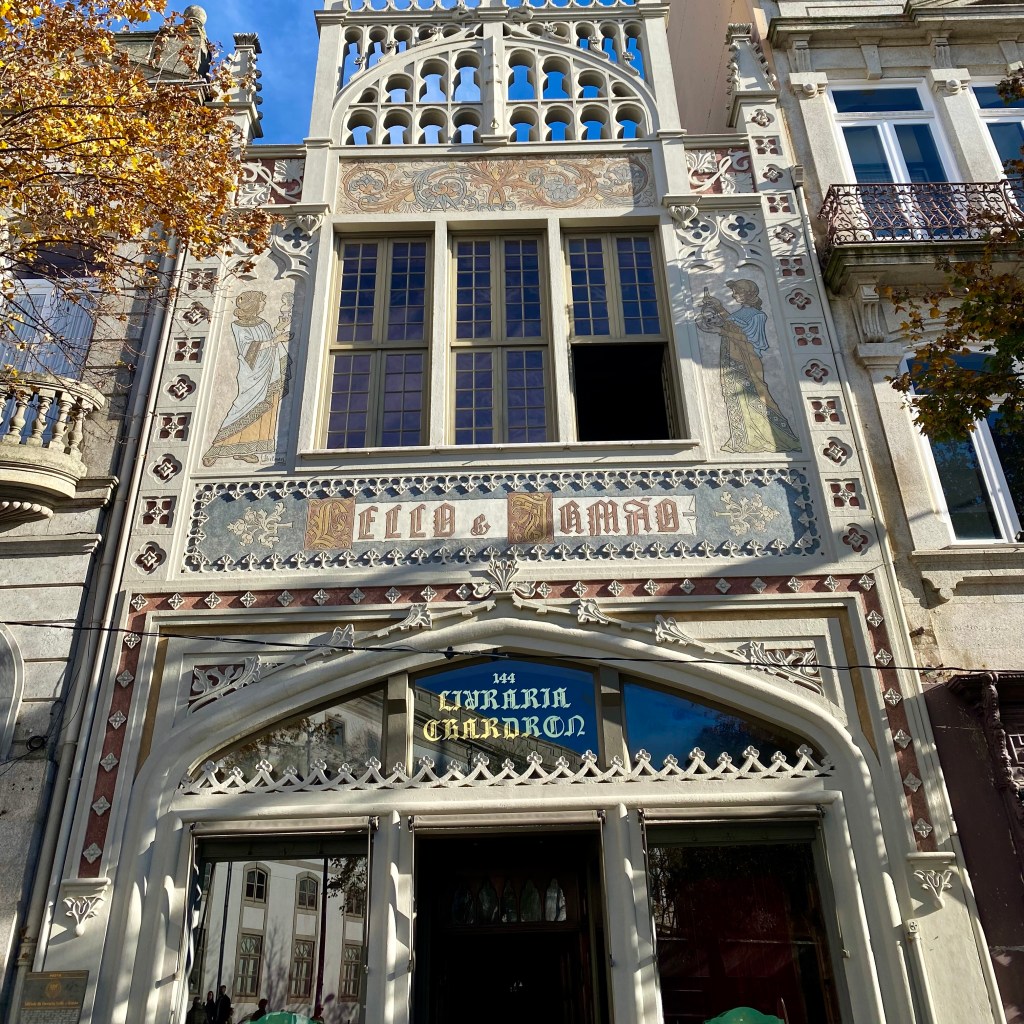
I bought the cookbook at Livraria Lello, one of the most beautiful bookstores I’ve ever visited. I could have spent hours wandering through its rooms, browsing the shelves and admiring the architecture. It felt like the perfect place to buy a cookbook that would eventually bring Portugal back into my kitchen.

The book features recipes from some of Portugal’s best chefs, each sharing a favourite way to prepare the country’s incredible fish and seafood.

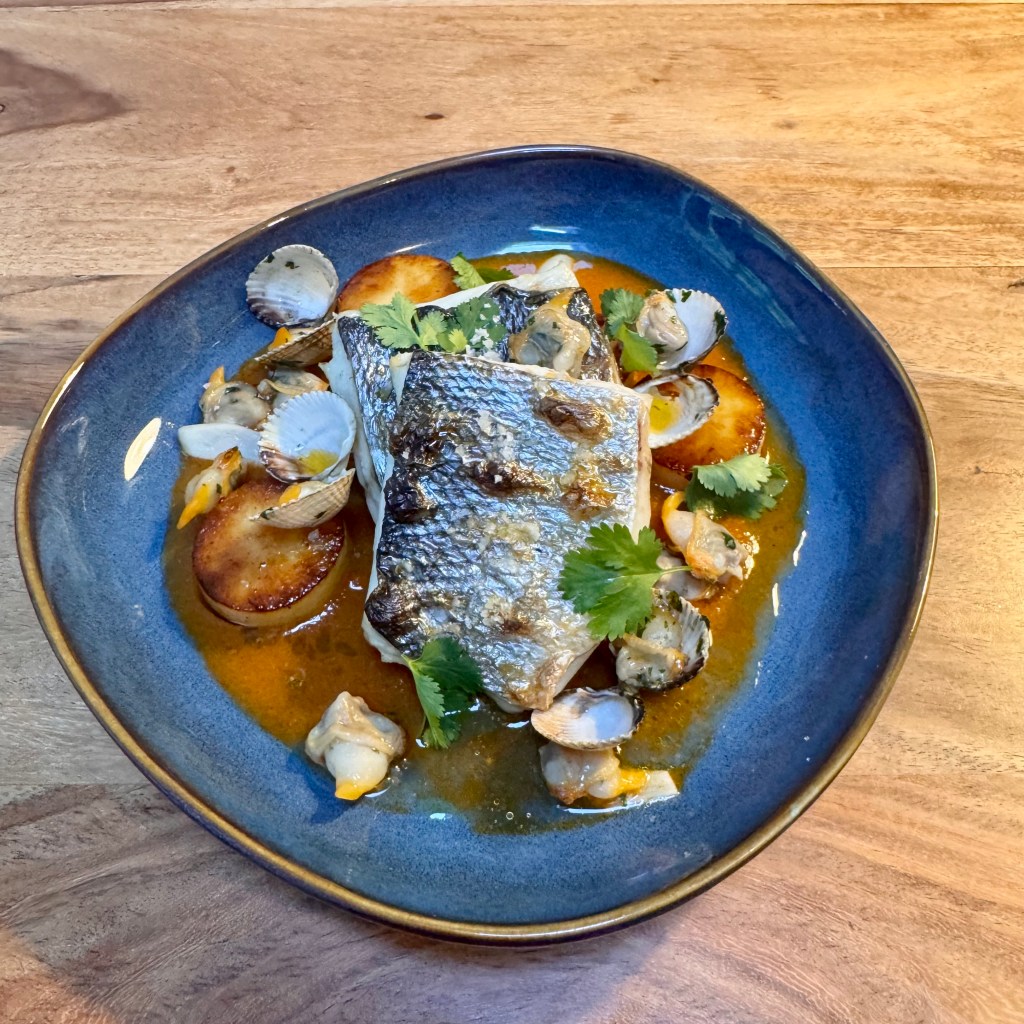
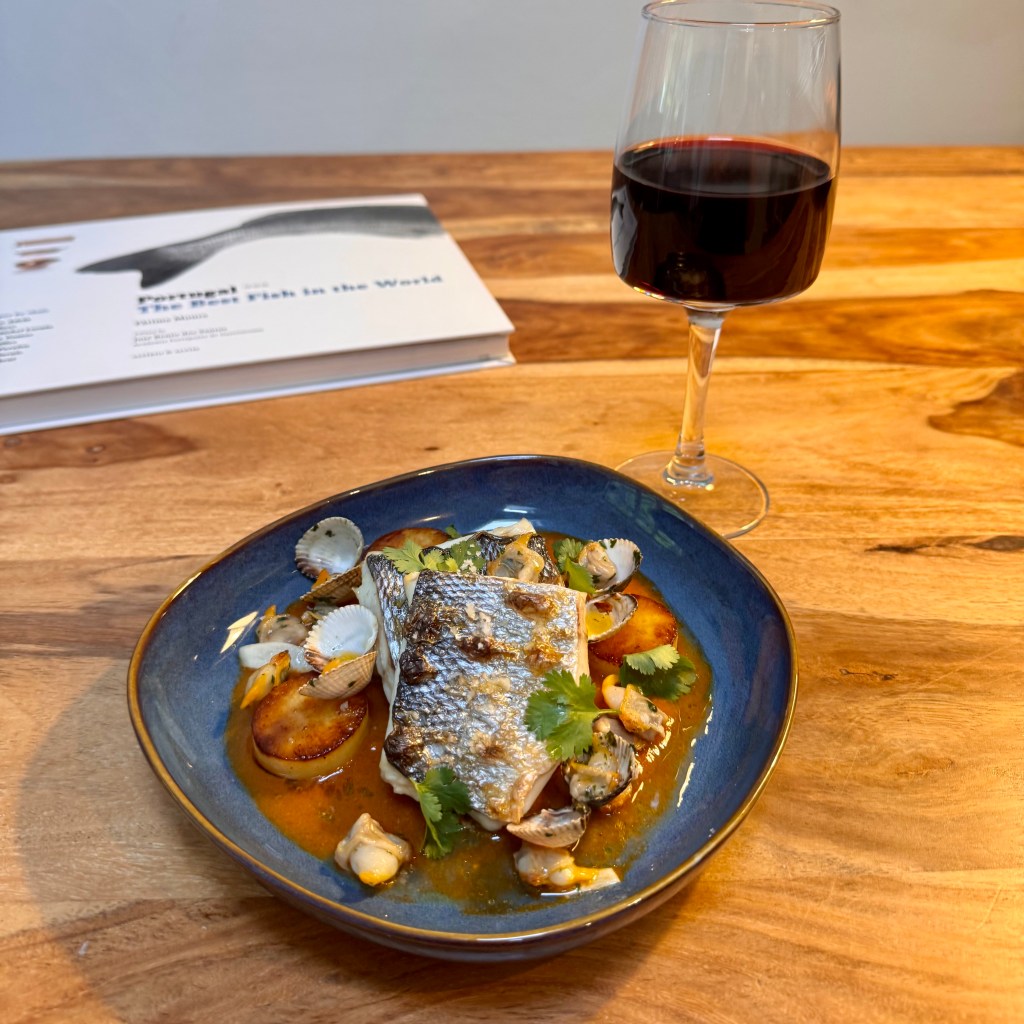
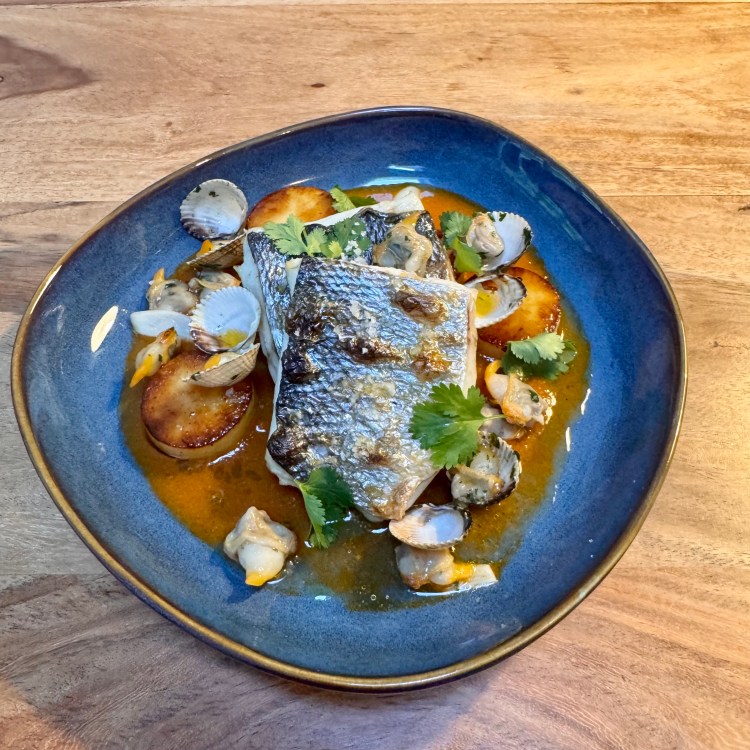
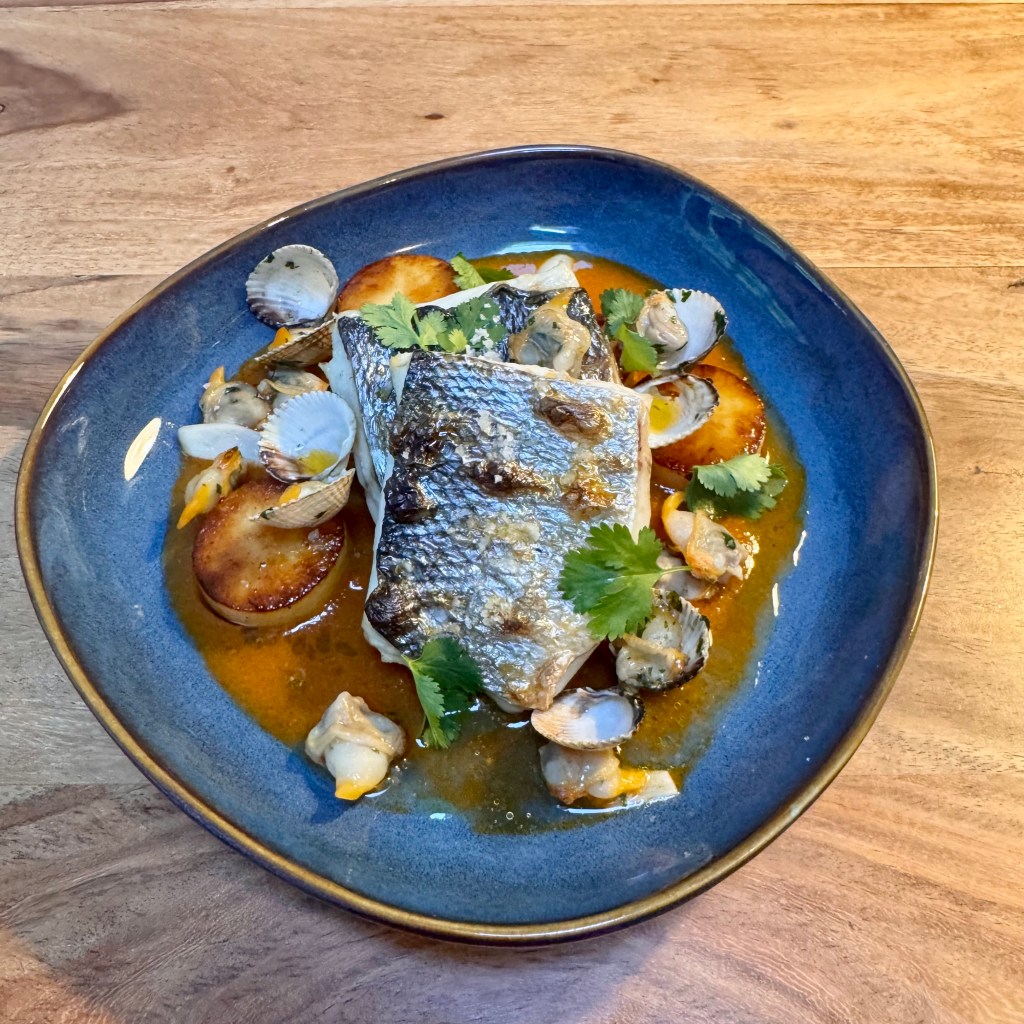
I chose Stone Bass with Clams by José Avillez because it reminded me of everything I loved about eating in Porto. Fresh fish. Fresh clams. Simple ingredients. Nothing fussy. Just letting the seafood shine.


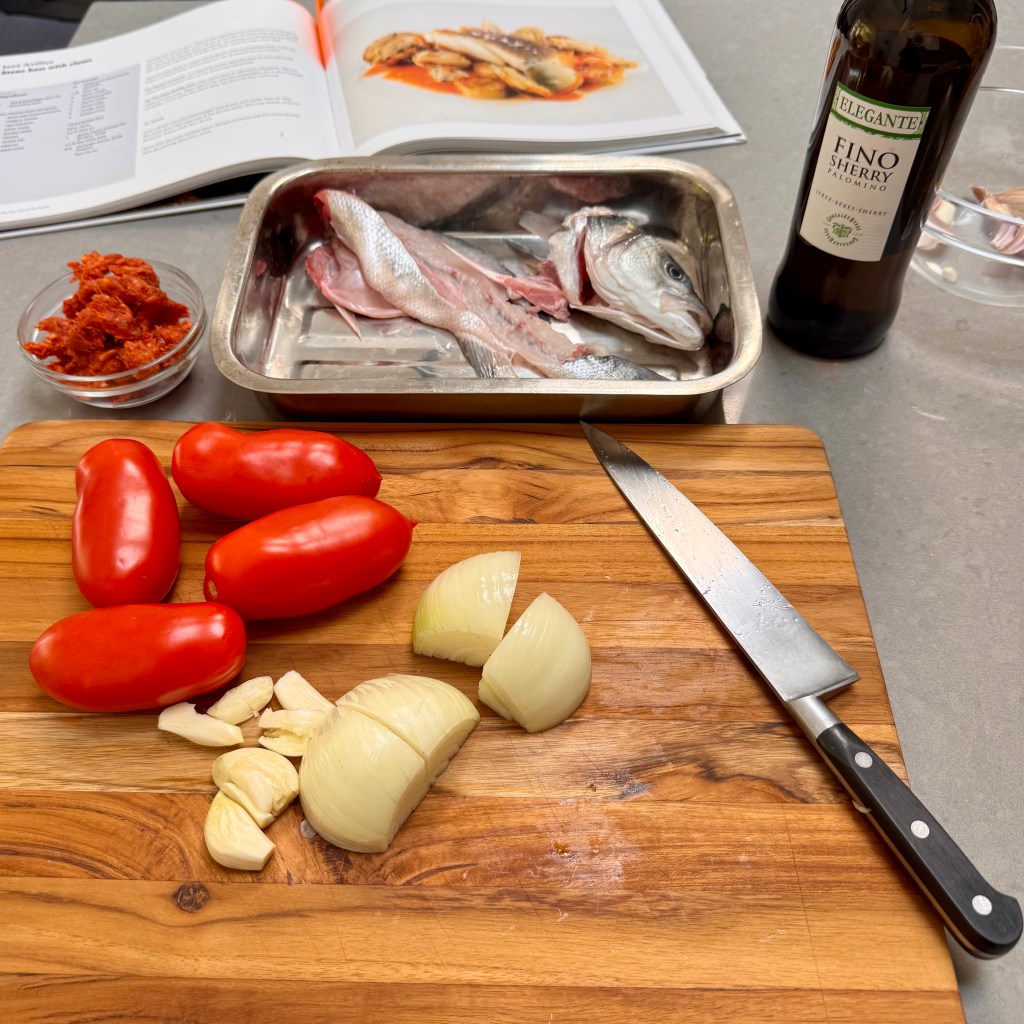
I couldn’t find stone bass, so I bought a whole bar de ligne instead and filleted it myself. Honestly, that became part of the fun.

What really caught my attention was the sauce.

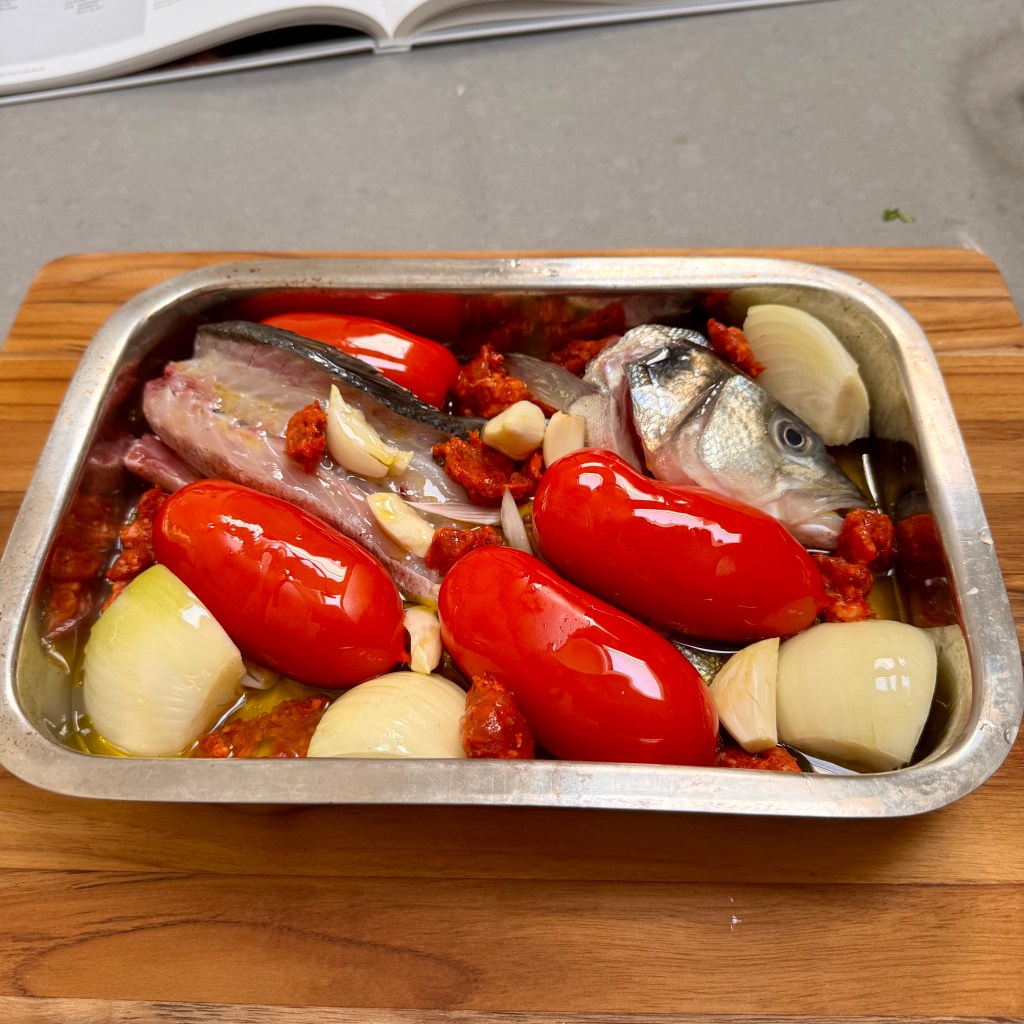
Instead of making a traditional fish stock, the recipe has you roast the fish head and bones with tomatoes, onions, garlic, and chorizo before turning everything into a tomato sauce. I’d never made a sauce that way before. The roasted vegetables added sweetness while the fish gave the sauce that unmistakable taste of the sea. It was one of those techniques that made me stop and think, why haven’t I done this before?

Another thing I appreciated was that much of the recipe could be prepared ahead of time. I filleted the fish and made the sauce earlier in the day, so when it came time for dinner all that was left was cooking the potatoes, steaming the clams, and finishing the fish. It’s the kind of recipe that’s perfect for entertaining because most of the work is already done.

Then there were the potatoes.

They may have been my favourite surprise.

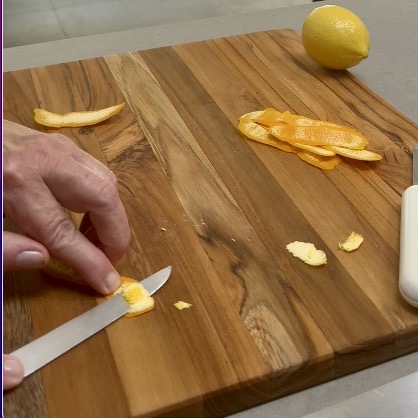
They’re gently cooked in olive oil with herbs and strips of orange and lemon zest. Citrus never appears anywhere else in the recipe, but somehow those potatoes brighten the whole dish. They soak up all that infused oil and pair beautifully with the fish and clams. Such a simple idea. I’ll definitely be making potatoes this way again.


The recipe called for cooking the fish sous vide.

I don’t own a sous vide machine… yet.

So I improvised.

I sealed the fish in freezer zip-top bags, heated a pot of water to 54°C, and stood there with my instant-read thermometer, keeping the temperature where it needed to be.

I wasn’t sure it was going to work.

When I cut into the fish, I was pleasantly surprised. It was beautifully tender, moist, and cooked just the way I had hoped.

I have to admit, I was pretty pleased with how it turned out.

I’ve always thought of myself as a little old-school when it comes to cooking, but after making this recipe, I can definitely see a sous vide machine finding its way into my kitchen one day.


The finished dish was everything I hoped it would be.

The fish was delicate. The roasted tomato sauce tasted of both the sea and the vegetables. The clams added their own sweetness, and those citrusy potatoes brought just enough heartiness to make the whole meal feel complete.

Cooking this recipe brought Porto back into my kitchen for an evening.
That’s one of the things I love most about my Cookbook Shelf. Every recipe lets me travel back to a place I’ve loved. I remember the people, the meals, and almost always learn something new along the way.

Food really does connect us all.

Bar de Ligne with Clams

Adapted from Portugal: The Best Fish in the World by Fátima Moura
Recipe by José Avillez
Serves 2


The Fish

Ingredients

1 whole bar de ligne (about 2 kg), gutted, scaled and filleted
Reserved citrus-infused olive oil

Method

Fillet the fish, leaving the skin on. Cut the fillets into 3-inch (7–8 cm) portions and refrigerate until ready to cook.

While the sauce, potatoes, and clams are finishing, bring a pot of water to 54°C.

Place the fish into freezer zip-top bags with a drizzle of the reserved citrus-infused olive oil. Seal the bags well, removing as much air as possible.

Cook the fish in the water bath for about 15 minutes, using an instant-read thermometer to keep the water at temperature.

Remove the fish from the bags and place it flesh-side down on a parchment-lined baking sheet. Broil until the skin is crisp.


Roasted Tomato Fish Sauce

Ingredients

Head and bones from the fish
1 large onion, quartered
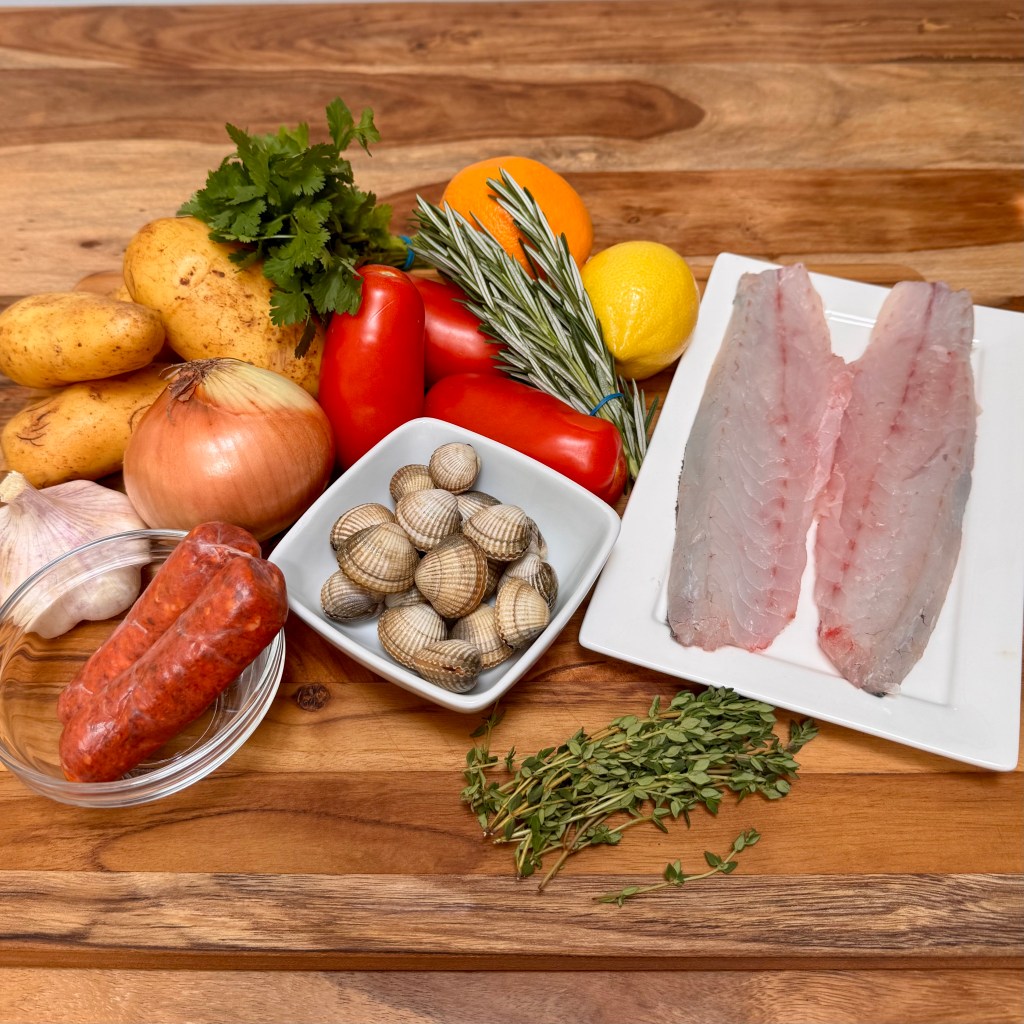
4 plum tomatoes
4 garlic cloves, crushed
2 fresh chorizo sausages, casing removed and crumbled
½ teaspoon coarse salt
1 cup olive oil
½ cup dry sherry

Method

Screenshot
Screenshot

Place all of the ingredients in a roasting pan.

Roast at 204°C (400°F) for 20–30 minutes, or until the vegetables are tender and the sherry has evaporated.

Remove and discard the fish head and bones. Allow everything to cool for about 15 minutes.

Reserve about ½ cup of the infused olive oil.

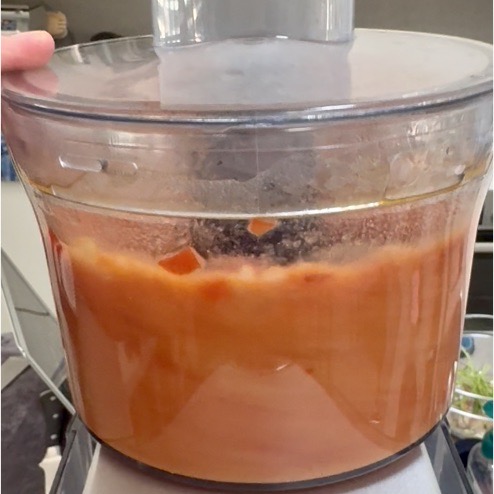
Transfer the vegetables to a food processor and purée until smooth.

Pass the sauce through a fine sieve into a saucepan and gently simmer until slightly thickened.


Citrus Potatoes

Screenshot
Screenshot

Ingredients

3–4 new potatoes
Zest of 1 orange, cut into strips
Zest of 1 lemon, cut into strips
3 garlic cloves, crushed
1 sprig rosemary
1 sprig thyme
Olive oil
Salt
1 teaspoon whole peppercorns

Method

Heat enough olive oil to generously coat the bottom of a sauté pan.

Add the potatoes, citrus zest, garlic, rosemary, thyme, peppercorns, and a light sprinkle of salt.

Cook over medium heat, turning occasionally, until the potatoes are browned on all sides and tender.

Reserve a little of the citrus-infused oil for finishing the dish.


Clams

Ingredients

500 g fresh clams
Olive oil
3 garlic cloves, thinly sliced
½ cup dry sherry
½ cup chopped cilantro

Method

Rinse the clams well to remove any sand.

Heat a little olive oil in a saucepan. Add the garlic and cook until fragrant.

Add the clams and the sherry. Once the sherry begins to reduce, stir in the cilantro and cover the pan.

Cook for 3–5 minutes, or until the clams open.

Remove most of the clams from their shells, leaving about eight in their shells for garnish.


Bringing it Together

Spread the roasted tomato sauce onto each plate.

Arrange the fish over the sauce, followed by the potatoes and clams.

Garnish with the reserved clams in their shells, drizzle with the reserved citrus-infused olive oil, and finish with fresh cilantro leaves.


From My Kitchen

  • I substituted bar de ligne for stone bass. It worked beautifully.
  • Roasting the fish head and bones instead of making a traditional fish stock created one of the most flavourful seafood sauces I’ve ever made.
  • The citrus potatoes were the biggest surprise. I’ll definitely use that technique again with other fish dishes.
  • I don’t own a sous vide machine, so I improvised with freezer zip-top bags and a carefully monitored 54°C water bath. I was pretty pleased with how it turned out.
  • Much of this recipe can be made ahead. I filleted the fish and made the sauce earlier in the day. Next time I’d make the sauce the day before.
  • This is a wonderful dinner for guests. Finish the potatoes, clams, and fish just before serving.
  • Will I make it again? Absolutely. It brought Porto back into my kitchen and taught me a few new techniques along the way.

Turkish Rack of Lamb with Imam Bayıldı

Recipe Below

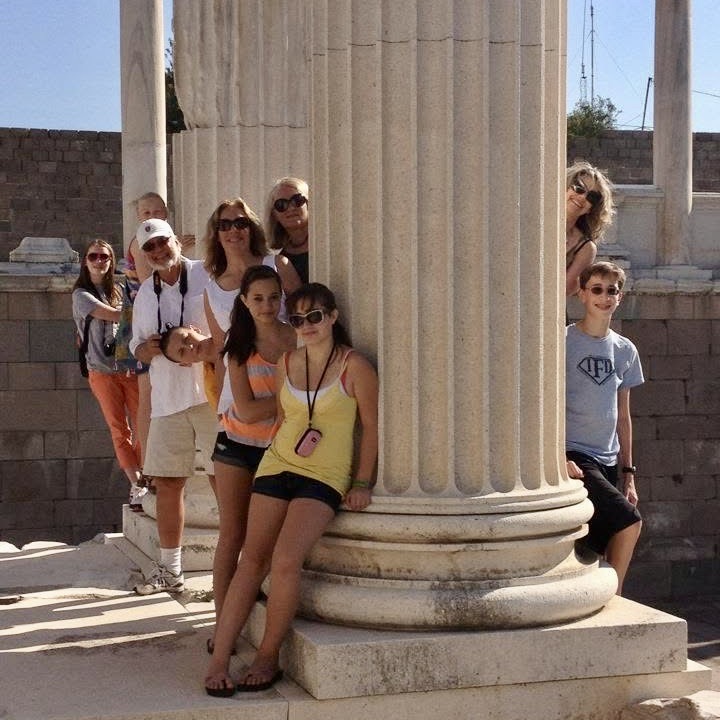
Turkey has stayed with me ever since I first visited years ago with my youngest son on an educational tour. I’ll pick up where I left off in my previous post. 

After a few unforgettable days exploring Old Istanbul, we climbed onto our tour bus and headed across western Turkey.

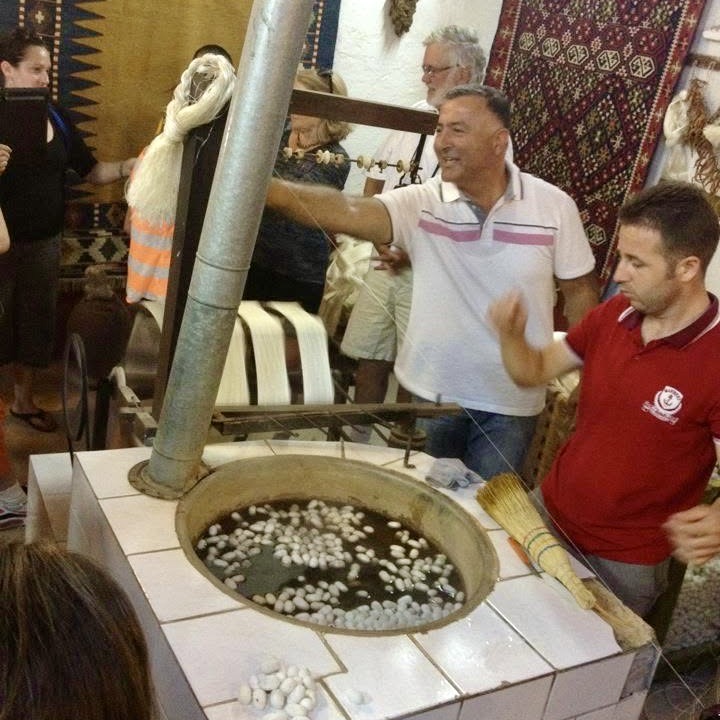
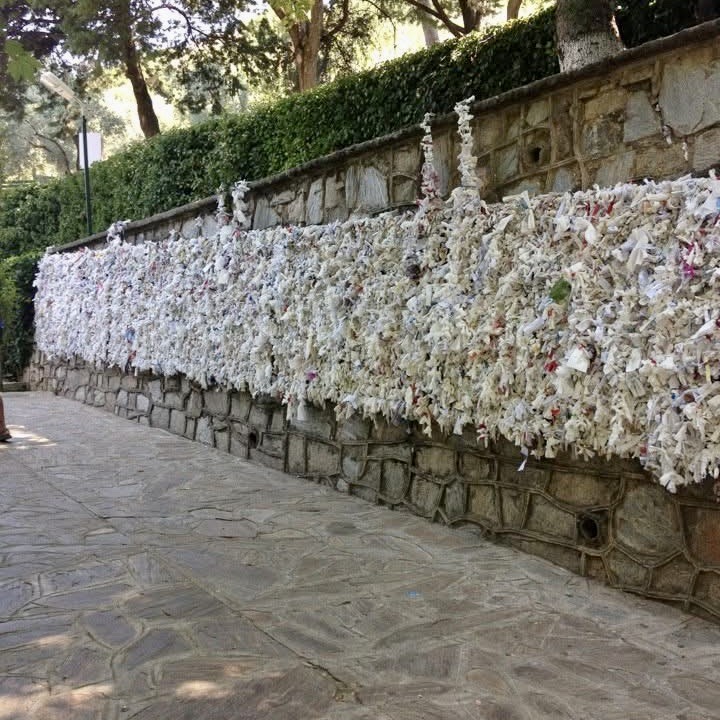
We visited the Acropolis of Pergamum, then stopped in Bergama where we learned how beautiful Turkish silk rugs are woven by hand. Watching the women weave each rug was fascinating. The patience, precision, and artistry that went into every piece were incredible. From there we continued on to Ephesus before visiting the House of the Virgin Mary.

Walking through Ephesus didn’t feel like visiting ruins. It felt alive. I could imagine what life had been like thousands of years ago, but more than that, I felt the place. Maybe that sounds a little strange, but it really did have an energy to it. And then there were the cats. They were everywhere. I remember thinking they looked like little guardians, quietly watching over the people who had once lived there.

From there we traveled to the coastal town of Kuşadası. One evening we were sitting out on our hotel balcony when we realized there was a wedding taking place below us. We spent the evening watching the ceremony, the music, the dancing, and all the celebrating. We hadn’t planned it. It was just one of those unexpected gifts that travel sometimes gives you.

And of course…there was the food.

Every meal seemed to introduce me to something new. Spices I’d never tasted. A different way of cooking vegetables. Fresh bread. Yogurt with almost everything. It was simple food that somehow had incredible depth of flavor.

Fast forward quite a few years.

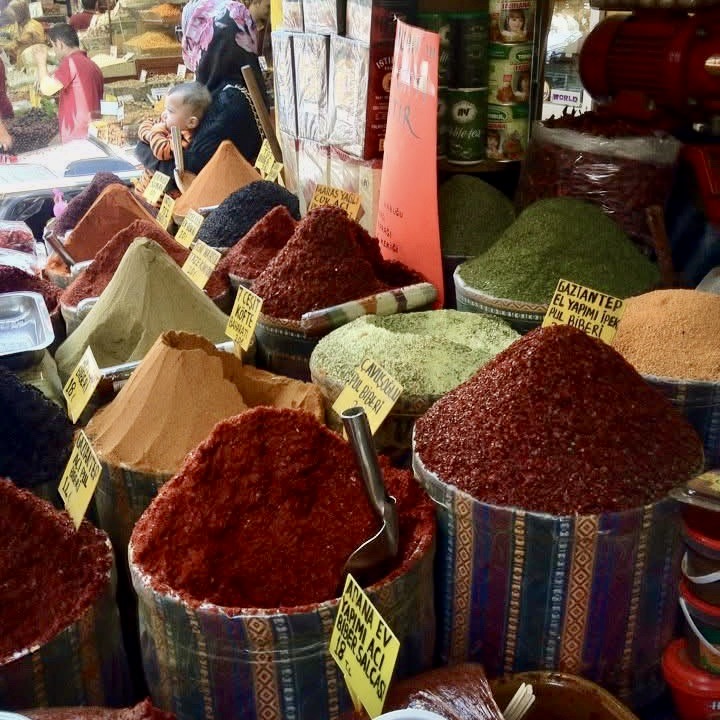
A few weeks ago I was wandering through The Spice House in Chicago. Sitting on the shelf was some Urfa Biber. I picked it up immediately because I already knew Turkey would be my next Cookbook Shelf adventure. It just felt like one of those little moments where life nudges you and says, “Yep…you’re on the right track.”

So this week I decided not to make just one recipe from Istanbul & Beyond. I wanted to build an entire meal.

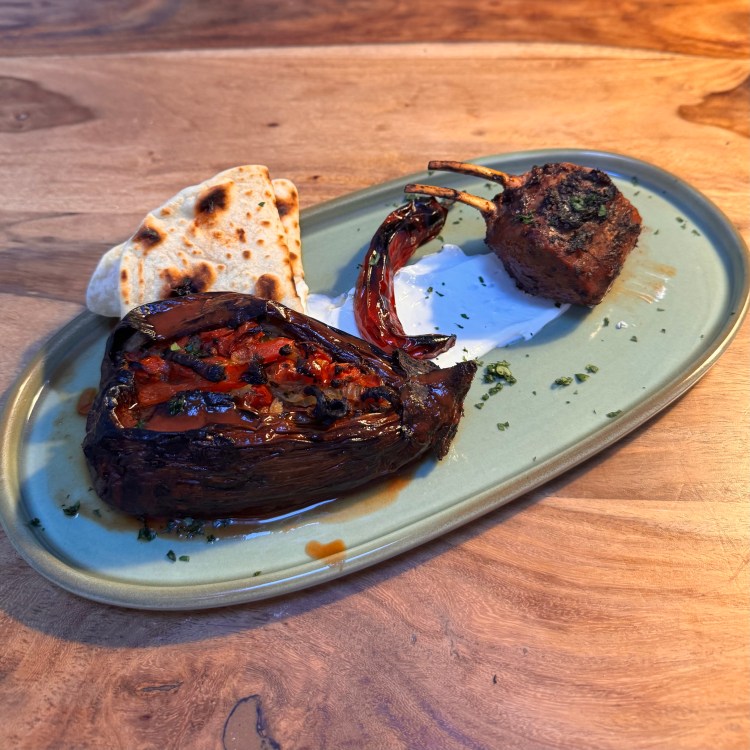
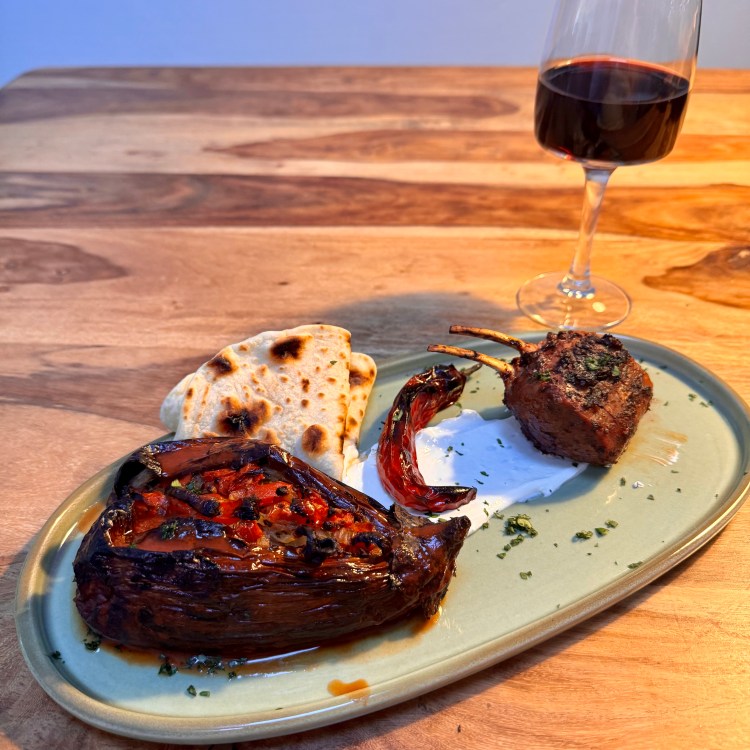
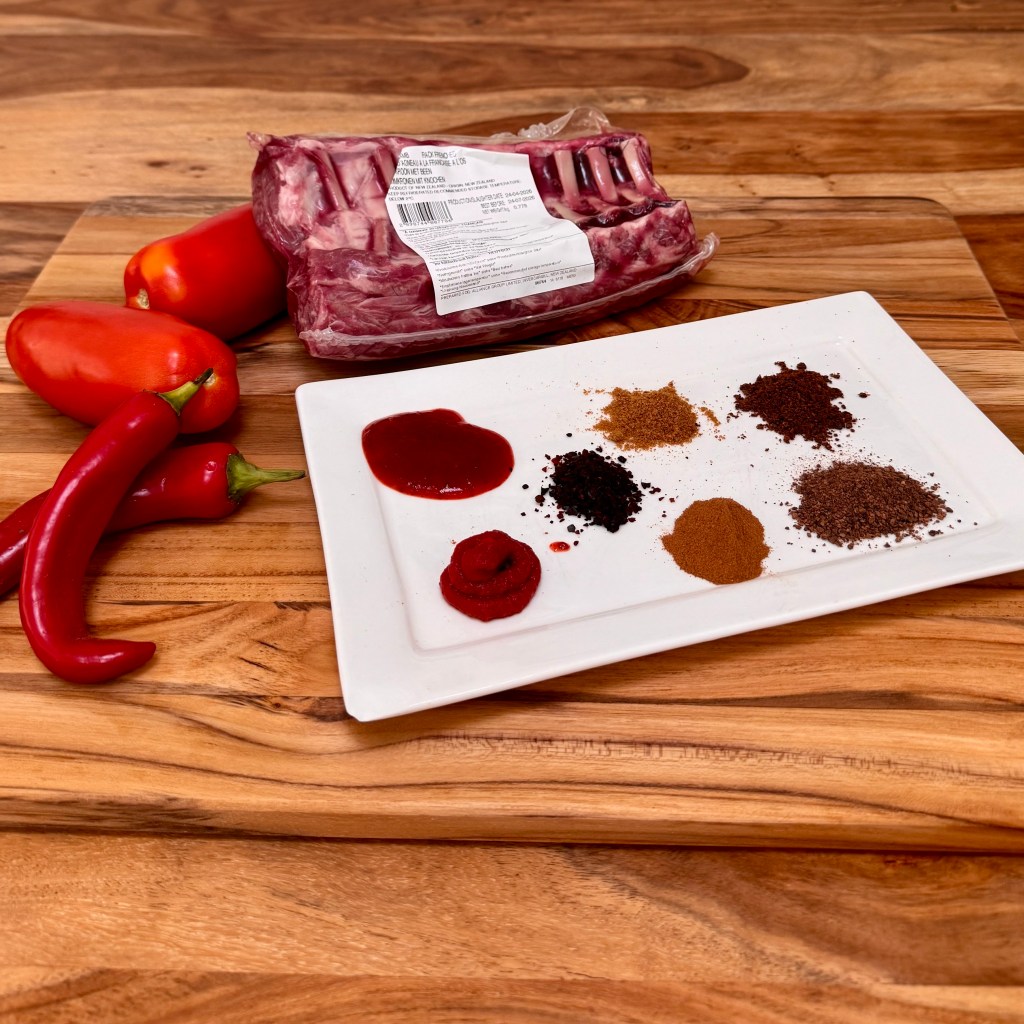
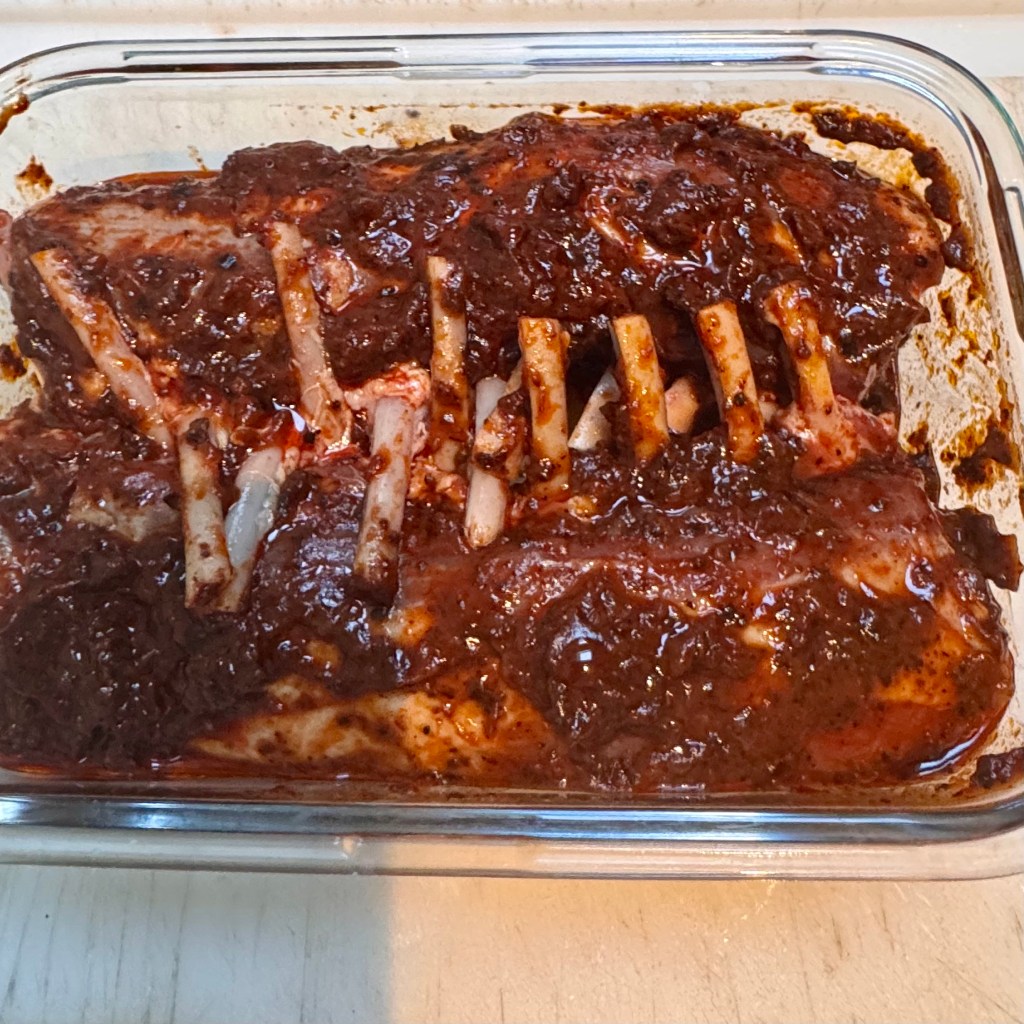
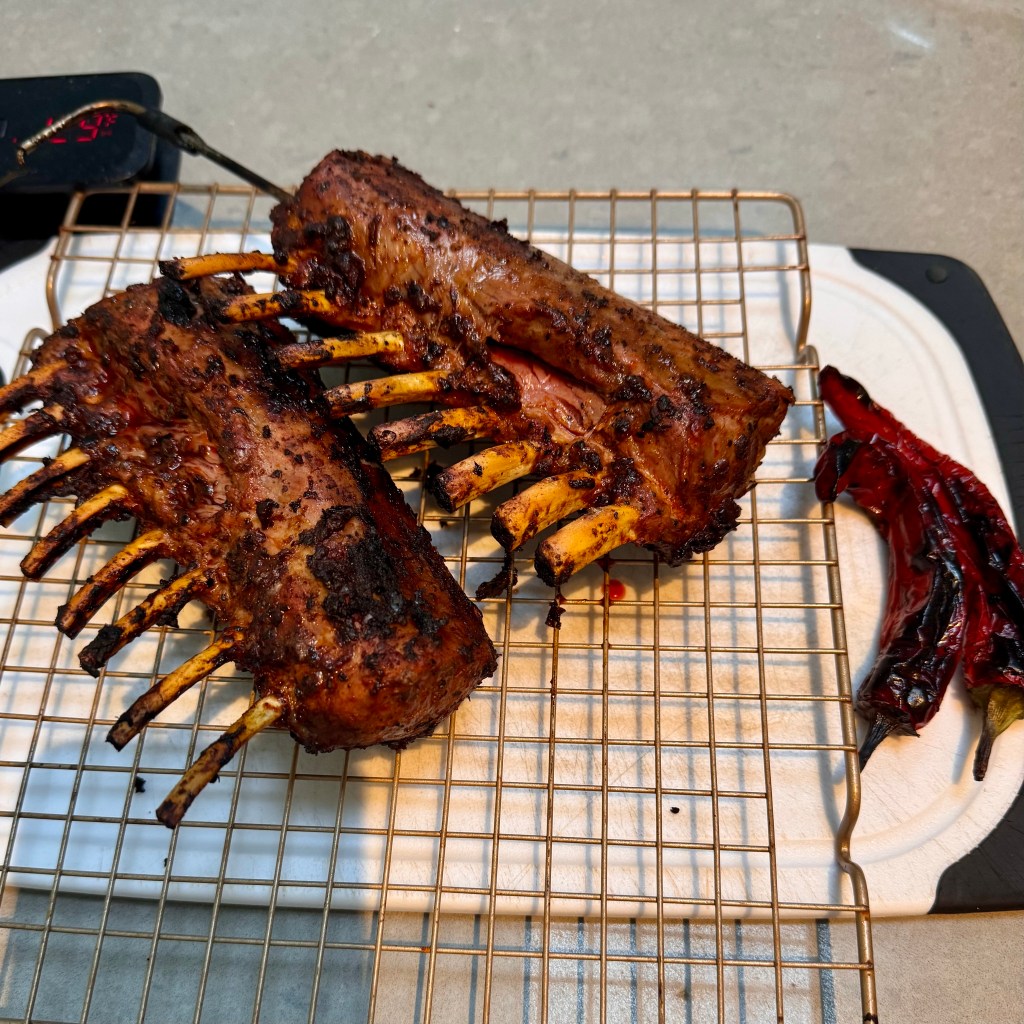
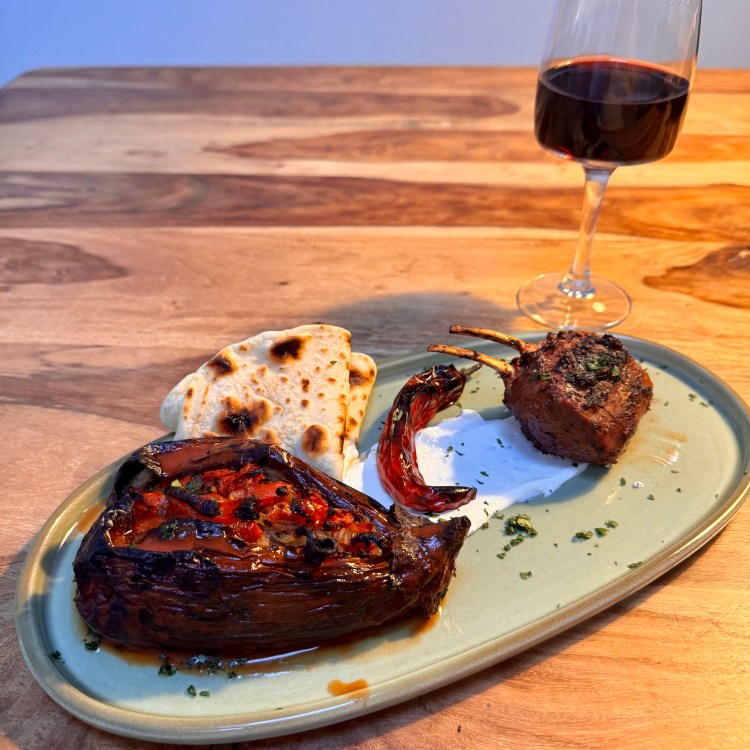
I started with The Imam Fainted baked eggplant, but it really felt like it wanted some company on the plate. So I flipped through the cookbook and landed on a recipe for pounded lamb chops. I borrowed the spice rub, rubbed it onto a rack of lamb the night before, and Paul grilled it on the Weber while I finished everything else.

Homemade lavash. Garlic yogurt. Charred peppers.

Somewhere in the middle of cooking, I realized I wasn’t just thinking about the places we’d visited. I was remembering the people. That wedding in Kuşadası. Our guide. The calls to prayer drifting across the city. Sitting down together at the end of each day and wondering what we’d be eating next.

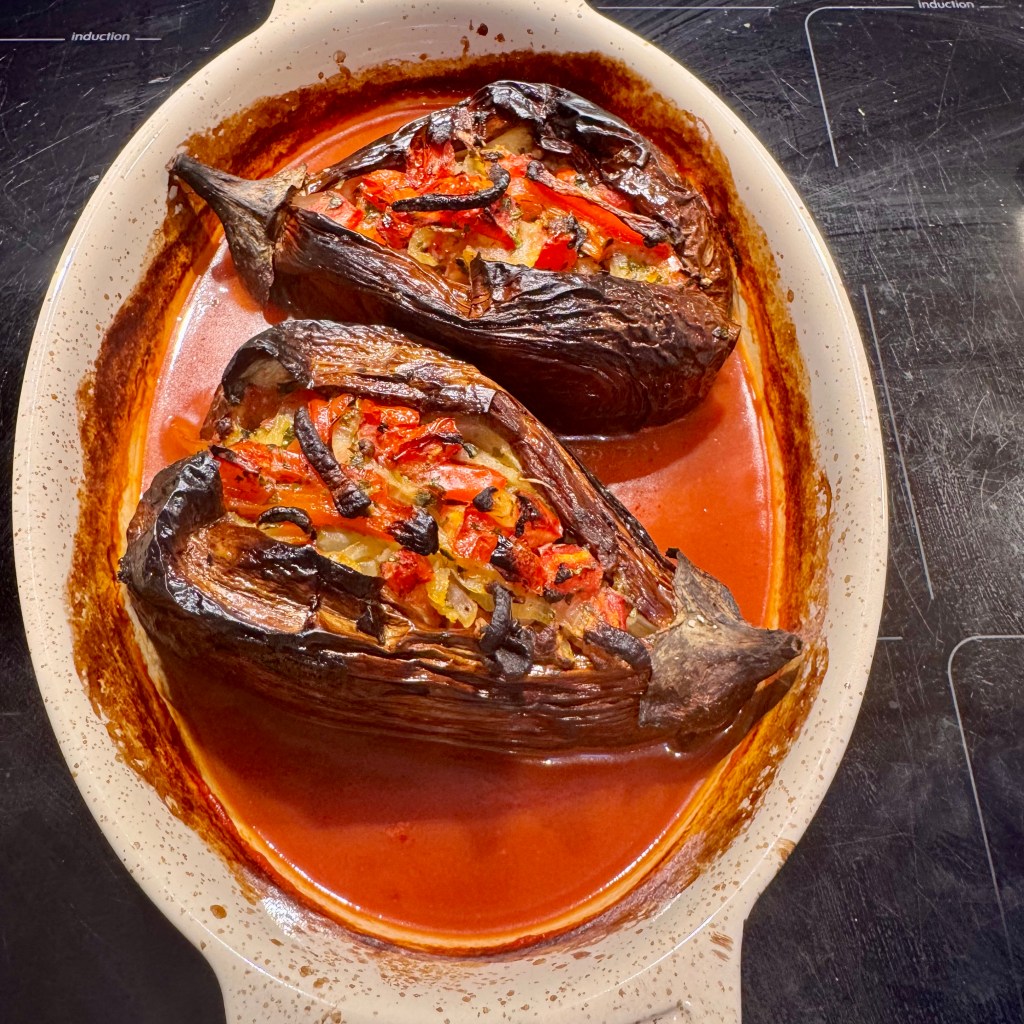
The funny thing is, the eggplant completely stole the show.

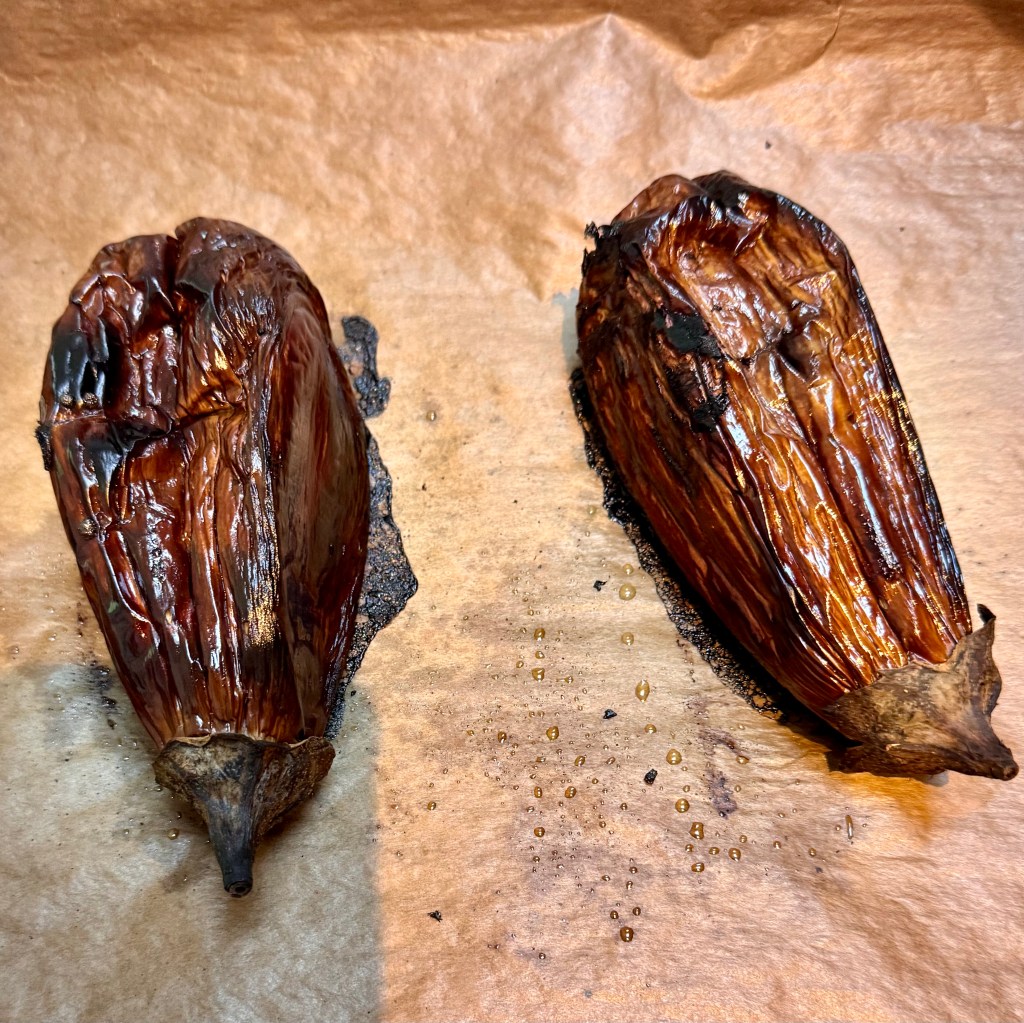
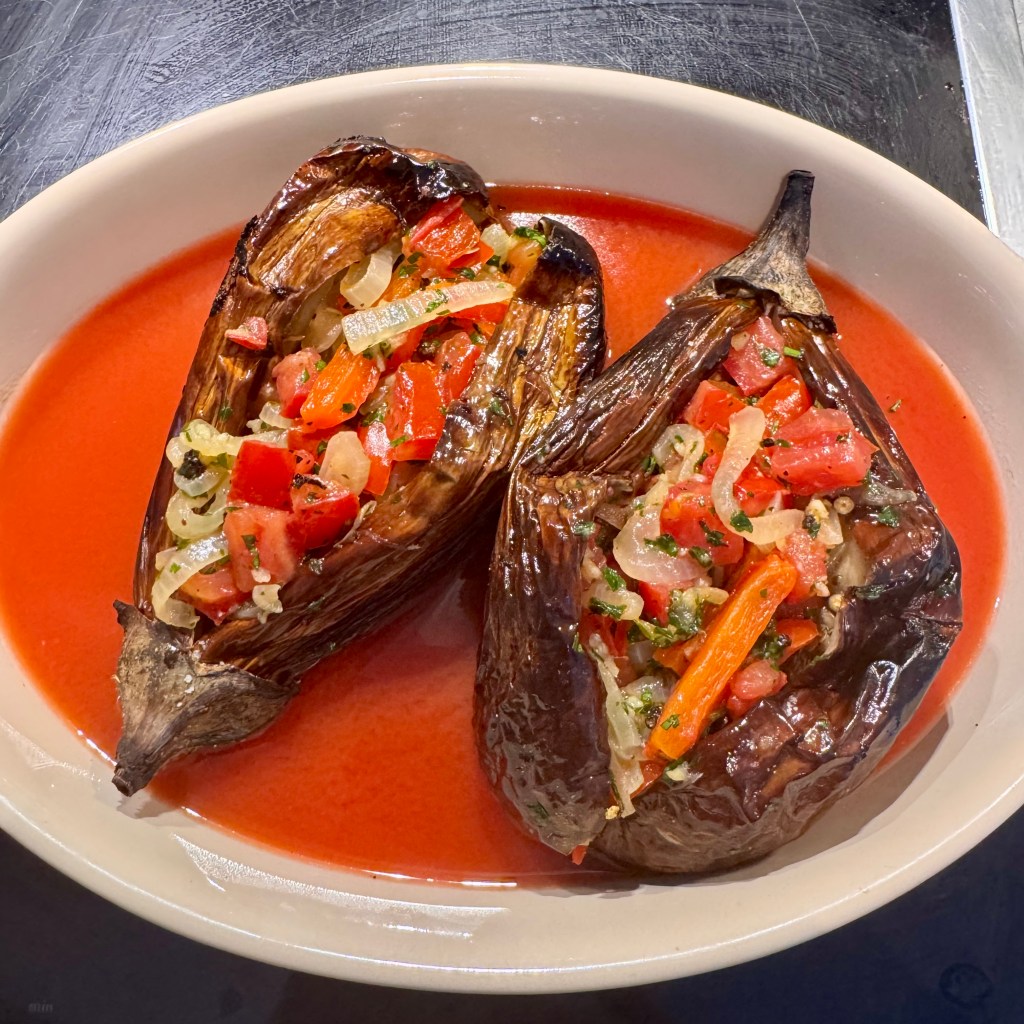
I used Edirne eggplants because they’re sweeter and creamier than the globe eggplants we usually see. I wasn’t disappointed. They bake down until they’re silky soft, and once they’re stuffed with slowly cooked onions, peppers, tomatoes, and herbs, they’re almost impossible to stop eating.

Honestly, forget the knife and fork. Scoop some onto warm lavash, add a swipe of garlic yogurt, and enjoy.

The lamb had that wonderful smoky, slightly spicy crust from the rub, and somehow everything just worked together. Sweet. Smoky. Creamy. Cool yogurt. Warm bread.

One of the things I’ve noticed since starting Cookbook Shelf is that I rarely cook just one recipe anymore. One recipe turns into two. Then another one catches my eye. Before I know it, I’m planning an entire meal because I want to understand how all the pieces fit together.

That’s probably my favorite part of cooking this way.

Years after leaving Turkey, one little packet of Urfa Biber sitting on a shelf in Chicago somehow brought me right back.

That’s one of the things I’m discovering with the Cookbook Shelf. A recipe isn’t just dinner. Sometimes it’s a place. Sometimes it’s a person. Sometimes it’s a memory you didn’t even realize was waiting for you.

Food has a funny way of doing that.

One cookbook, one recipe, and one memory at a time.

Turkish Rack of Lamb with Imam Bayıldı

Serves 4

Ingredients

Lamb

2 racks of lamb

Spice Rub

3 tbsp red pepper paste
2 tbsp tomato paste
2 tbsp Urfa Biber pepper flakes
1/2 tsp ground allspice
1/2 tsp ground cumin
1/4 tsp ground cloves
1/8 tsp ground cinnamon
1 tbsp olive oil
4–6 long red chili peppers (optional)

Method

Trim the racks of lamb, removing any silver skin. Pat dry and, using a sharp knife, make several shallow cuts across the meat.

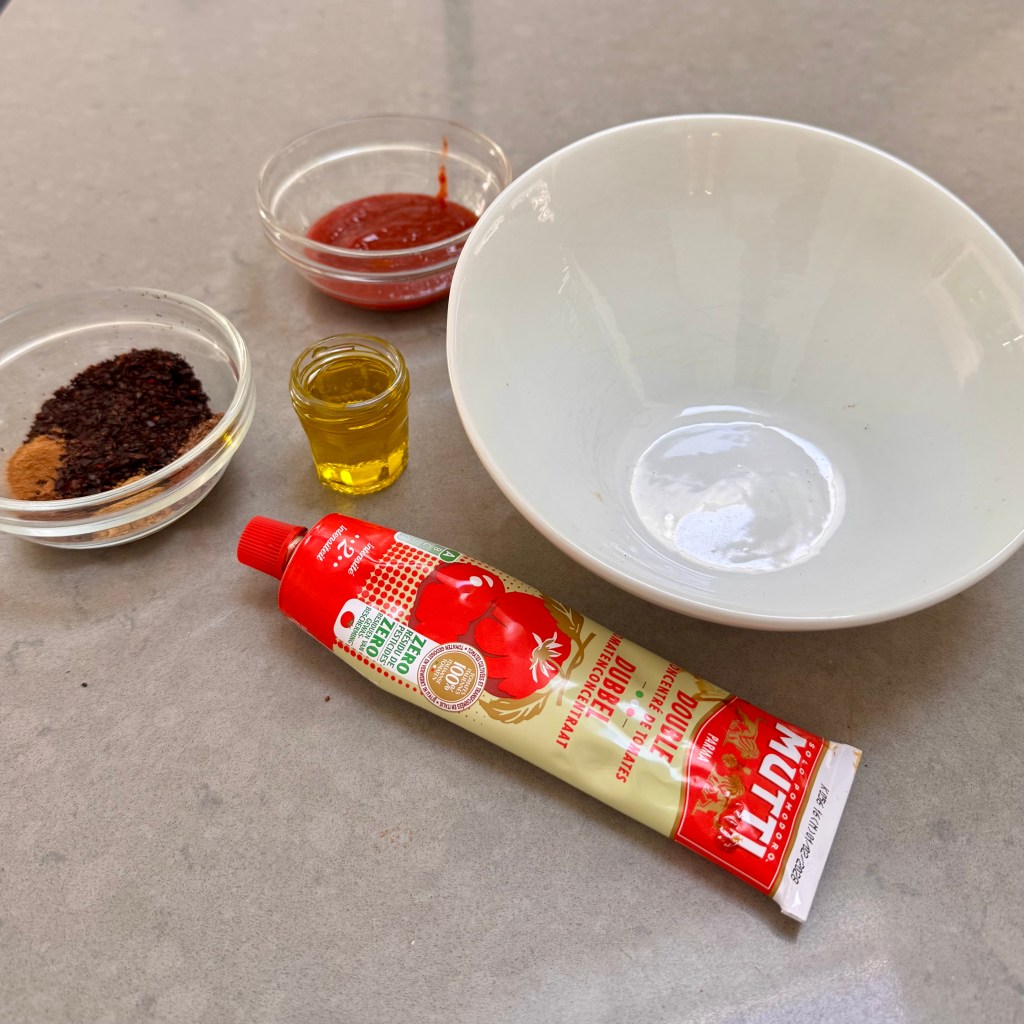
In a small bowl, combine the red pepper paste, tomato paste, Urfa Biber, allspice, cumin, cloves, cinnamon, and olive oil. Rub the mixture all over the lamb, working it into the cuts. Cover and refrigerate overnight.

The next day, remove the lamb from the refrigerator and let it come to room temperature, about 45 minutes to 1 hour.

Preheat the grill. Wipe off any large pieces of the spice paste so they don’t burn. Grill the lamb, turning to sear all sides, until the internal temperature reaches 118–120°F (48–49°C) for medium-rare. If using the red chili peppers, grill them alongside the lamb until lightly charred.

Transfer the lamb to a cutting board and let it rest for about 15 minutes. The temperature will continue to rise about 5 degrees, finishing around 125°F (52°C) for medium-rare.

Slice into two-rib portions and serve with the Imam Bayıldı, grilled peppers, warm lavash, and garlic yogurt.

Note: I adapted the spice rub from the cookbook’s Pounded Lamb Chops recipe and used it on a rack of lamb.


İmam Bayıldı (The Imam Fainted)

Serves 4

Ingredients

4 small Edirne eggplants
3 medium onions, thinly sliced
Olive oil
1/4 cup water
1 red bell pepper, thinly sliced
4 garlic cloves, minced
2 plum tomatoes, seeded and diced
1/3 cup flat-leaf parsley, finely chopped
1/4 tsp freshly ground black pepper

Tomato Sauce

2 tbsp tomato paste
1 1/4 cups boiling water

Method

Preheat the oven to 375°F (190°C).

Prick the eggplants all over with a fork. Rub lightly with olive oil and place on a parchment-lined baking sheet. Roast for about 45 minutes, or until nicely browned and very soft.

Increase the oven temperature to 425°F (220°C).

Meanwhile, prepare the filling.

Place the sliced onions in a large sauté pan with two generous pinches of salt. Using your hands, gently massage the salt into the onions until they begin to soften.

Add a generous drizzle of olive oil and the water. Cook over medium-low heat for about 5 minutes.

Add the sliced red pepper and garlic. Continue cooking, stirring occasionally, until the onions and peppers are very soft but not mushy, about 30 minutes.

Stir in the tomatoes and parsley. Cook just until the parsley turns bright green, then remove from the heat.

For the sauce, whisk together the tomato paste and boiling water until smooth.

Using a knife, carefully slit each eggplant from stem to tip without cutting all the way through. Gently press the flesh apart to create a pocket.

Divide the onion mixture evenly among the eggplants.

Arrange the stuffed eggplants in a shallow baking dish. Pour the tomato sauce around the eggplants, not over the tops.

Bake for about 30 minutes, until the filling is lightly charred and the sauce has reduced and thickened.

Let the eggplants rest for about 20 minutes before serving.

To serve: Place the eggplant on the plate with slices of the grilled lamb, warm lavash, garlic yogurt, and the charred peppers. Spoon some of the tomato sauce around the eggplant before serving.

Afiyet olsun! (Enjoy your meal!)

Meatballs with Pumpkin & Spice Butter

Recipe Below

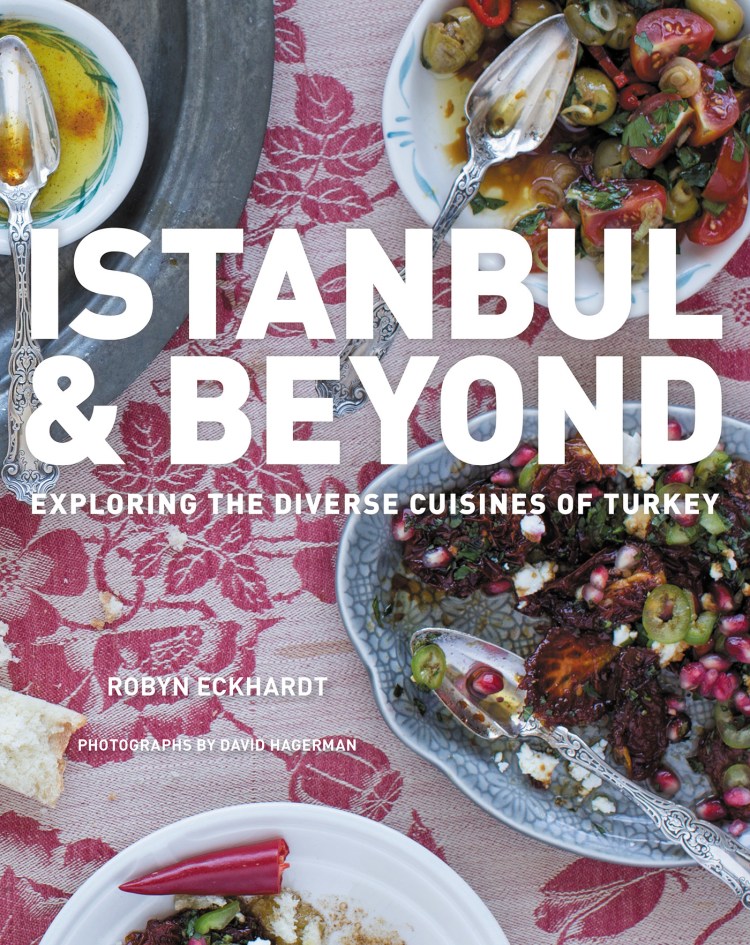
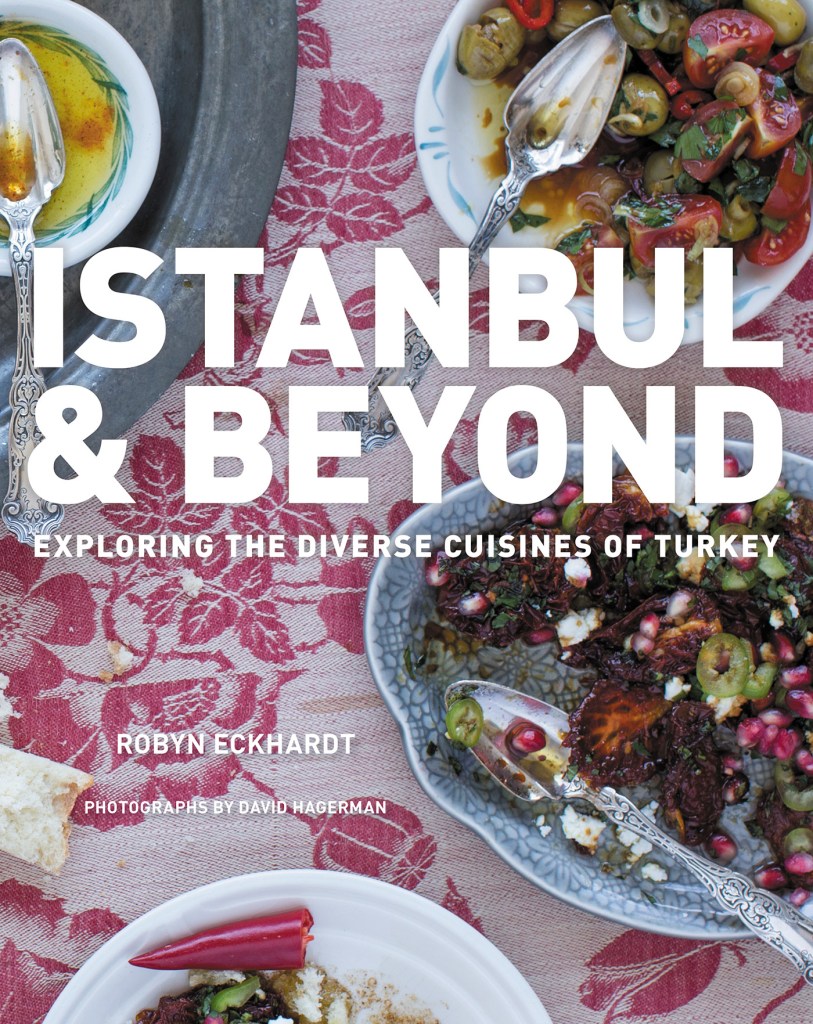
From Istanbul & Beyond: Exploring the Diverse Cuisines of Turkey by Robyn Eckhardt

Years ago, I traveled to Turkey with my youngest son on an educational tour organized by his middle school teacher. There were ten of us altogether; six teenagers and four chaperones; and it remains one of the most memorable trips I’ve ever taken.

We began in Istanbul, staying in a boutique hotel in the heart of the old city. During the day we explored Old Istanbul. As part of the educational tour, we had a guide who led us to each place. Our guide shared the history of Turkey with such knowledge and pride that every street, monument, and neighborhood seemed to come alive. At night, I fell asleep listening to the calls to prayer drifting from the nearby mosques. It was an experience I carry with me to this day, and I can almost hear the soothing sound of it.

I fell in love with old Istanbul. It’s vibrant, welcoming, and full of life. We visited incredible places like the Blue Mosque and the Kariye Mosque, wandered through the Grand Bazaar, and spent an afternoon at the Çemberlitaş Hammam experiencing a traditional Turkish bath.

The Grand Bazaar was completely my kind of place. Stall after stall was filled with clothing, jewelry, ceramics, spices, teas, sweets, and every kind of treasure imaginable. I could have spent days wandering through it all.

Of course, one of the highlights was the food. That was my first real introduction to Turkish cuisine, and I was captivated. The spices, the array of fresh fruit and vegetables, the simple presentations, and the incredible depth of flavor left a lasting impression on me.

Making these Meatballs with Pumpkin & Spice Butter immediately brought me back to those memories. As I cooked, I reflected on my memories of Turkey and that trip. Remembering that trip with my son while making this meal made the experience even more meaningful. Sharing that adventure with him remains one of my most cherished memories. Food really does have a way of connecting us all.

It also felt like everything came full circle. One of the featured spices in this recipe is Urfa biber, a smoky Turkish pepper that I recently brought home after visiting The Spice House in Chicago. A spice that first became part of my travels through Turkey eventually found its way into my suitcase from Chicago and now into my kitchen in Luxembourg. Most of the cooking I do somehow connects to a cherished story.

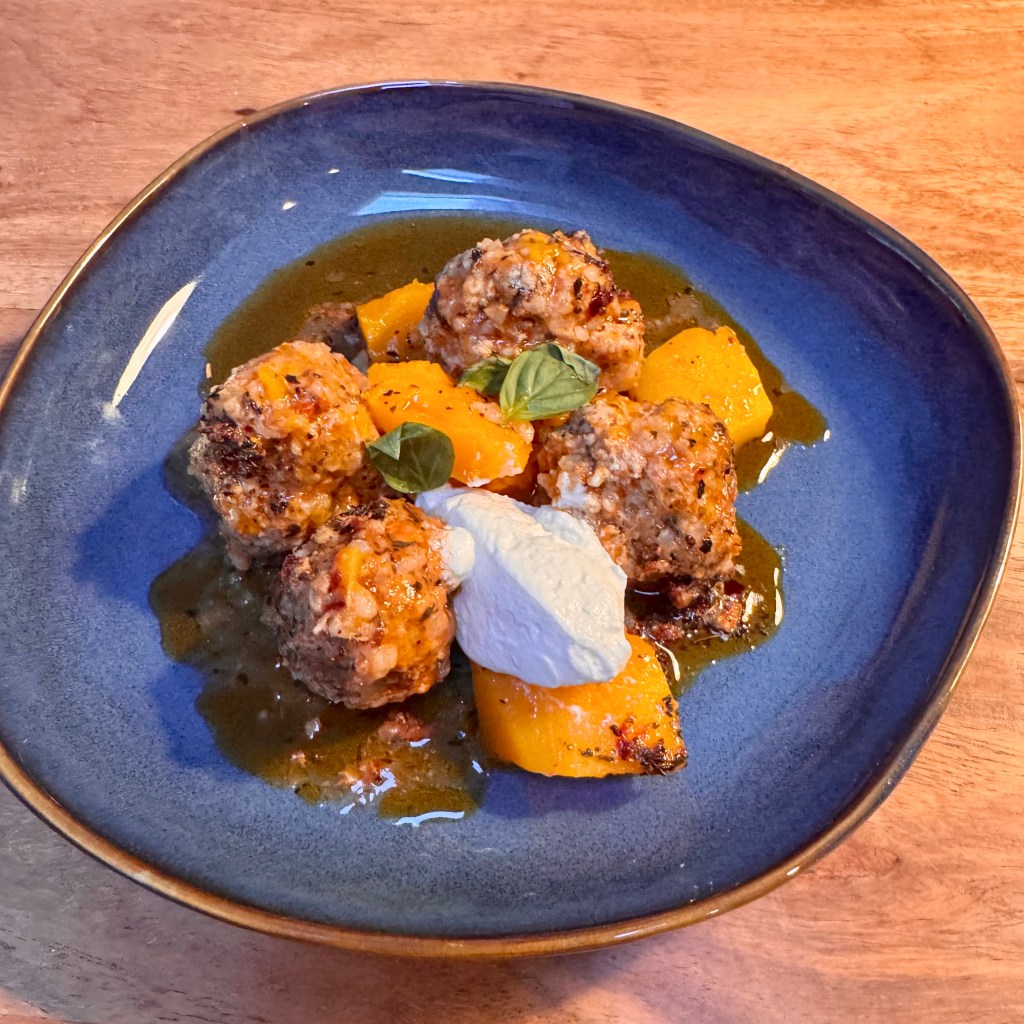
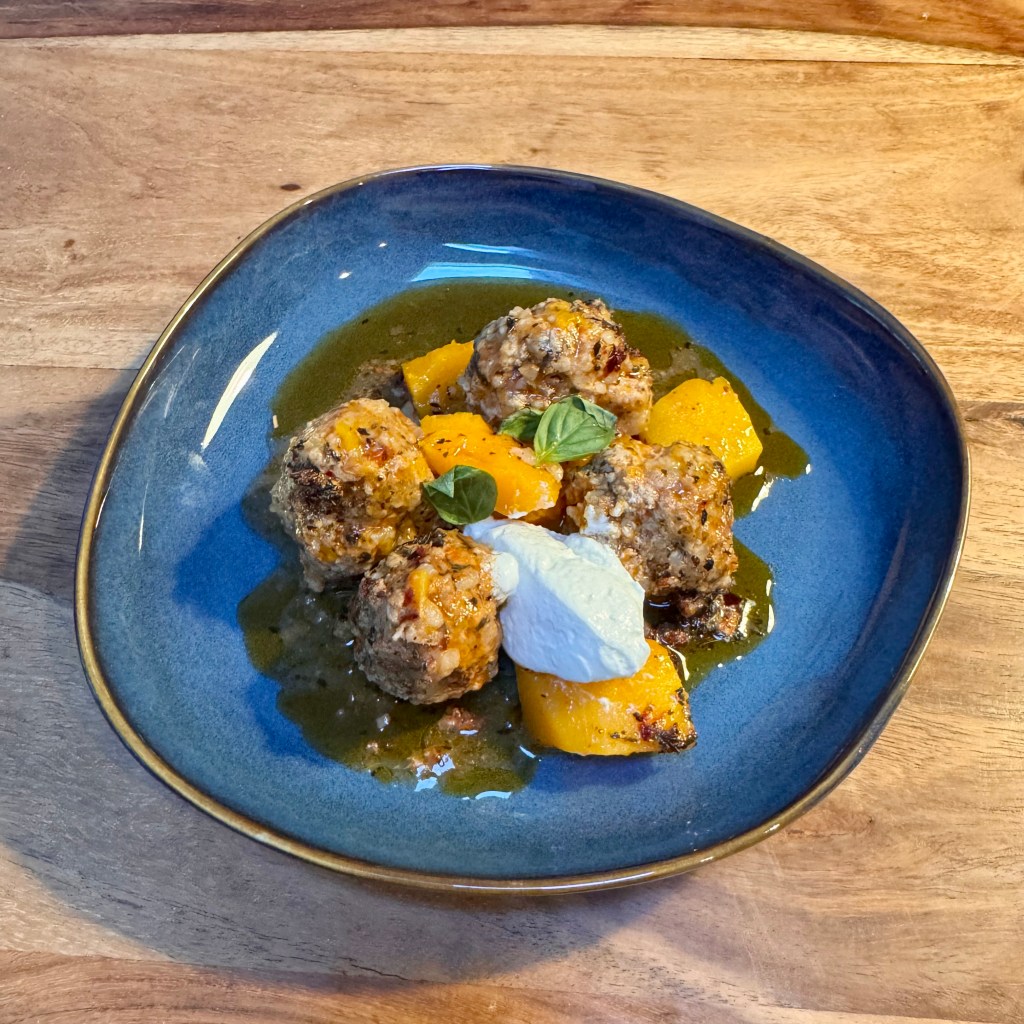
For my version, I used two small Japanese pumpkins. I love them for their creamy texture and naturally buttery flavor, and they paired beautifully with the warm spices in the dish.

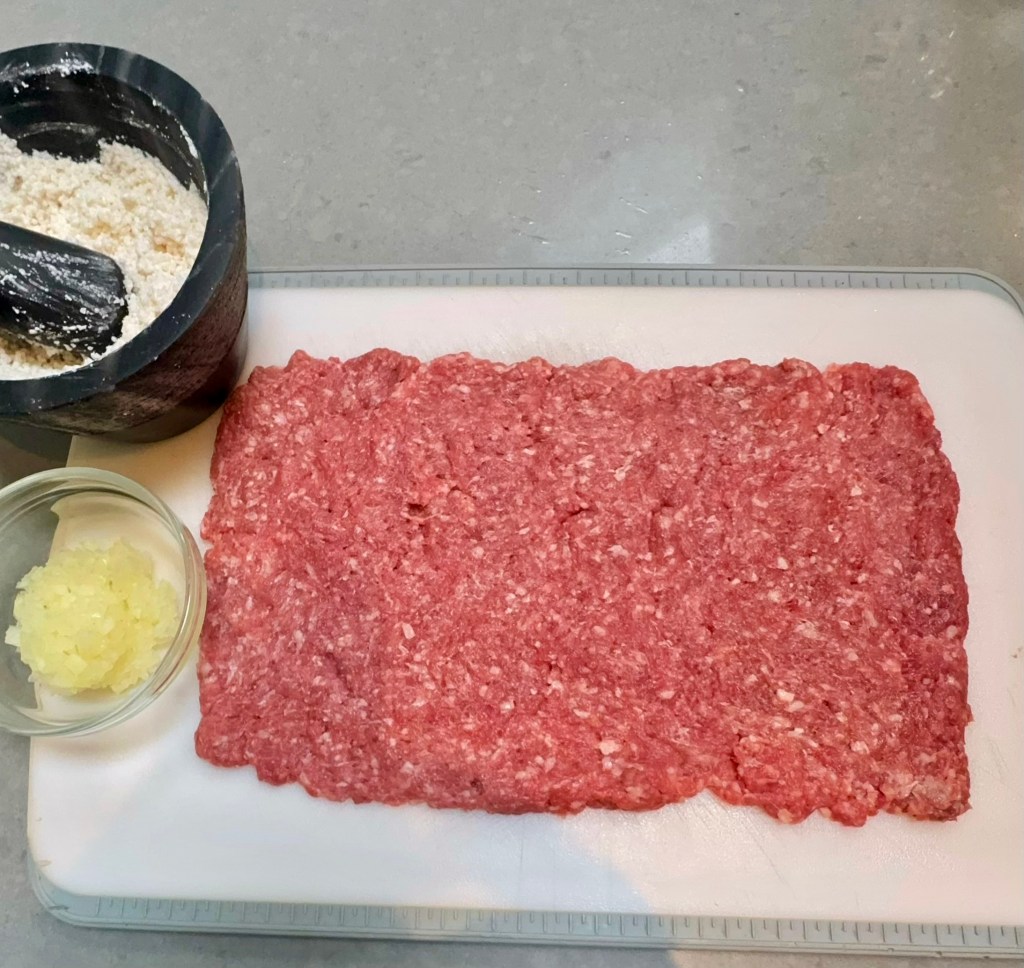
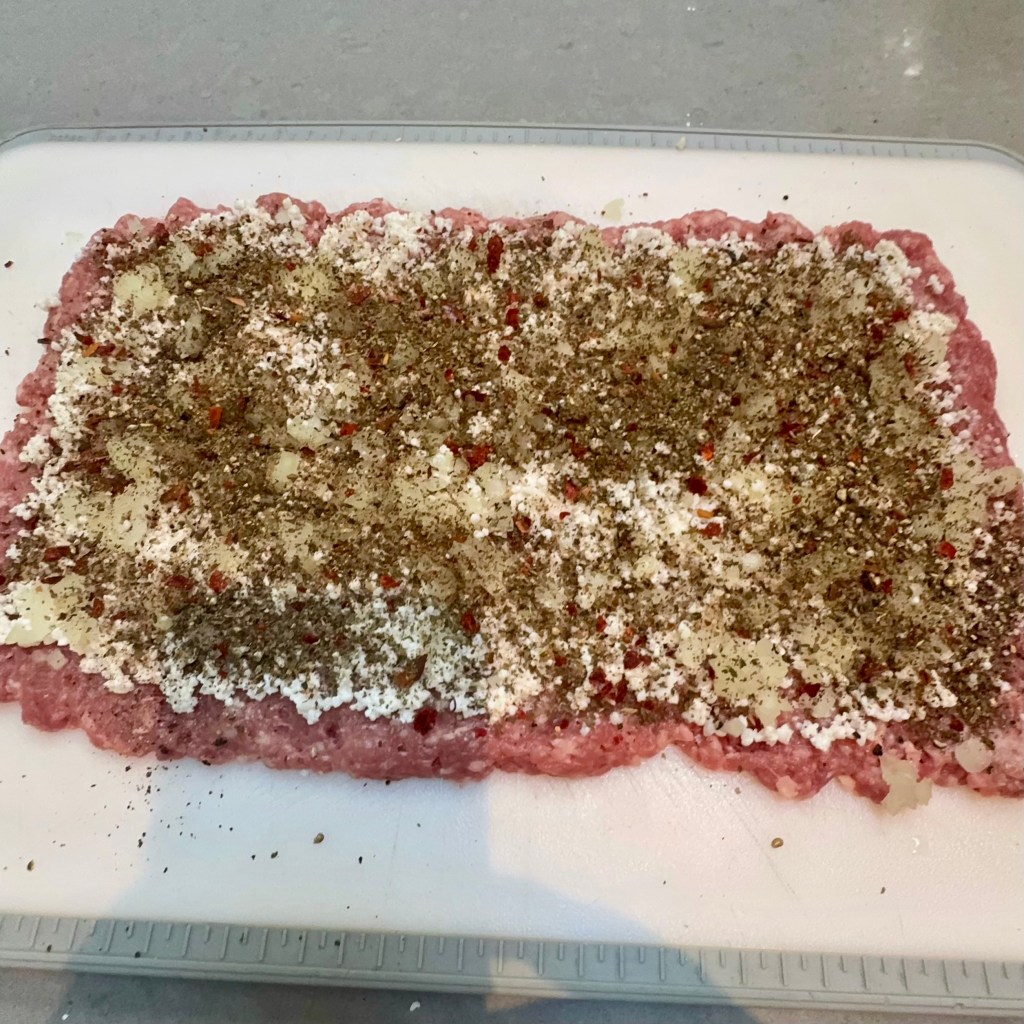
One technique, in particular, really stood out to me. Instead of mixing everything together by hand in a bowl, the ground meat is spread into a thin layer, then topped with the ground rice, onion, herbs, and spices before everything is chopped and folded together with a knife.

I’ve made countless meatballs over the years, always combining everything by hand, but this method was completely new to me. To my surprise, it produced some of the lightest, fluffiest, and most tender meatballs I’ve ever made. It’s a technique I’ll definitely use again.

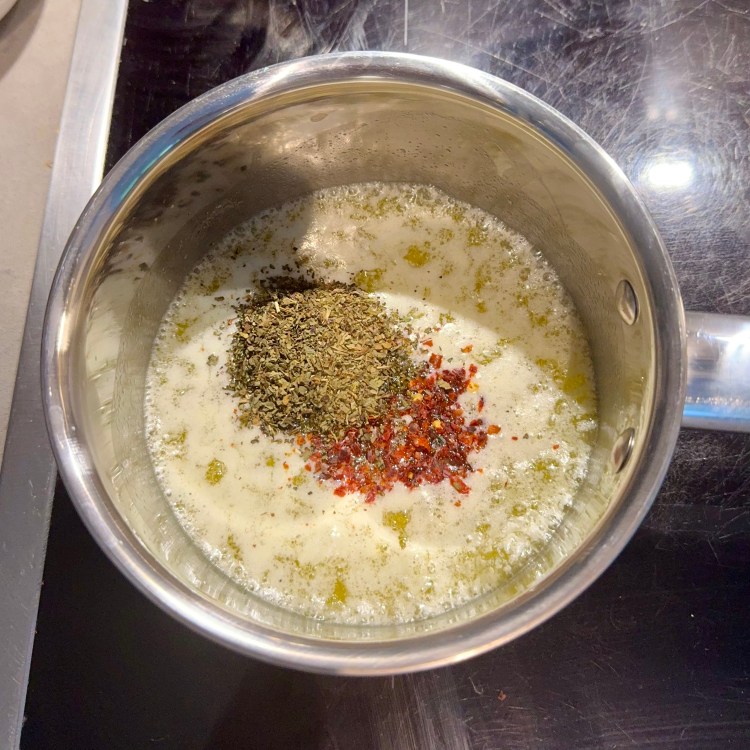
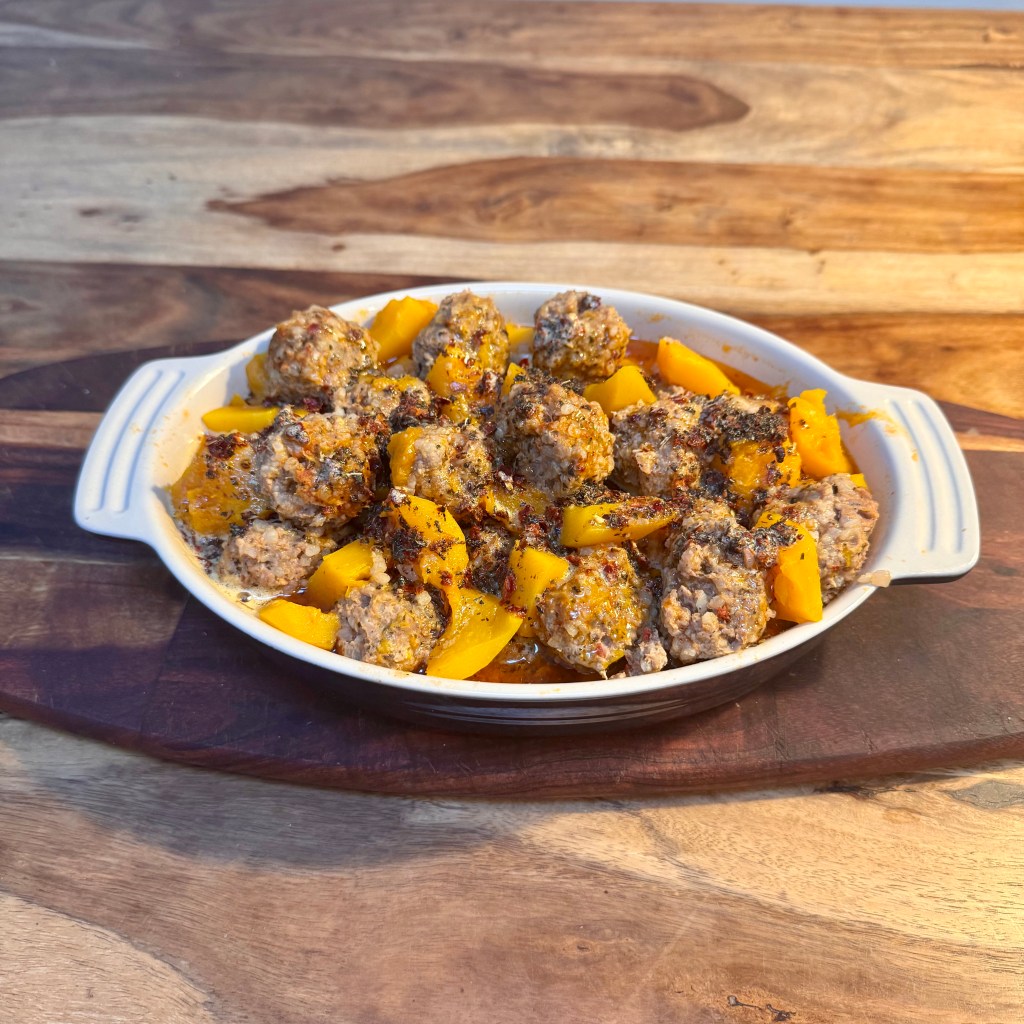
The final touch is the browned spice butter drizzled over the roasted pumpkin and meatballs. It was absolutely sublime. The butter carried the flavors of the mint, Aleppo pepper, and Urfa biber, adding just the right finishing touch to bring the entire dish together.

This dish was comforting, full of flavor, and just a little different from what I usually make. More than that, it reminded me why I love cooking from the cookbooks I bring home from my travels. Every recipe has the potential to transport me back to a place, reconnect me with a memory, and create a few new ones along the way.

I hope you’ll give this one a try and enjoy it as much as I did.

Meatballs with Pumpkin and Spice Butter

Here’s my adapted version of the recipe I made at home.

Serves 4

Ingredients

For the Meatballs

1/2 cup baldo rice
1 lb ground lamb
1/4 cup onion, minced
2 tsp coarsely ground black pepper
1 tsp sea salt
1 tsp ground Urfa biber
1 tbsp dried basil
1 whole star anise, finely ground

For the Pumpkin

2 lbs Japanese pumpkin, peeled, seeded, and cut into bite-sized pieces
1/4 tsp sea salt
1 1/2 tbsp tomato paste
1 1/2 cups boiling water

For the Spice Butter

4 tbsp unsalted butter
1 1/2 tsp ground Urfa biber
1 1/2 tsp dried basil
1/2 tsp ground star anise

For Serving

Garlic yogurt

Method

Prepare the Meatballs

Place the rice in a bowl and cover with water. Stir well, then drain through a sieve. Repeat until the water runs clear. Cover the rice again with room-temperature water and let it soak for 1 1/2 hours.

Combine the salt, pepper, dried basil, ground Urfa biber, and ground star anise in a small bowl.

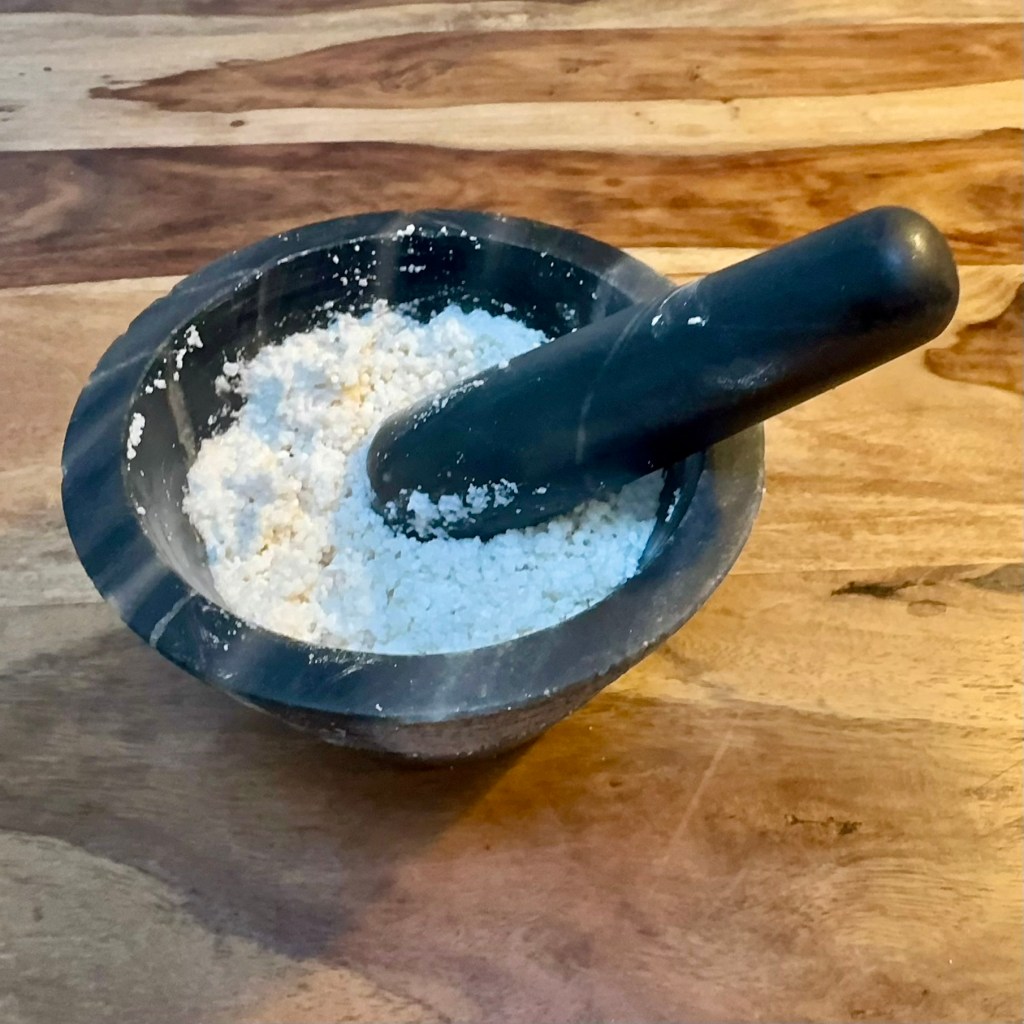
Drain the rice and grind it in a mortar and pestle until it resembles the texture of kosher salt.

Spread the ground lamb into a thin rectangle on a cutting board. Evenly scatter the ground rice over the meat, followed by the minced onion and the herb and spice mixture.

Using a chef’s knife, chop across the rectangle from top to bottom. Turn the cutting board so the short side faces you and chop across the meat again. Return the board to its original position and use the knife to fold one side of the meat toward the center, then fold the opposite side over it. Repeat the chopping and folding process until the ingredients are evenly incorporated.

Transfer the mixture to a bowl. Using your hands, lightly roll the mixture into meatballs. You should have about 26 meatballs.

Cook the Meatballs and Pumpkin

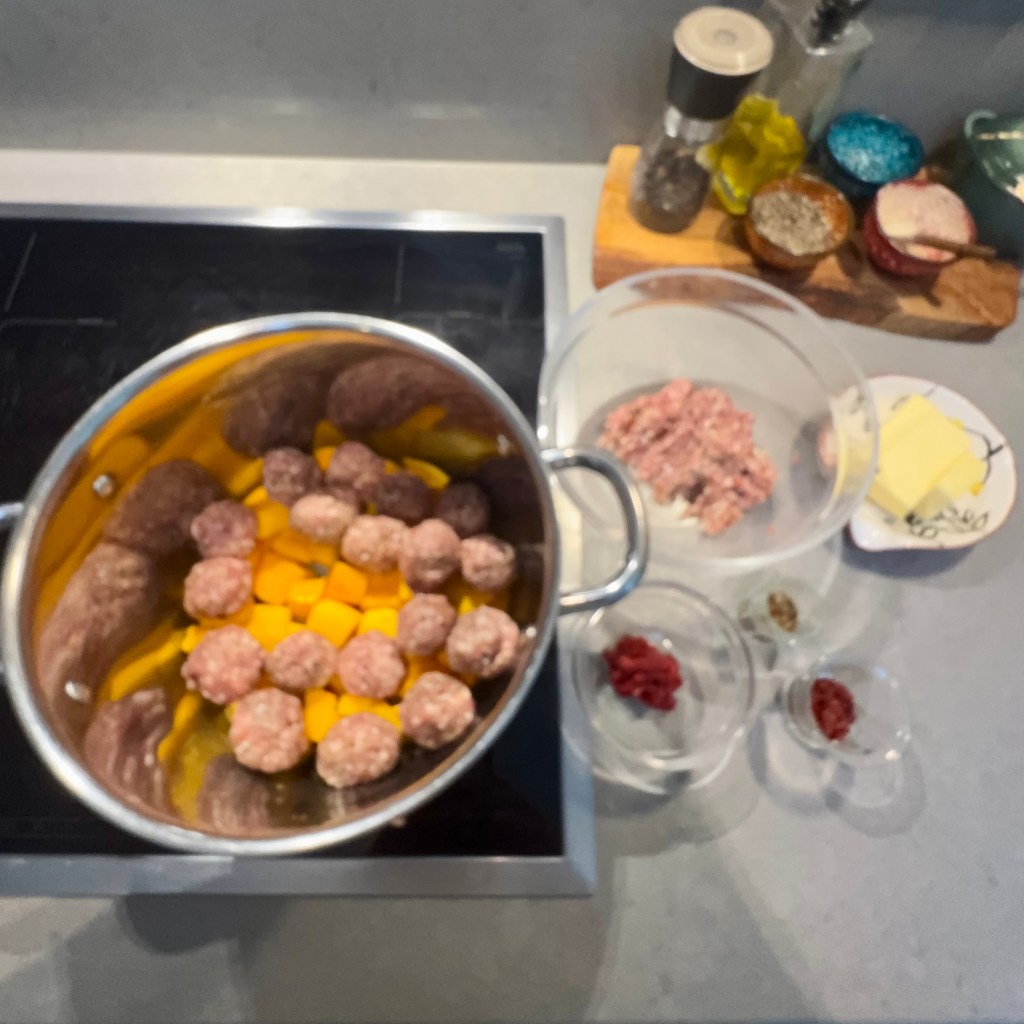
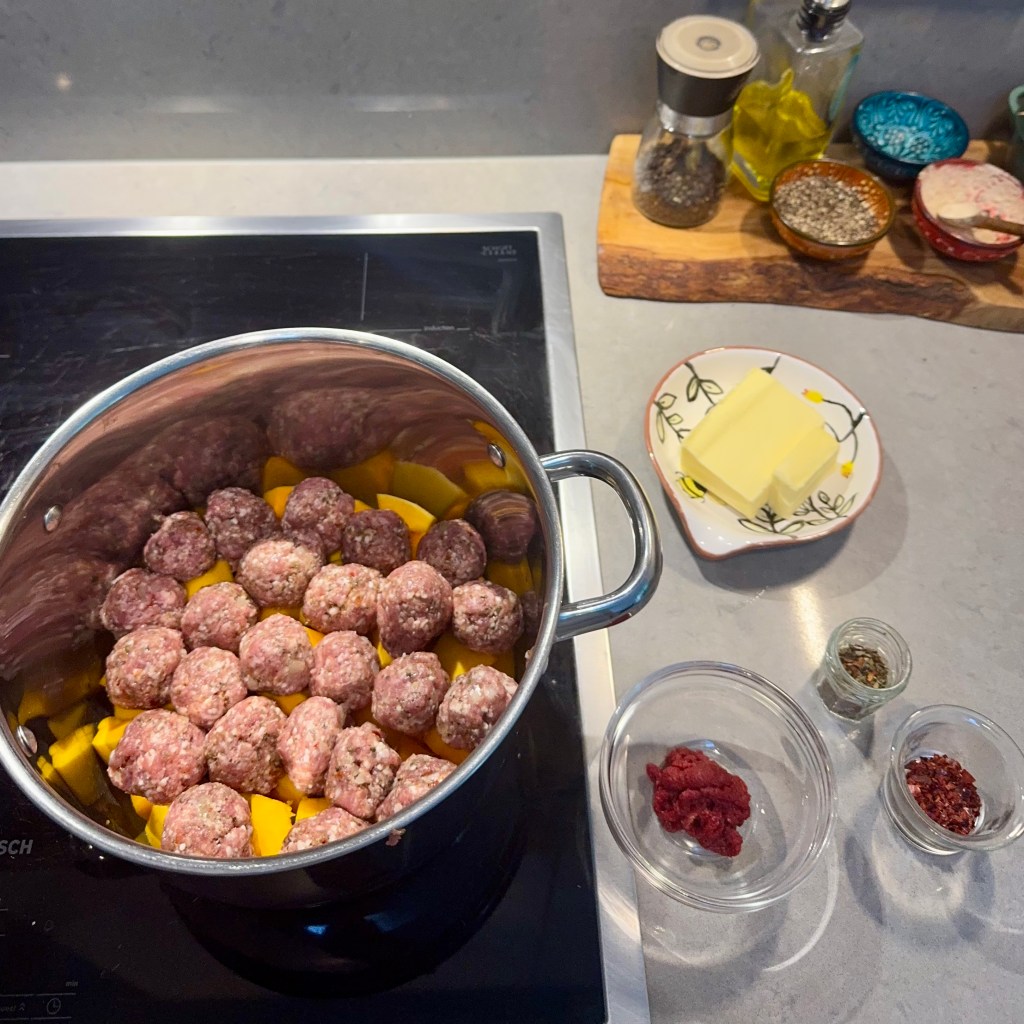
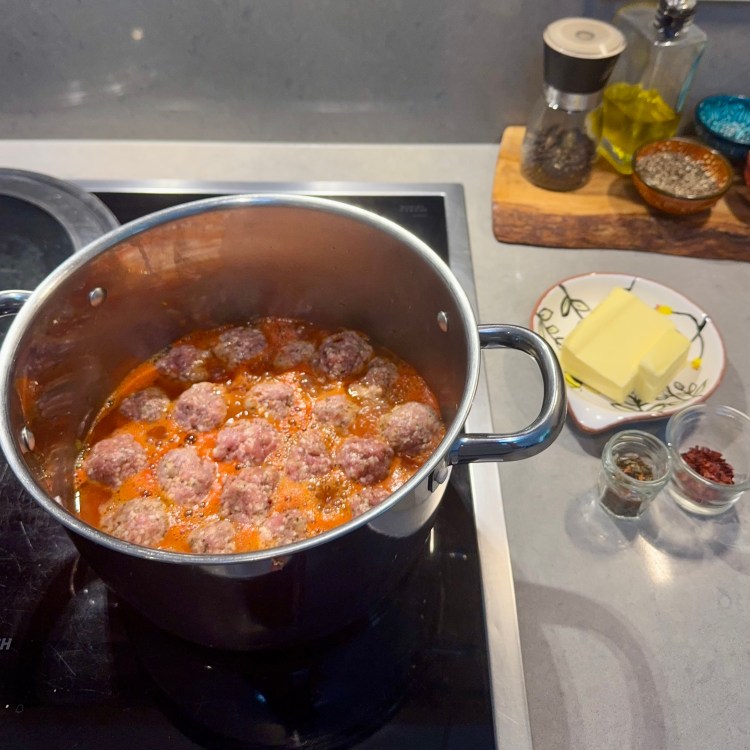
Place the pumpkin in a saucepan and season with the salt. Add the meatballs.

Stir together the tomato paste and boiling water until smooth, then pour over the pumpkin and meatballs.

Bring to a boil, cover, and reduce the heat to a simmer. Cook for about 30 minutes, or until the pumpkin is tender and the meatballs are cooked through.

There should be a small amount of thickened sauce remaining. If the sauce is still thin, uncover the pan and continue cooking until it has reduced and thickened.
Make the Spice Butter

Melt the butter in a small saucepan over medium-low heat. When the butter is fully melted and bubbling, add the Urfa biber, dried basil, and ground star anise. Stir as the spices sizzle.

Continue cooking over low heat for another few minutes, until the butter is browned and smells nutty.

To Serve

Transfer the meatballs, pumpkin, and sauce to a serving dish. Drizzle the spice butter over the top and garnish with garlic yogurt. Serve immediately.

Food connects us all.

Eight Finger Cavatelli, Cacio e Pepe, and the Roads That Lead Us Home

Recipe Below

Returning to Luxembourg after my visit to the U.S., I couldn’t stop thinking about a dinner I shared with friends at La Notte in Oak Park, Illinois. It felt almost serendipitous that my last blog post was inspired by memories of Rome, and this one brings together those same memories with my recent visit to Chicago and the years I spent living in Oak Park.

Like Rome, Oak Park, in it’s own smaller way, has a rich history. Just west of downtown Chicago, it’s known for Frank Lloyd Wright’s home and studio and as the birthplace of Ernest Hemingway. Visitors come from around the world to experience its architecture and literary history. But for me, it’s also a place filled with friendships and memories that have stayed with me long after I moved away.

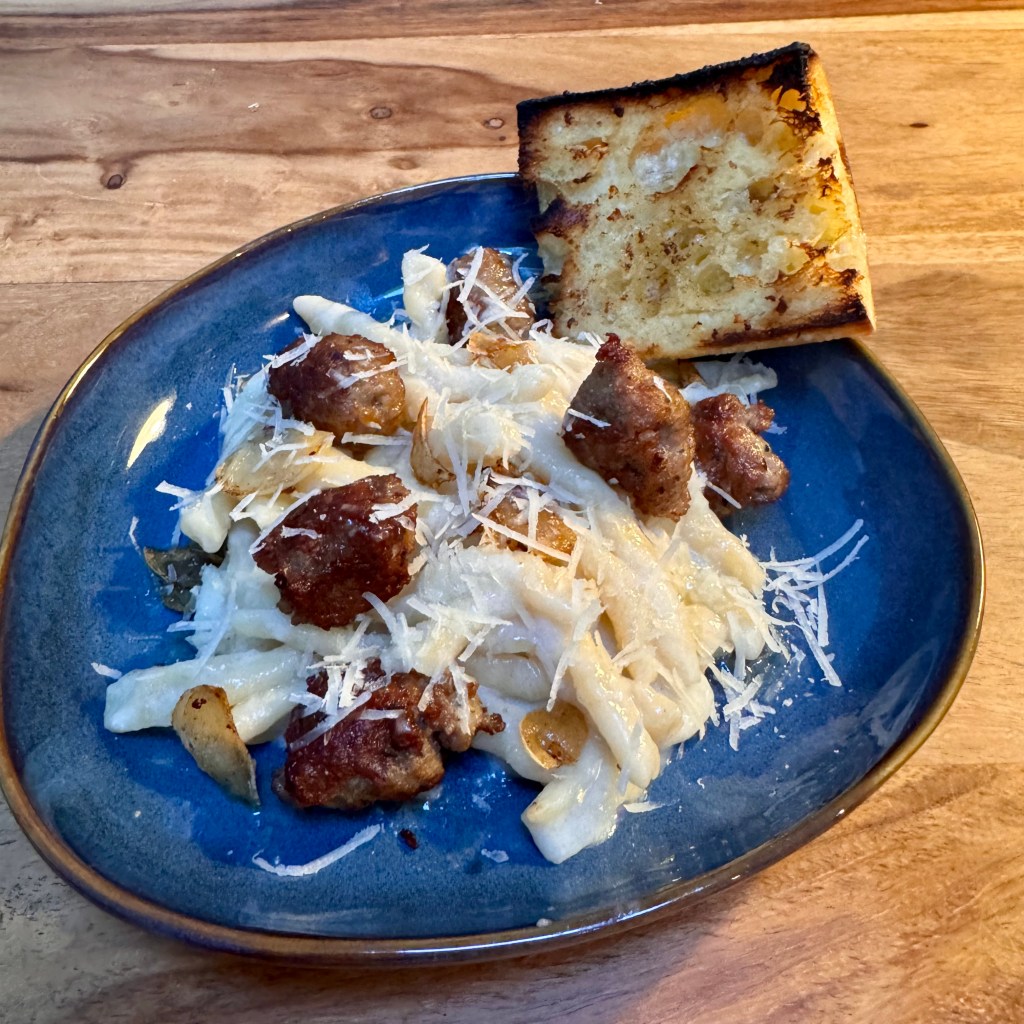
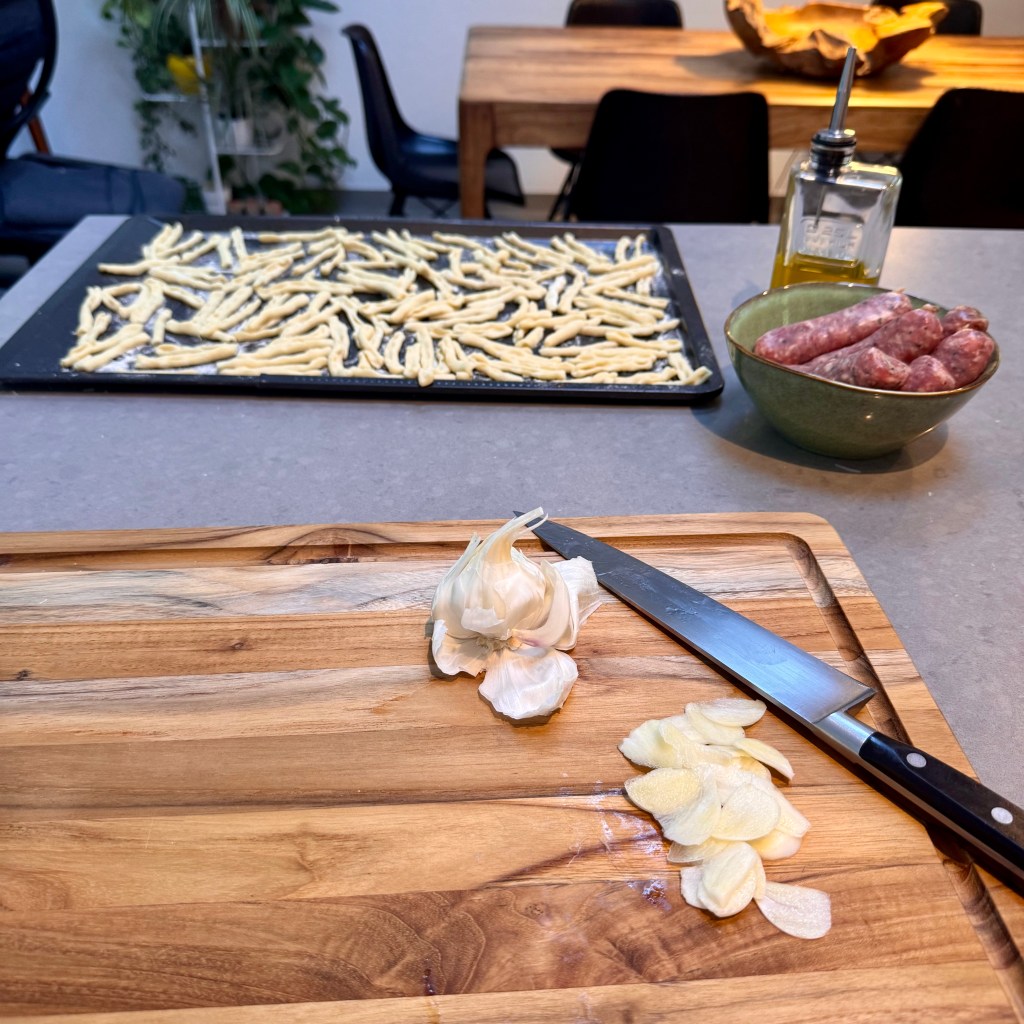
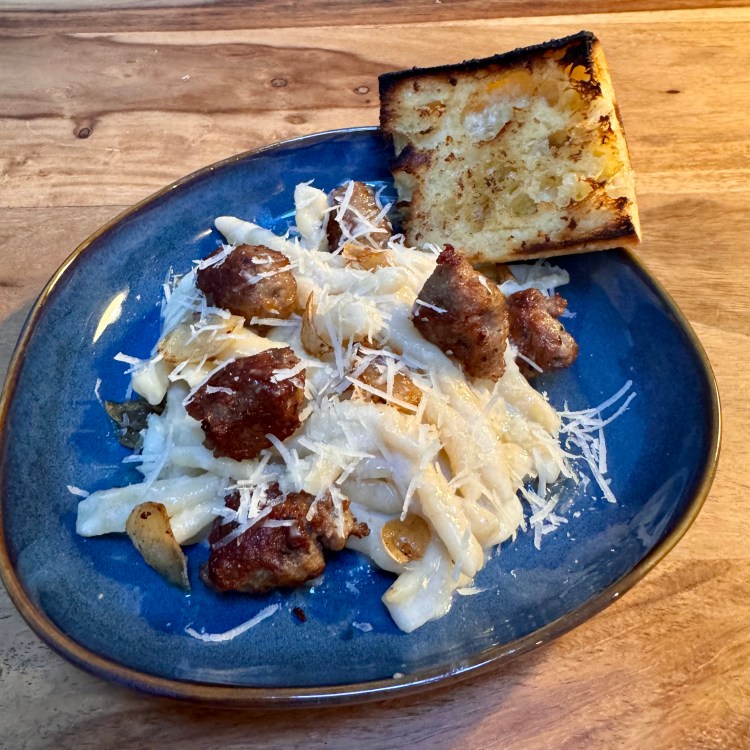
At dinner, I ordered Eight Finger Cavatelli with house-made sausage, garlic, and rapini. I enjoyed it so much that I came home determined to recreate it in my own kitchen.

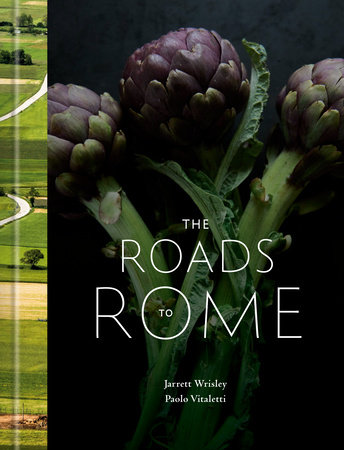
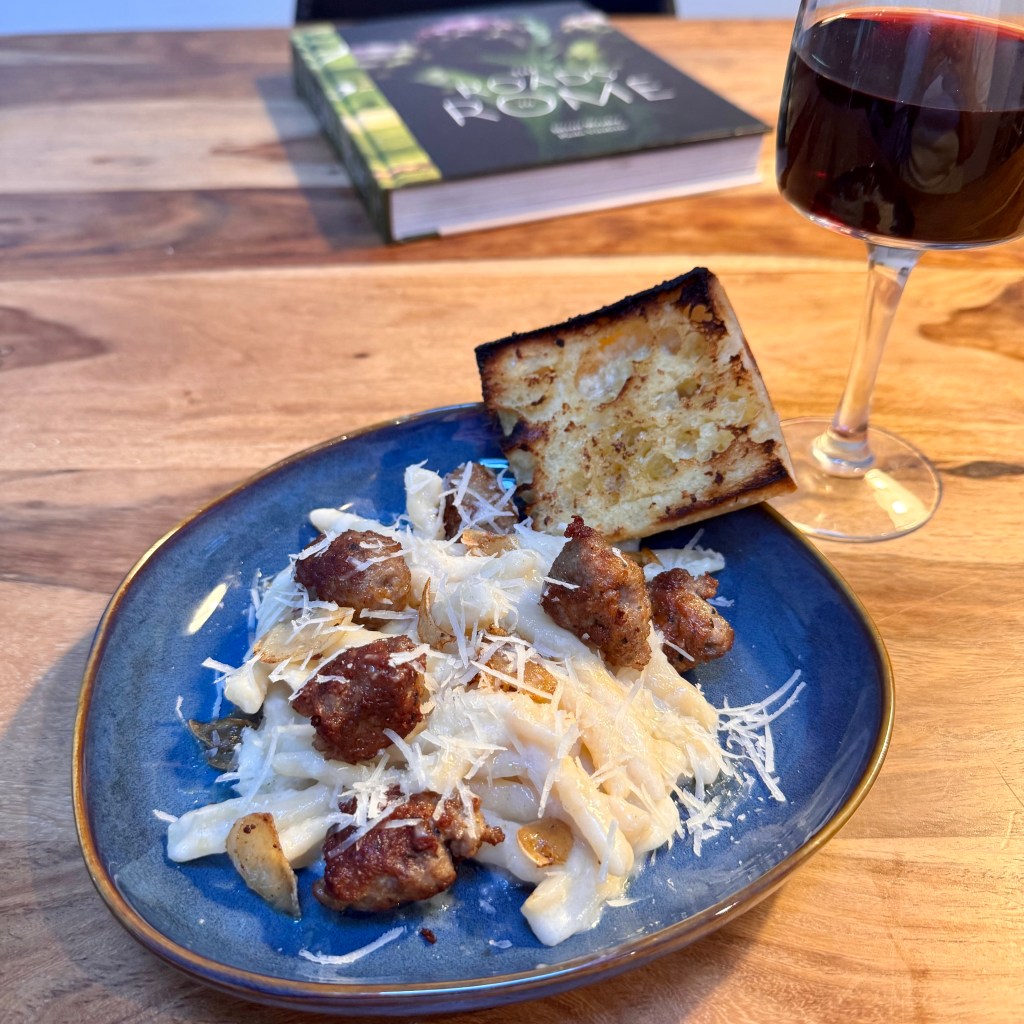
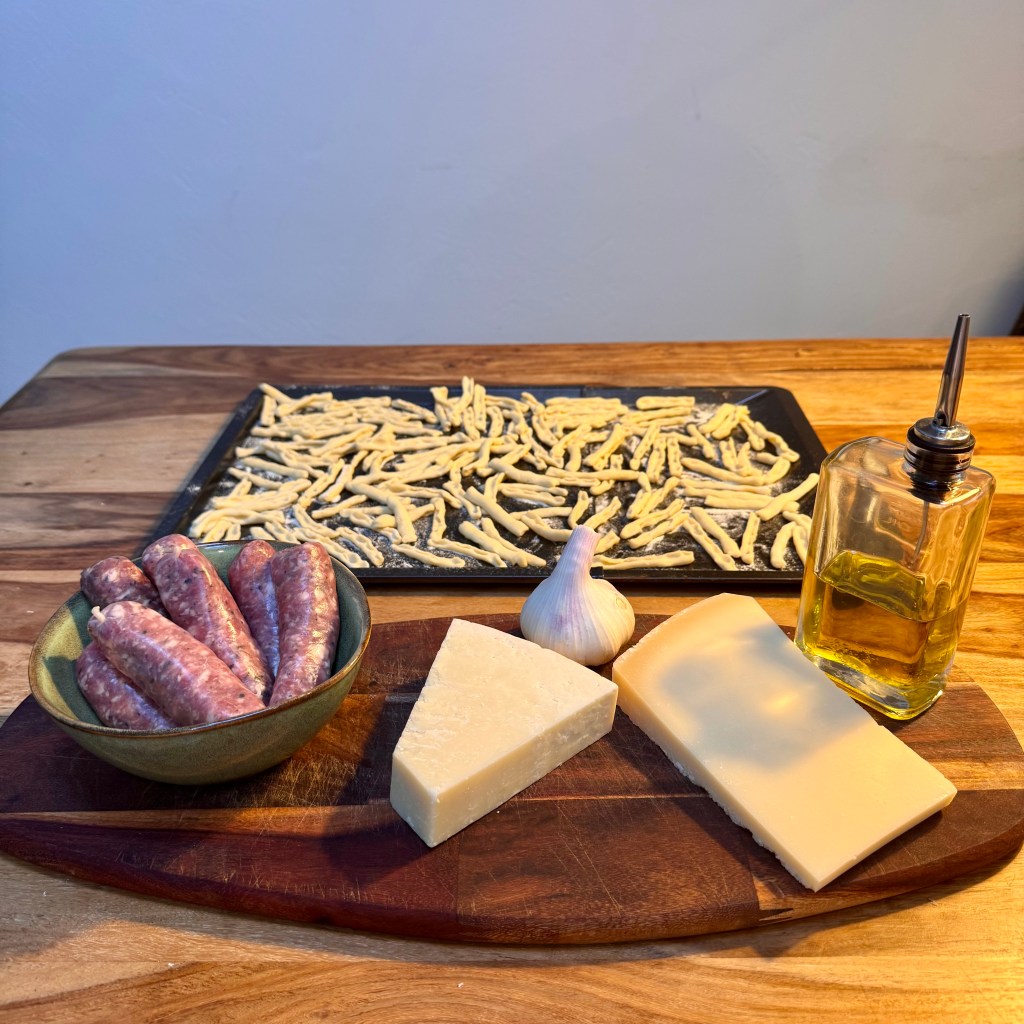
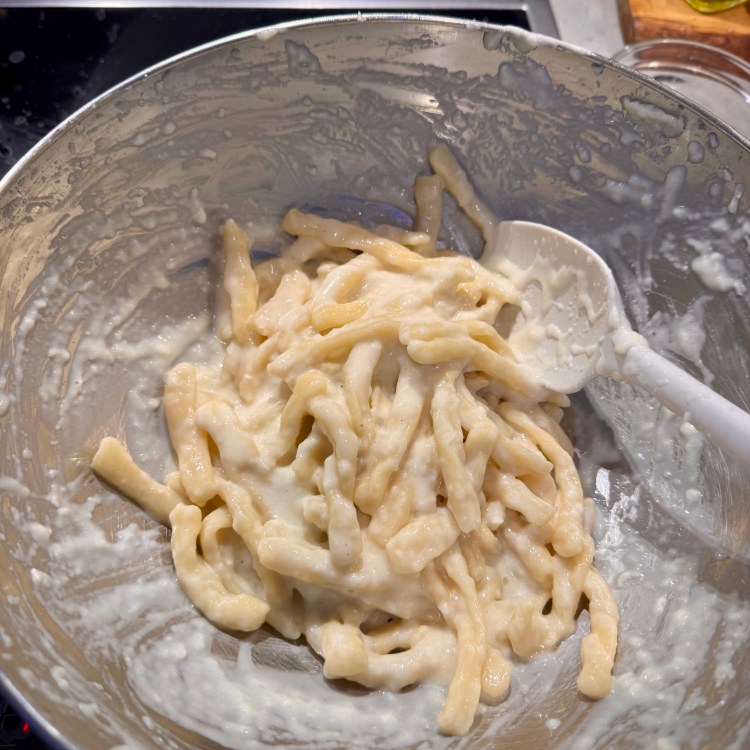
Rather than trying to duplicate the dish exactly, I turned to Roads to Rome for inspiration. The cookbook’s Cacio e Pepe recipe uses the traditional technique of emulsifying Pecorino Romano with hot pasta water in a warm metal bowl. I loved the method and used it as the foundation for my own version. Instead of the traditional tonnarelli, I chose homemade cavatelli because its ridges and elongated shape do such a wonderful job of catching the silky cheese sauce. I then added browned sausage, golden slivered garlic, a drizzle of garlic-infused olive oil, and a generous sprinkle of Grana Padano. It isn’t a traditional Cacio e Pepe, but I enjoyed bringing together inspiration from different regions of Italy to create this dish. Served with garlic bread and a glass of red wine, it was everything I had hoped it would be.

I enjoy discovering recipes, learning new techniques, and then making them my own. Sometimes that means bringing together ideas from different places and different memories to create something entirely new.

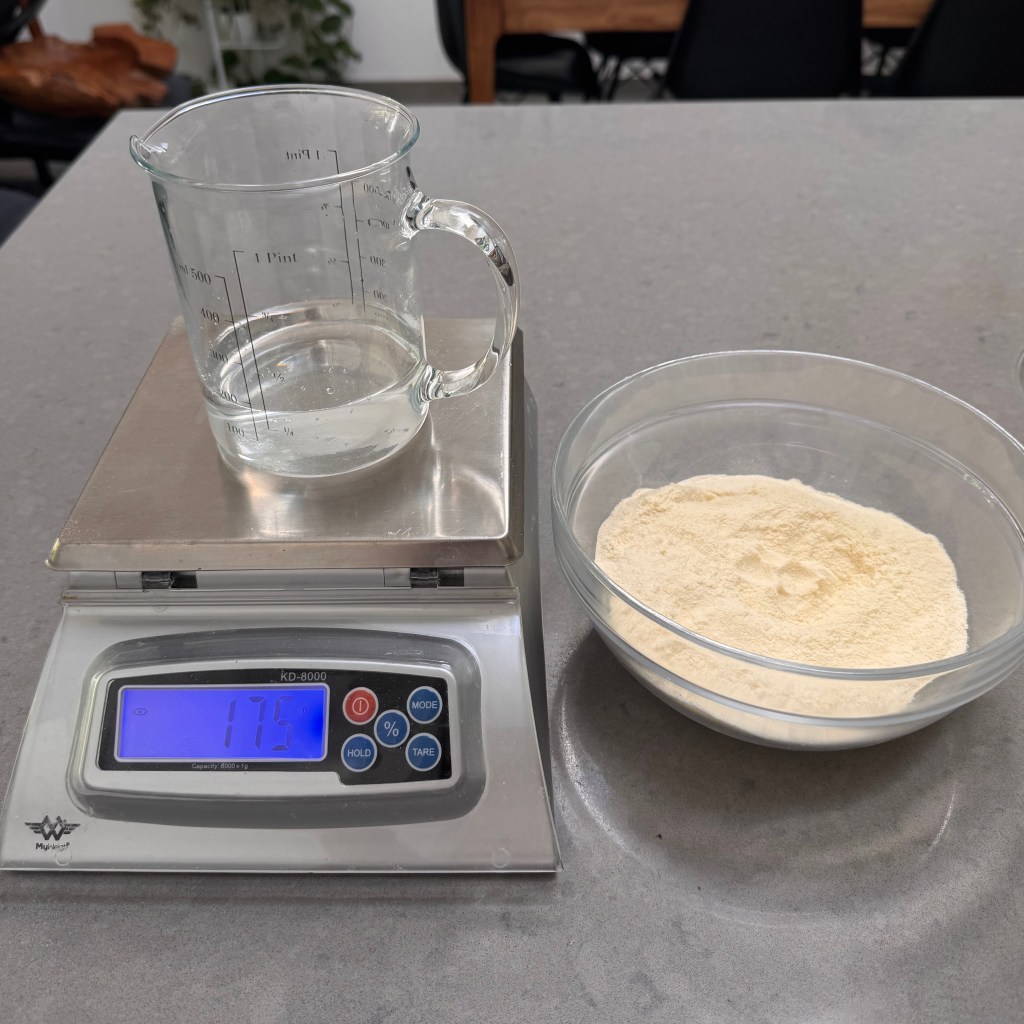
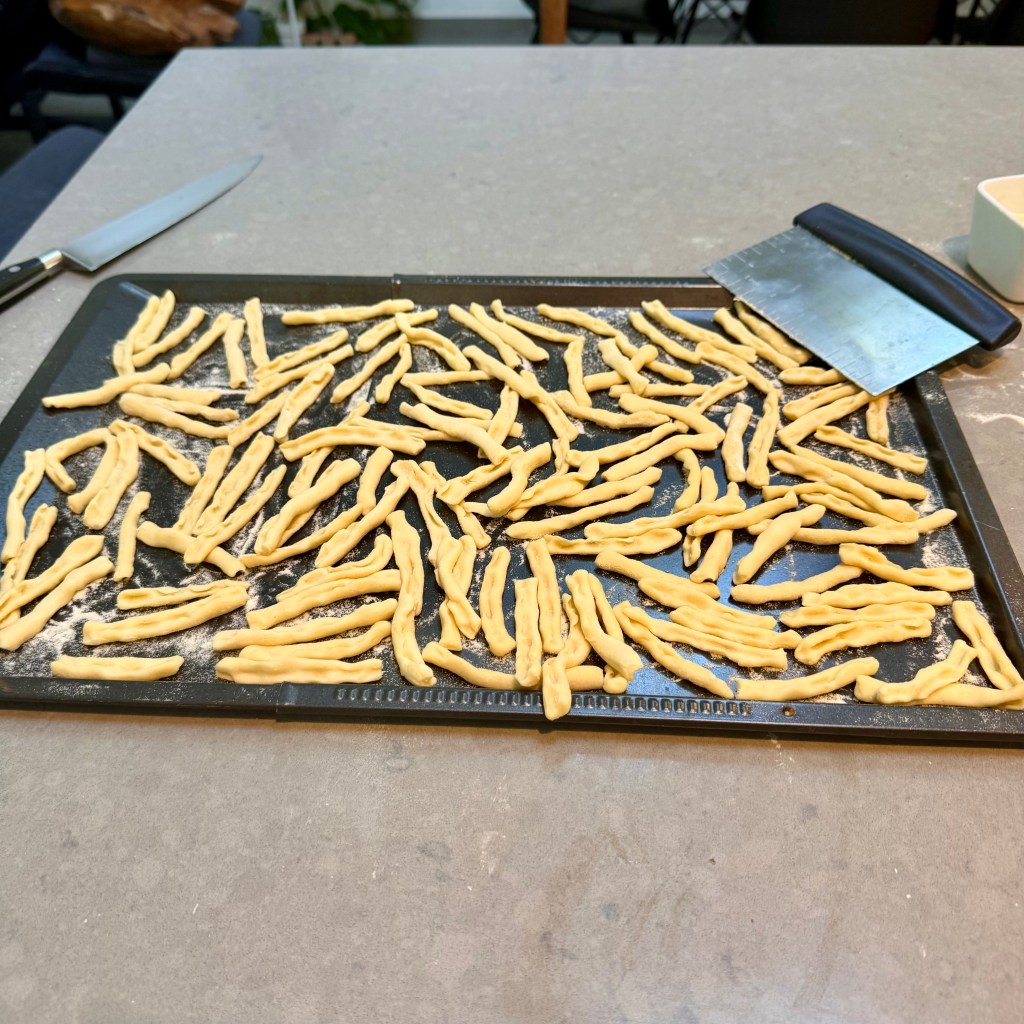
It was also my first time making cavatelli. Like every pasta I’ve made since moving to Luxembourg, it became another lesson in adapting to European flour. This dough, made with semolina and water, took some experimentation before I found the right hydration, but once it came together, rolling the ropes and shaping each piece was almost zen-like. They weren’t all perfect, but they didn’t have to be.

As much as I appreciated the meal at La Notte, it was only part of what made the evening memorable. The best part was spending time with friends, catching up, sharing stories, and creating new memories around the table.

That’s what I love most about food. It has a remarkable way of connecting places, people, and moments in our lives.

Food is the root from which everything grows.

Eight Finger Cavatelli Cacio e Pepe with Sausage and Garlic

Inspired by the Eight Finger Cavatelli at La Notte in Oak Park, Illinois, this recipe combines homemade cavatelli with the cacio e pepe technique from Roads to Rome. Finished with Italian sausage, golden garlic, and Grana Padano, it’s my interpretation of a memorable meal shared with friends.

Serves 4

Eight Finger Cavatelli

Ingredients:

300 g semolina (400 g if using European semolina)
175 ml water

Method:

Mix the semolina and water in a bowl until the dough comes together. Add more water, one teaspoon at a time, if necessary. Turn the dough onto a work surface and knead for about 10 minutes, or until smooth. Wrap tightly in plastic wrap and let rest for 1 hour.

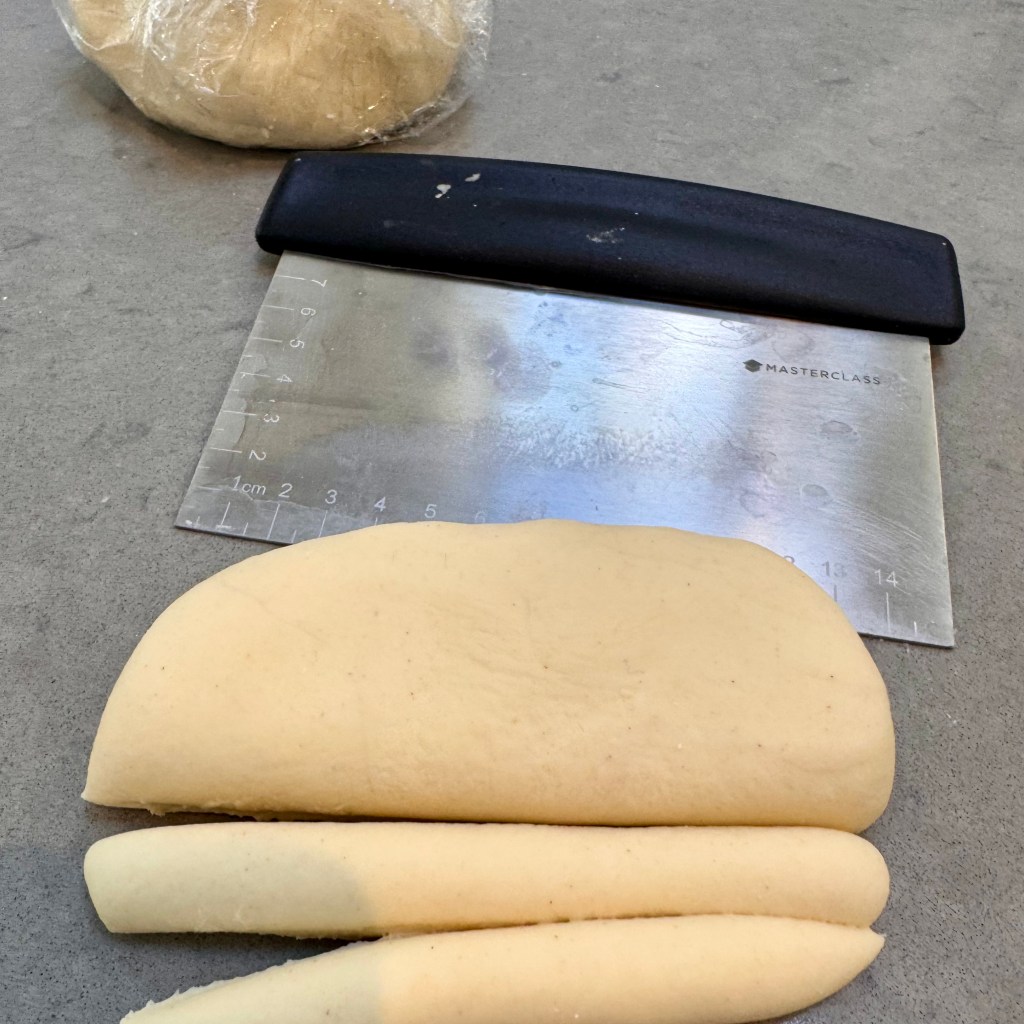
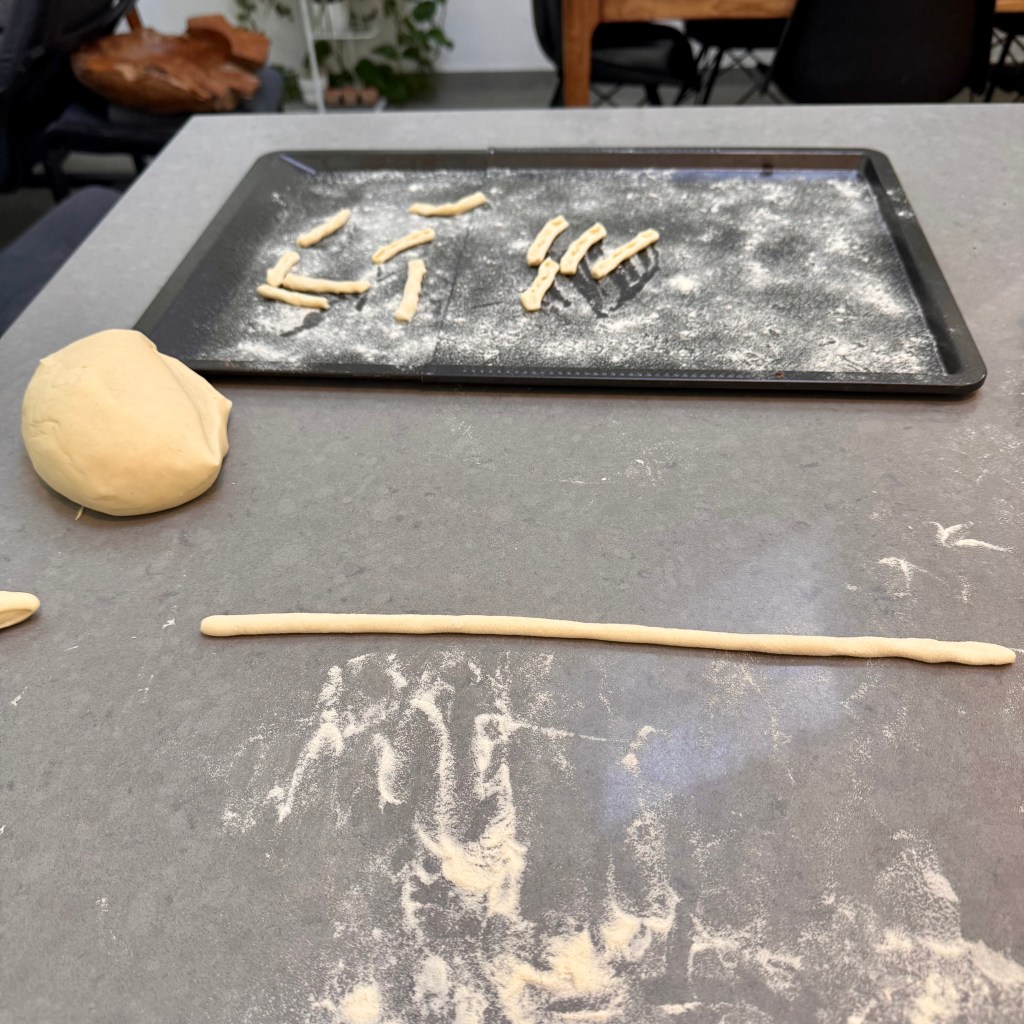
Cut off a small piece of dough and roll it into a long rope about the width of your finger. Cut the rope into 2-inch pieces. Using both hands, pull each piece toward you to create the traditional cavatelli crevice. Place the shaped pasta on a lightly semolina-dusted tray. Let the cavatelli rest for 1 to 2 hours before cooking.

Cacio e Pepe with Sausage and Garlic

Ingredients:

4 to 6 oz aged Pecorino Romano, finely grated
2 oz Grana Padano, finely grated
1 lb fresh cavatelli
6 Italian sausage links, casings removed and cut into bite-sized pieces
4 garlic cloves, thinly slivered
Olive oil, if needed
Freshly ground black pepper

Method:

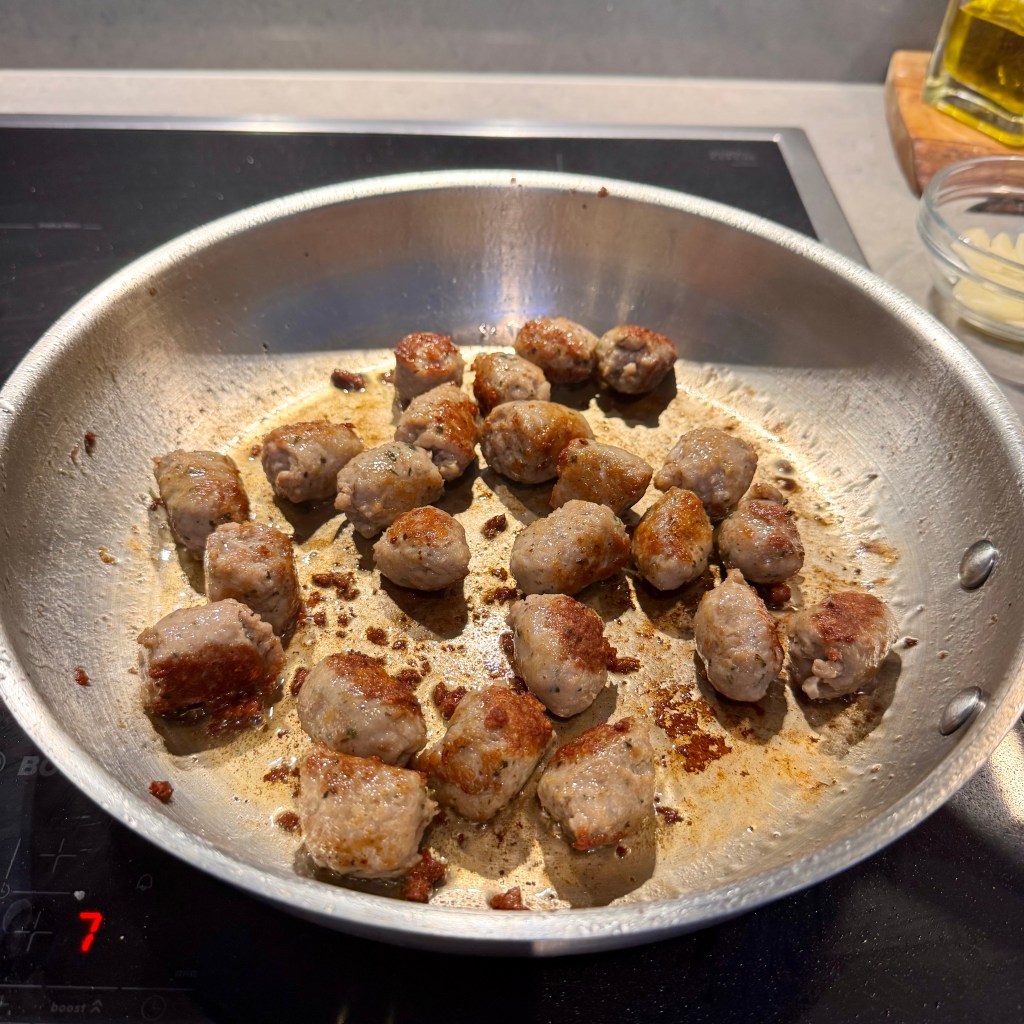
Heat a large sauté pan over medium-high heat. Add the sausage and cook until browned and cooked through, breaking it into bite-sized pieces as it cooks. Remove the sausage from the pan, leaving the rendered fat behind.

If needed, add a drizzle of olive oil to the pan. Reduce the heat to medium, add the slivered garlic, and cook until lightly golden. Remove the garlic from the pan and reserve both the garlic and the infused oil.

Place the grated Pecorino Romano in a warm metal mixing bowl.

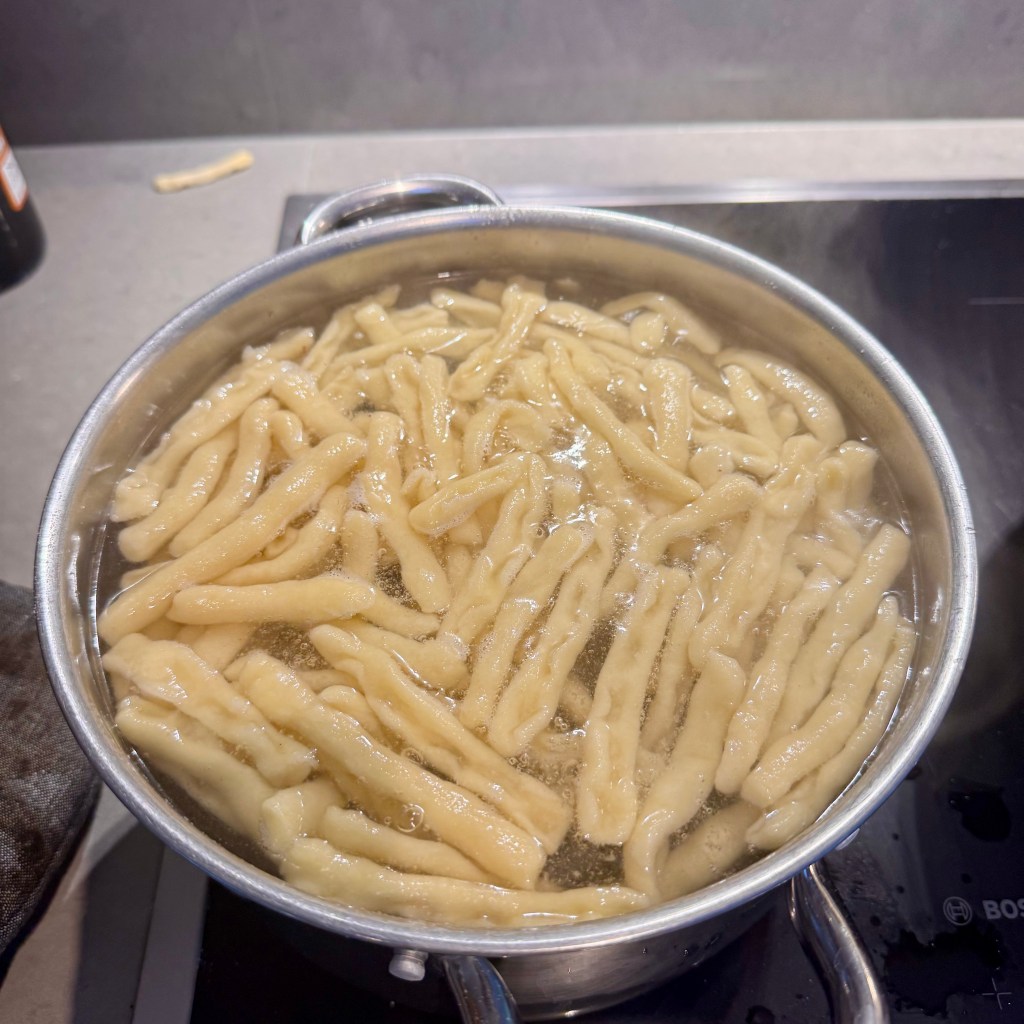
Bring a large pot of generously salted water to a boil. Add the cavatelli and cook until they float and are al dente. Reserve 1 cup of the pasta cooking water before draining.

Add the hot pasta to the bowl with the Pecorino and toss immediately. Gradually add the reserved pasta water, stirring constantly, until the cheese melts and forms a smooth, creamy emulsion. Season generously with freshly ground black pepper and add additional pasta water as needed to reach your desired consistency.

Divide the pasta among serving plates. Top with the browned sausage and golden garlic, drizzle with the reserved garlic-infused oil, and finish with a generous sprinkle of Grana Padano. Serve immediately.

Pappardelle al Ragù d’Anatra

Recipe Below

Inspired by The Roads to Rome by Jarrett Wrisley & Paolo Vitaletti

I have a soft spot for Italy.

So far I’ve explored Milan, Florence, Lucca, Pisa, Siena, and Rome, and every visit leaves me wanting to go back. The landscapes of northern and central Italy always remind me a little of the Pacific Northwest, where I lived before moving to Luxembourg. Rolling hills, winding roads, vineyards, forests…it’s a place that feels both familiar and completely different at the same time.


If you ask me the best way to experience Italy, I’d say rent a car. Some of my favorite memories are simply driving through Tuscany.

For my 60th birthday, Paul and I finally made it to Rome.

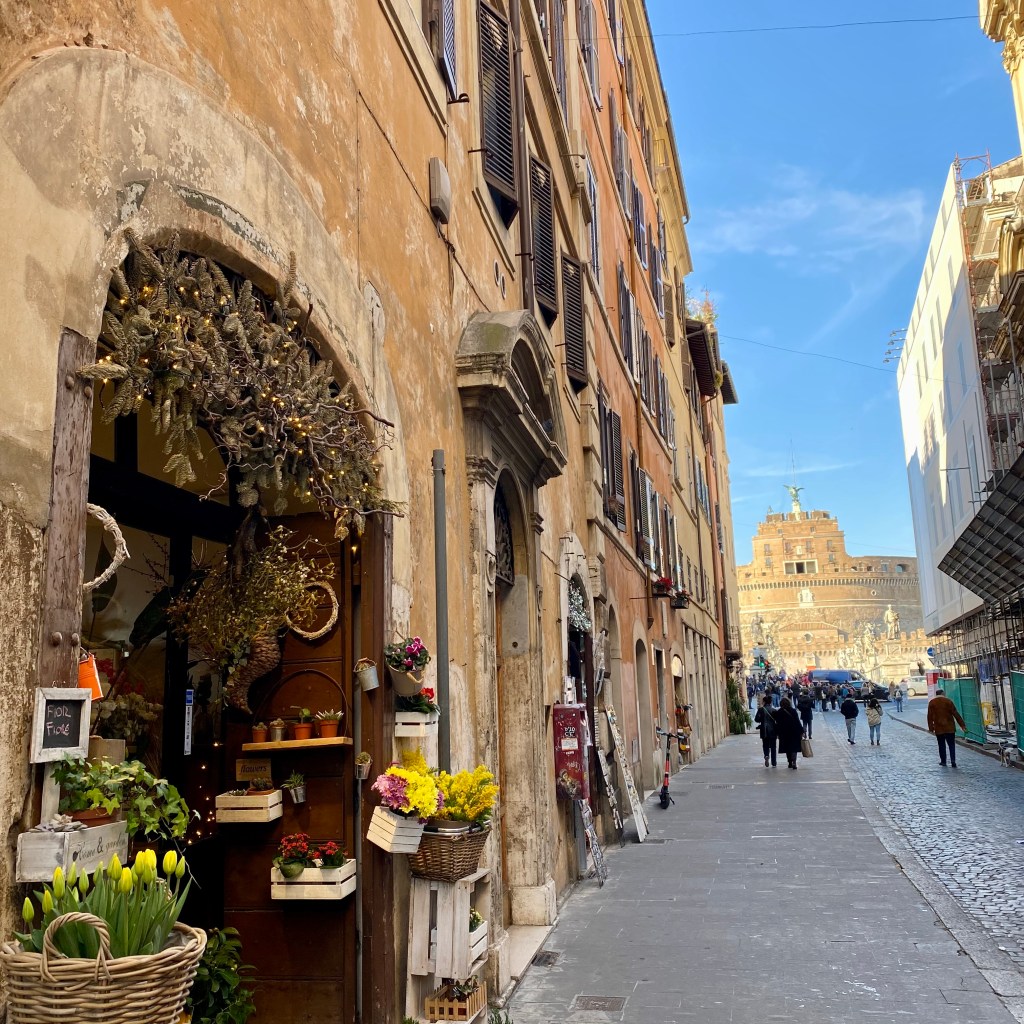
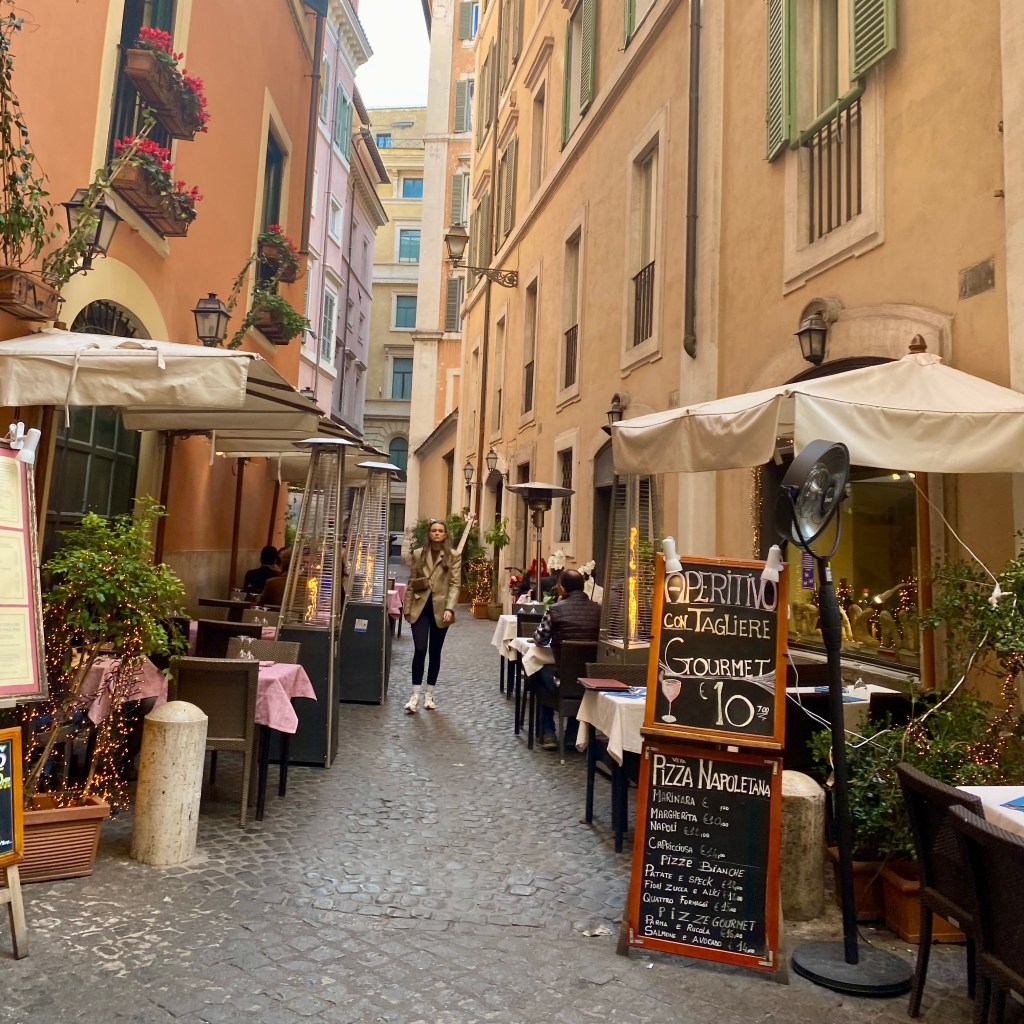
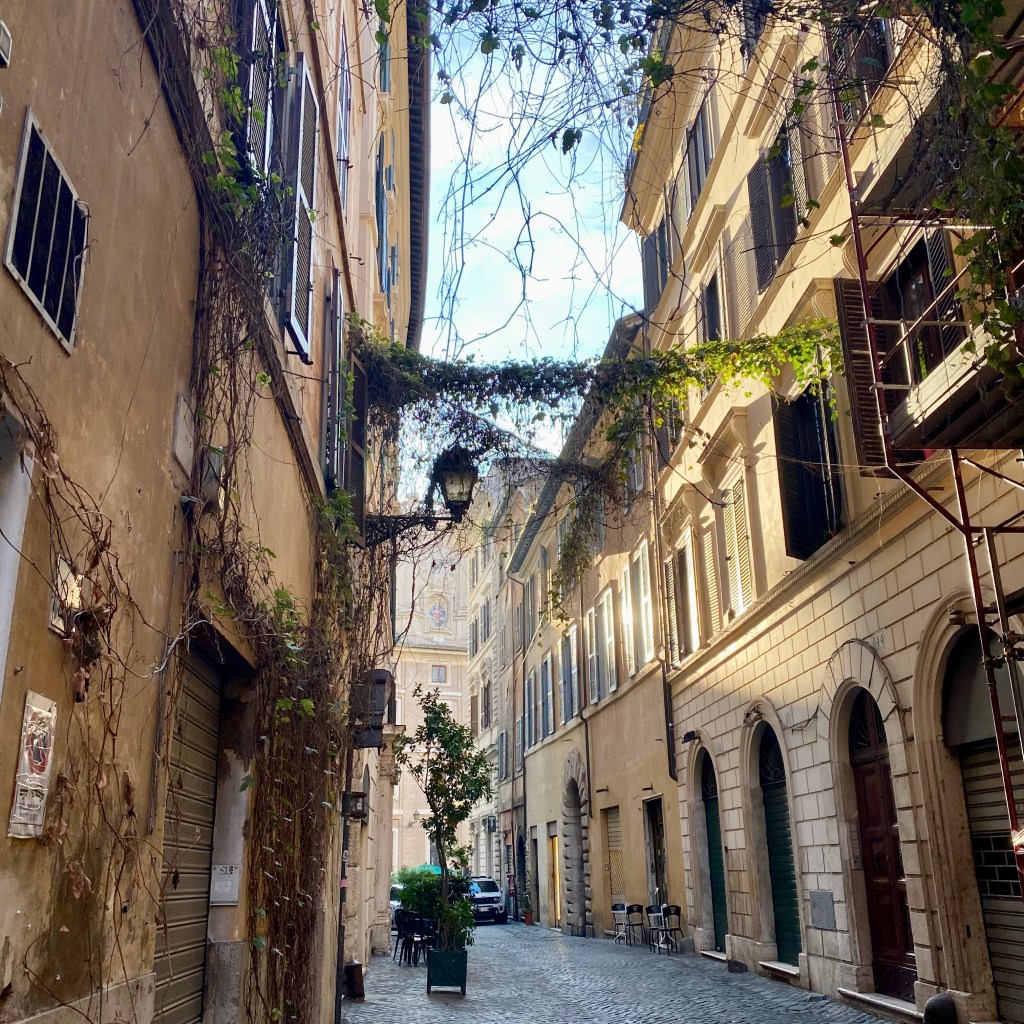
We stayed in the Monti neighborhood, which quickly became one of my favorite parts of the city. It is one of Rome’s historic neighborhoods and has an eclectic, lived-in feel with boutique shops, little wine bars, family-run restaurants, and streets made for wandering. Of course we visited the Vatican, the Colosseum, the Trevi Fountain, and even the Bocca della Verità, but some of my favorite moments happened in between. Walking streets that have existed for centuries was awe-inspiring and irresistible.

Whenever I travel, there are two places I always try to find: a market and a bookstore.

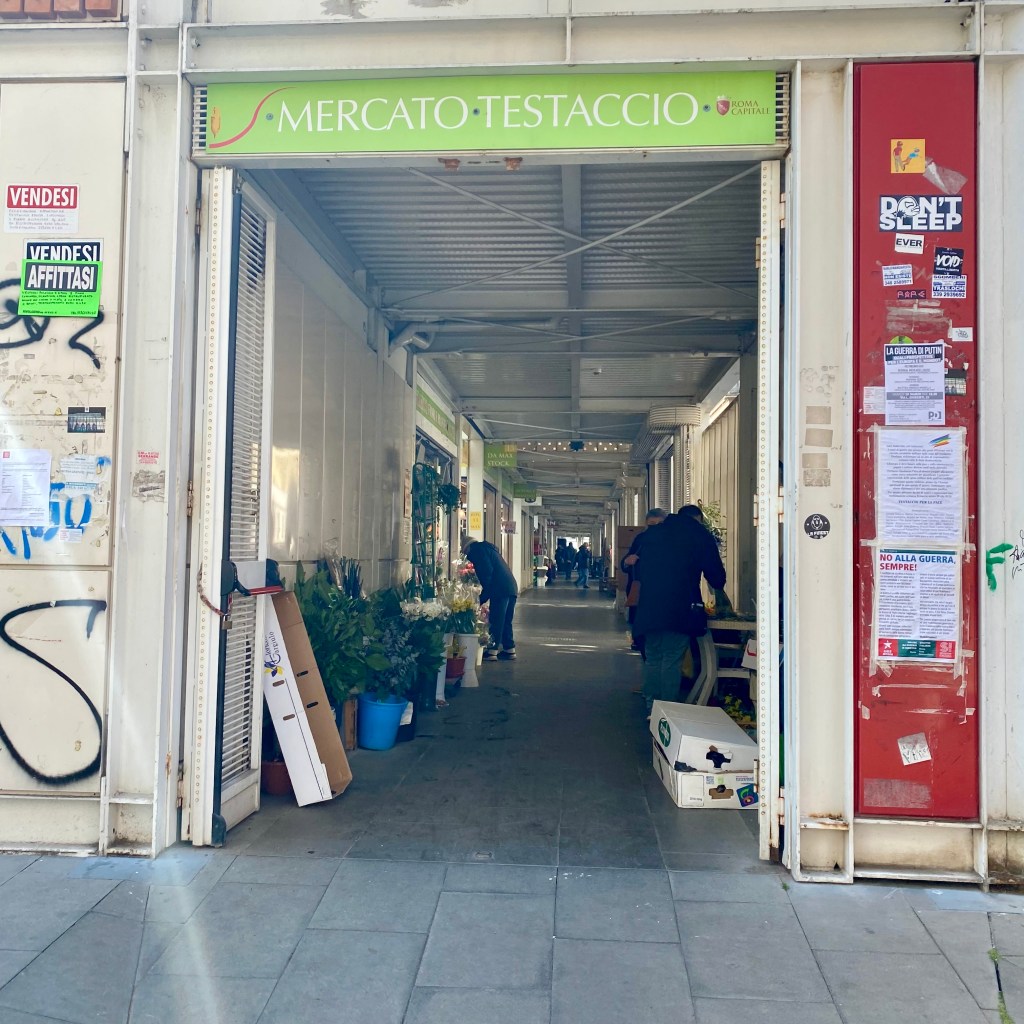
In Rome, that meant Mercato Testaccio.

Markets have become one of the threads that tie my travels together. Every one is different, but they’re all full of life. Vendors greeting regular customers, stalls filled with local produce, cheeses, meats, spices, handmade goods, and food that begs you to stop and eat.

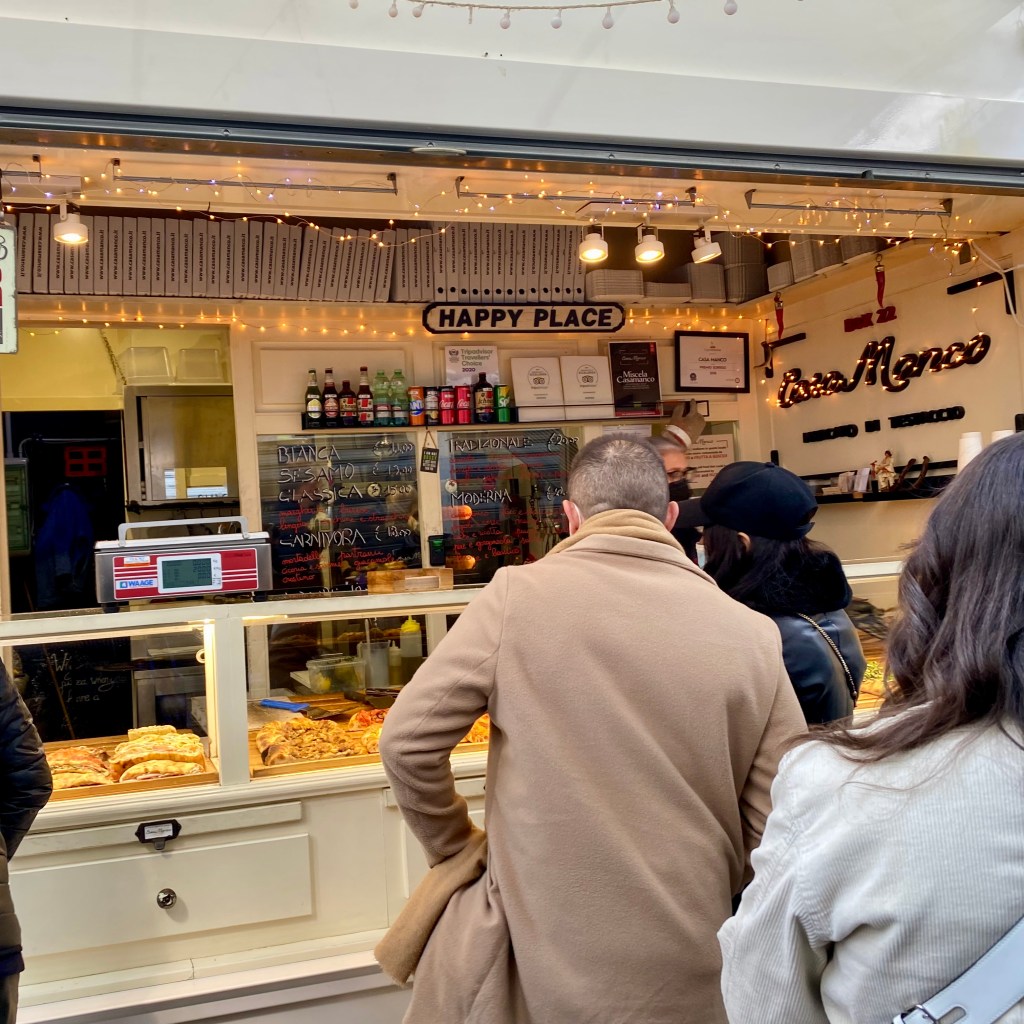
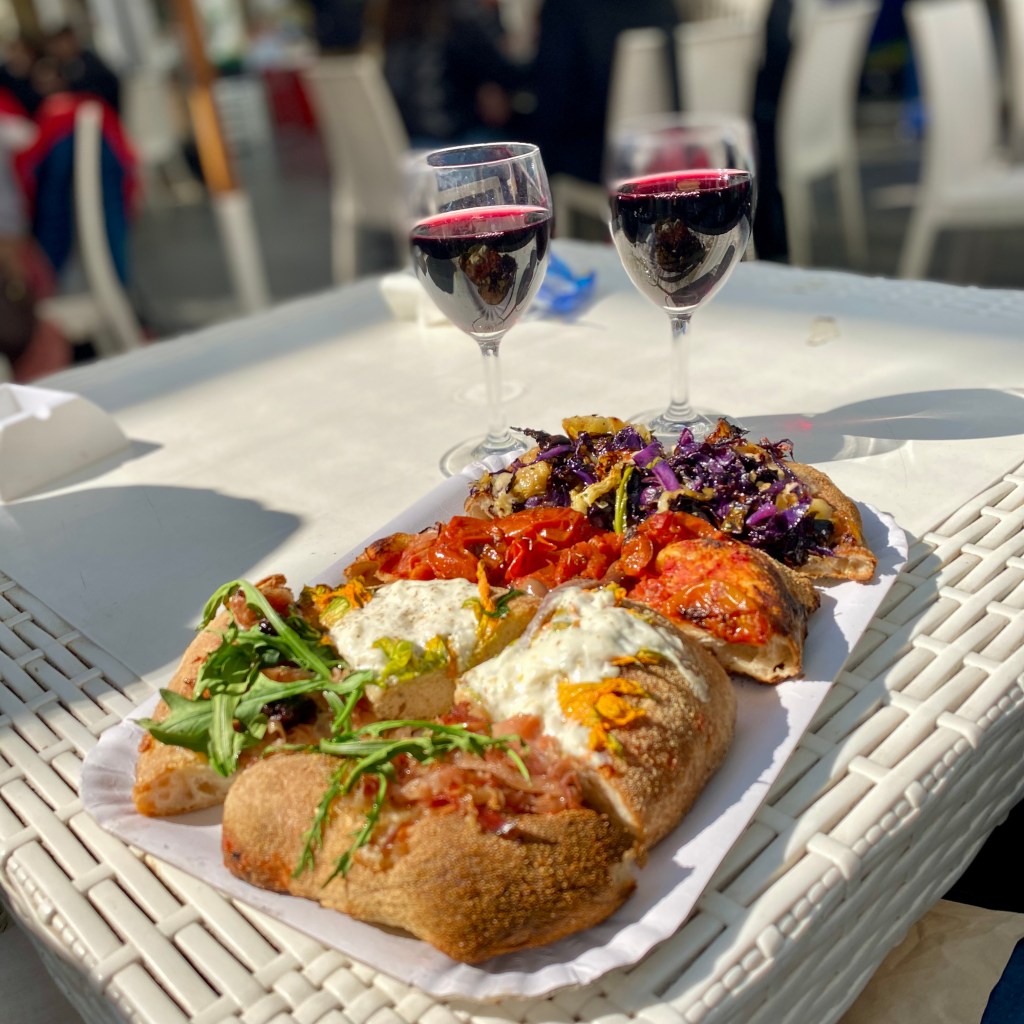
We wandered through the market, bought a few handmade leather bags from Massimo at Il Baratto that became Christmas gifts for family, and eventually settled on Casa Manco. Pizza by the slice, a glass of wine, warm sunshine, and people watching from an outdoor table.

Although it’s just one memory, that simple meal has stayed with me. That’s the gift of a market. People sharing their craft or their food, creating moments of fulfillment that become memories for a lifetime.

The other stop was Open Door Bookstore, where I found The Roads to Rome by Jarrett Wrisley and Paolo Vitaletti. It’s more than a cookbook. It’s filled with stories of the city, its neighborhoods, and the people behind the food, making it exactly the kind of cookbook I love bringing home from my travels.

While we were in Rome, and really, everywhere we travel, we leaned toward traditional restaurants, often run by local families, rather than fine dining. That’s usually how we travel. I certainly enjoy a fine dining experience every now and then, but what I’m really looking for is everyday life. The places locals gather, the food families have been making for generations, and the feeling that you’ve stepped into someone’s neighborhood.

One evening we found exactly that at La Taverna dei Fori Imperiali in Monti.

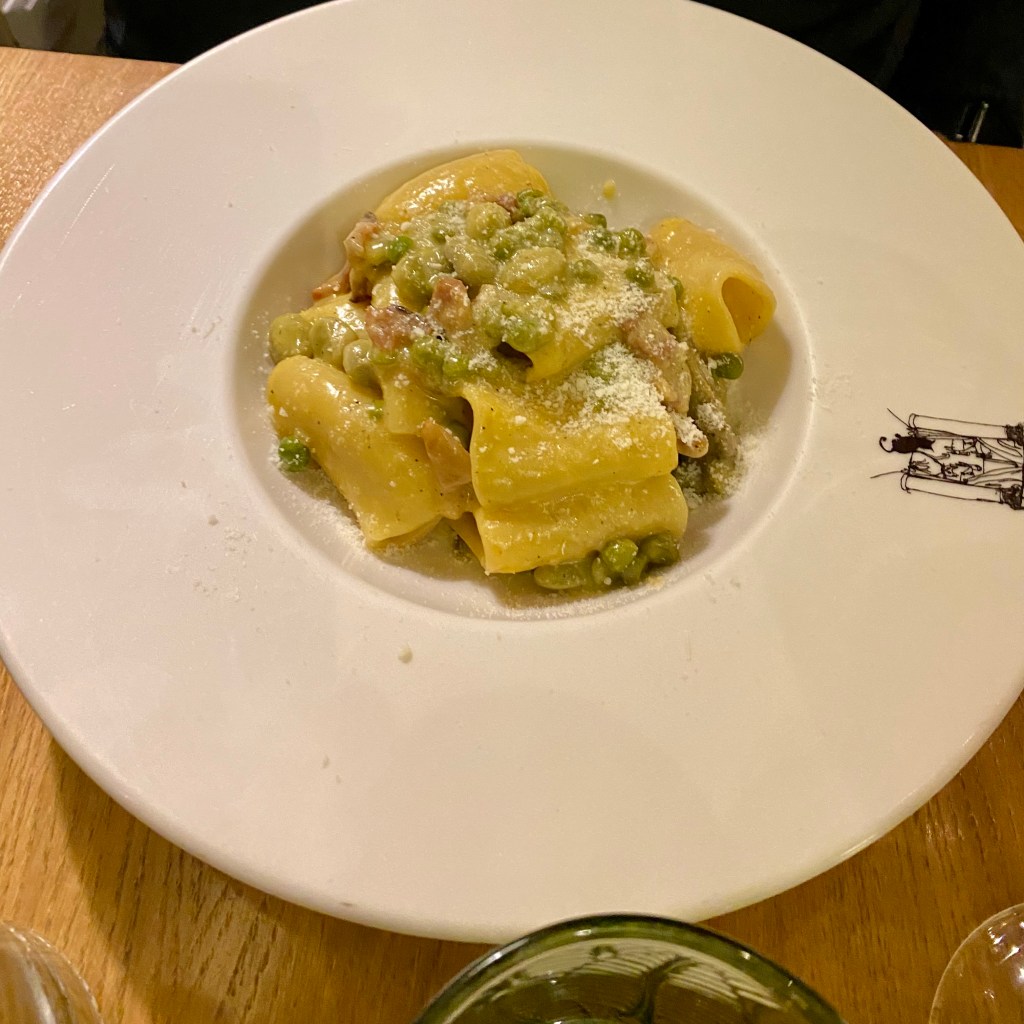
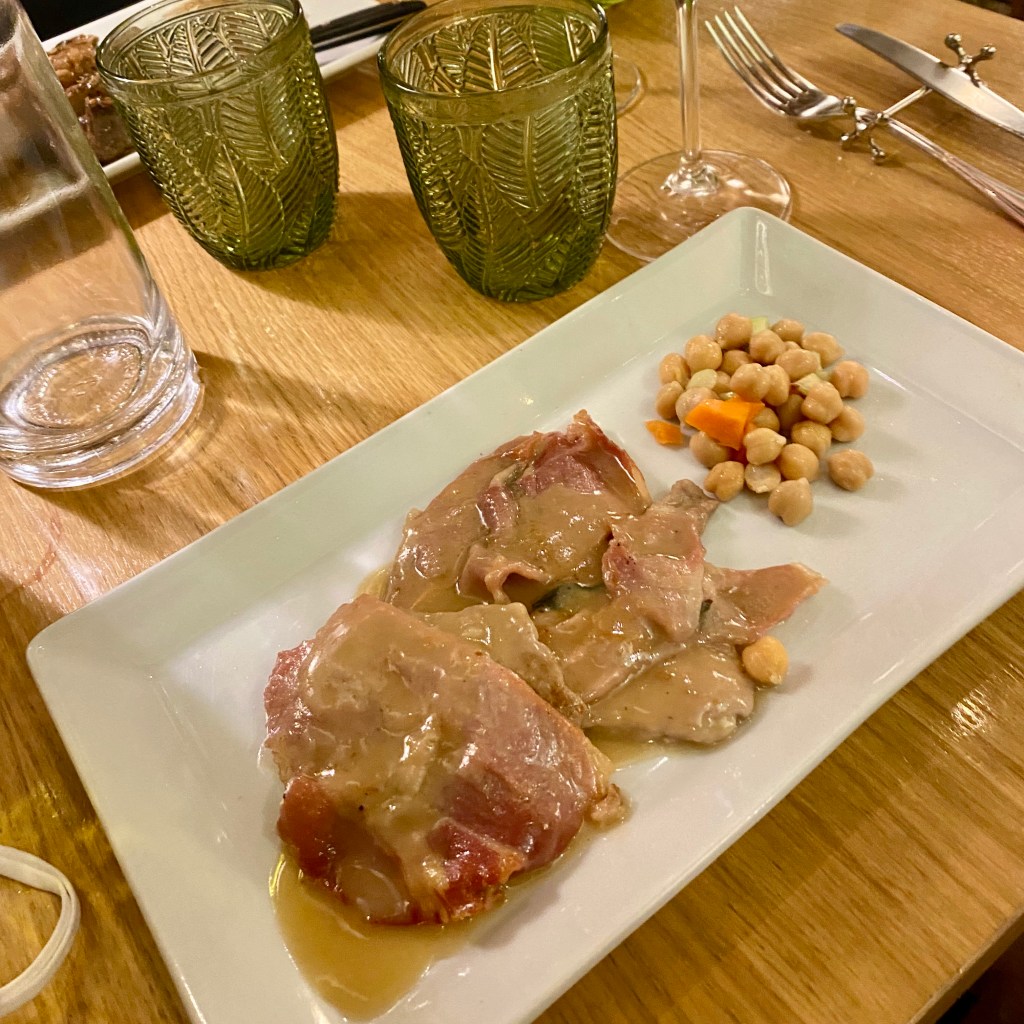
We shared Jewish-style artichokes, Carbonara Vignarola, Cacio e Pepe, grilled lamb, veal saltimbocca, and the dessert of the day. By the end of dinner we were completely stuffed, wonderfully happy, and somehow felt as though we’d been welcomed into someone’s home.

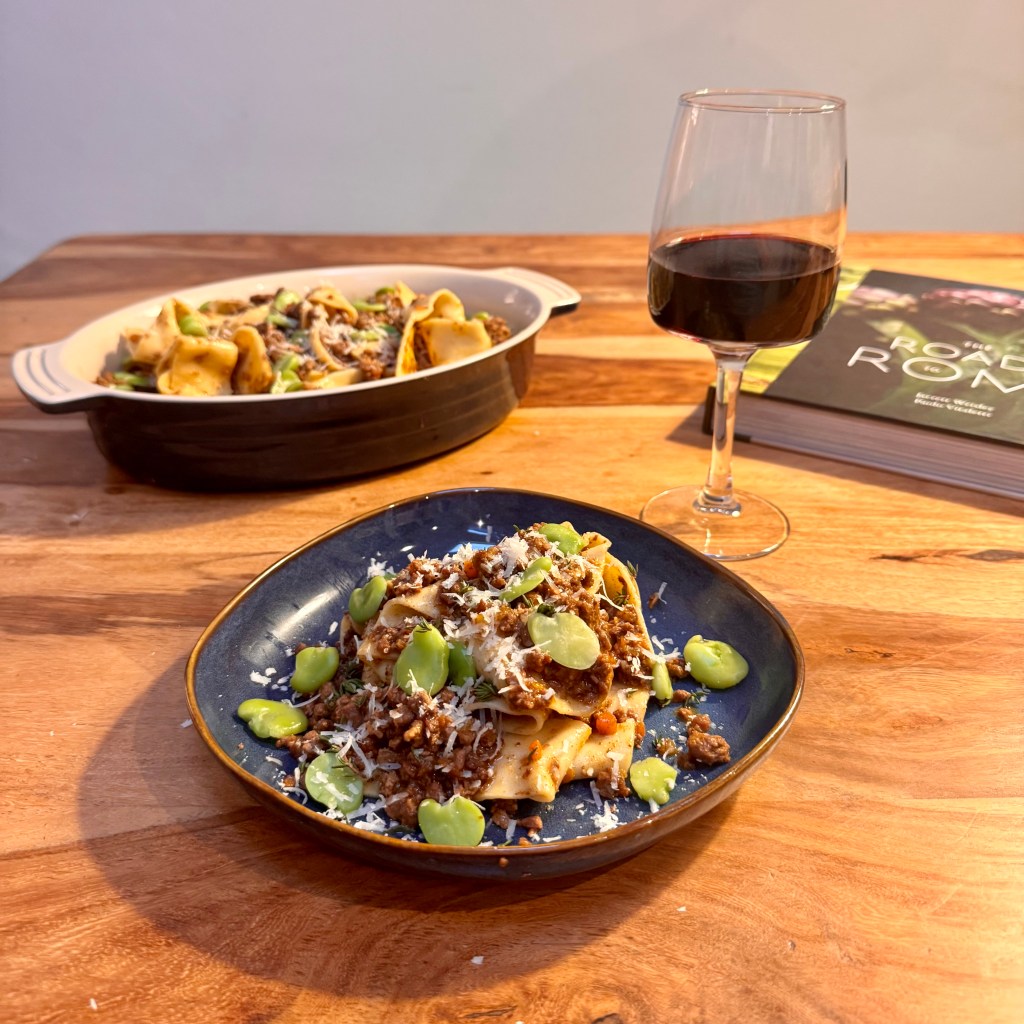
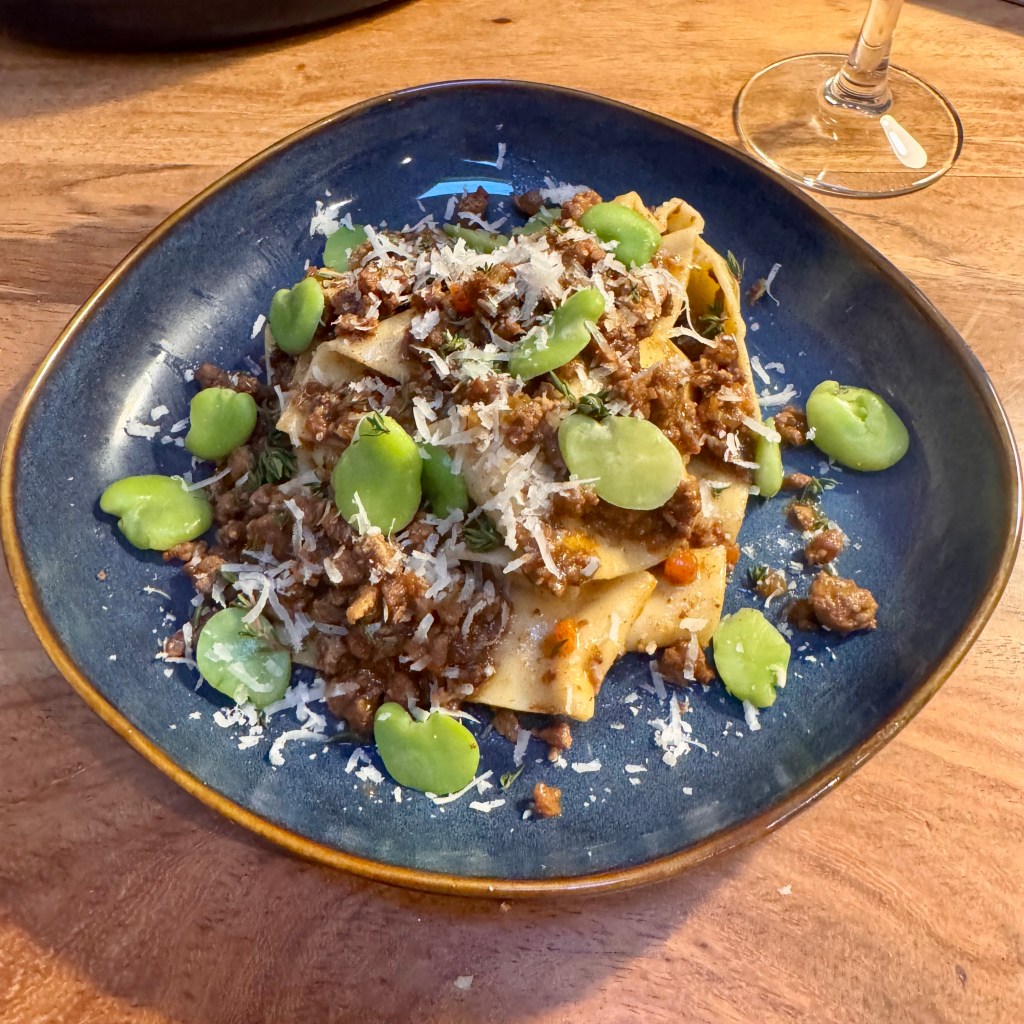
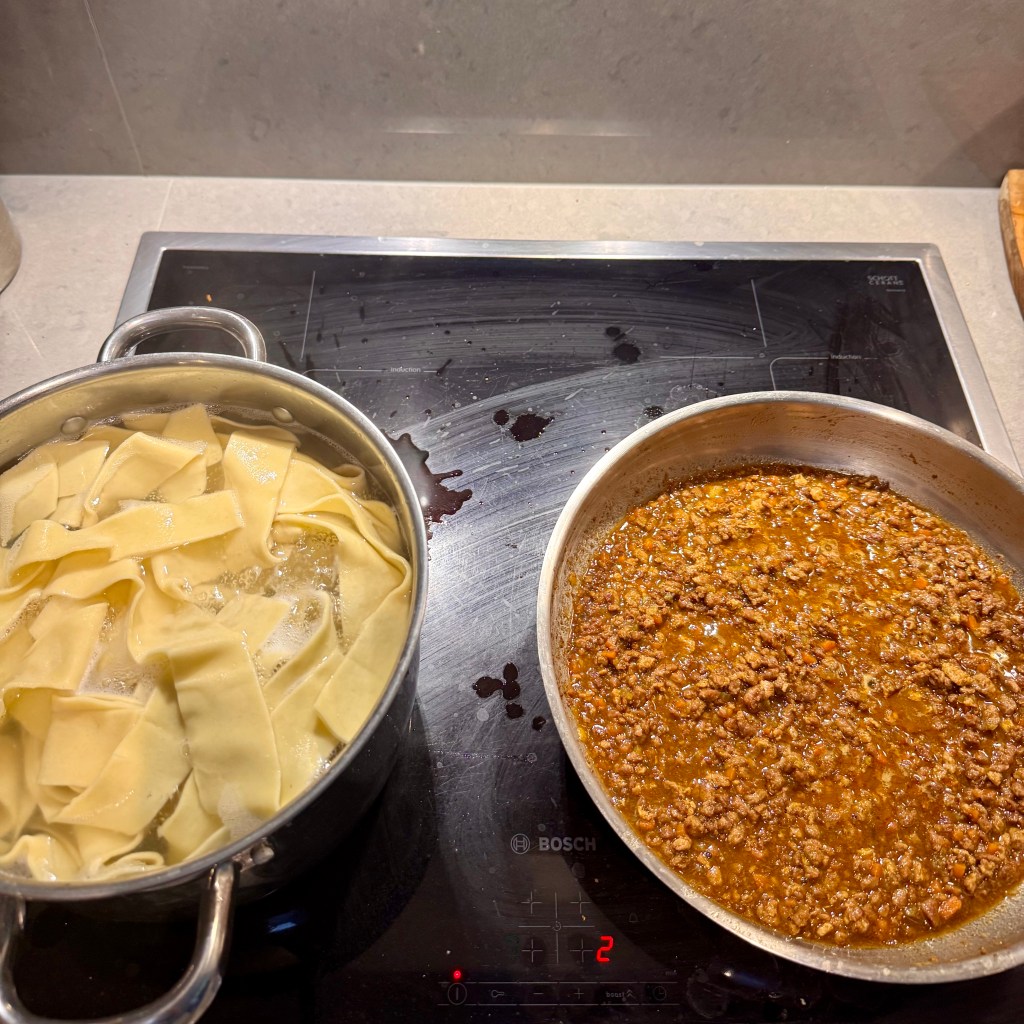
When it came time to cook from The Roads to Rome, Pappardelle al Ragù d’Anatra immediately caught my eye.

I’ve always loved pappardelle. Those wide ribbons are perfect for hearty ragùs, and the addition of fresh fava beans reminded me just a little of the Carbonara Vignarola we had enjoyed in Rome. I also rarely cook duck this way. Usually I’m searing duck breasts and serving them medium-rare, so slowly transforming them into a rich ragù sounded like something worth trying.
Making the dish taught me a few things.

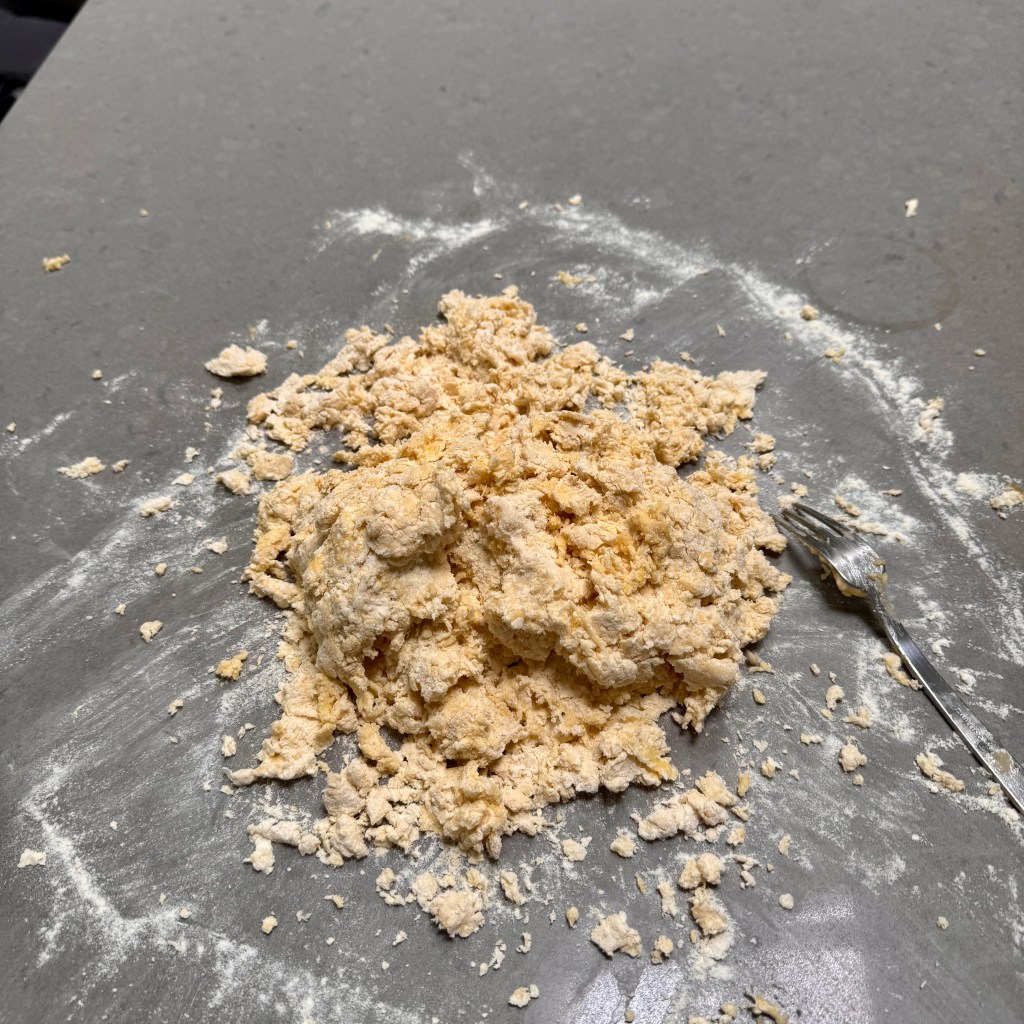
The pasta dough recipe in the cookbook didn’t quite work for me. The ratio of eggs to flour felt off, so I went back to my trusted fresh pasta recipe using a combination of Tipo “00” flour and semolina with whole eggs and extra yolks. It came together beautifully.

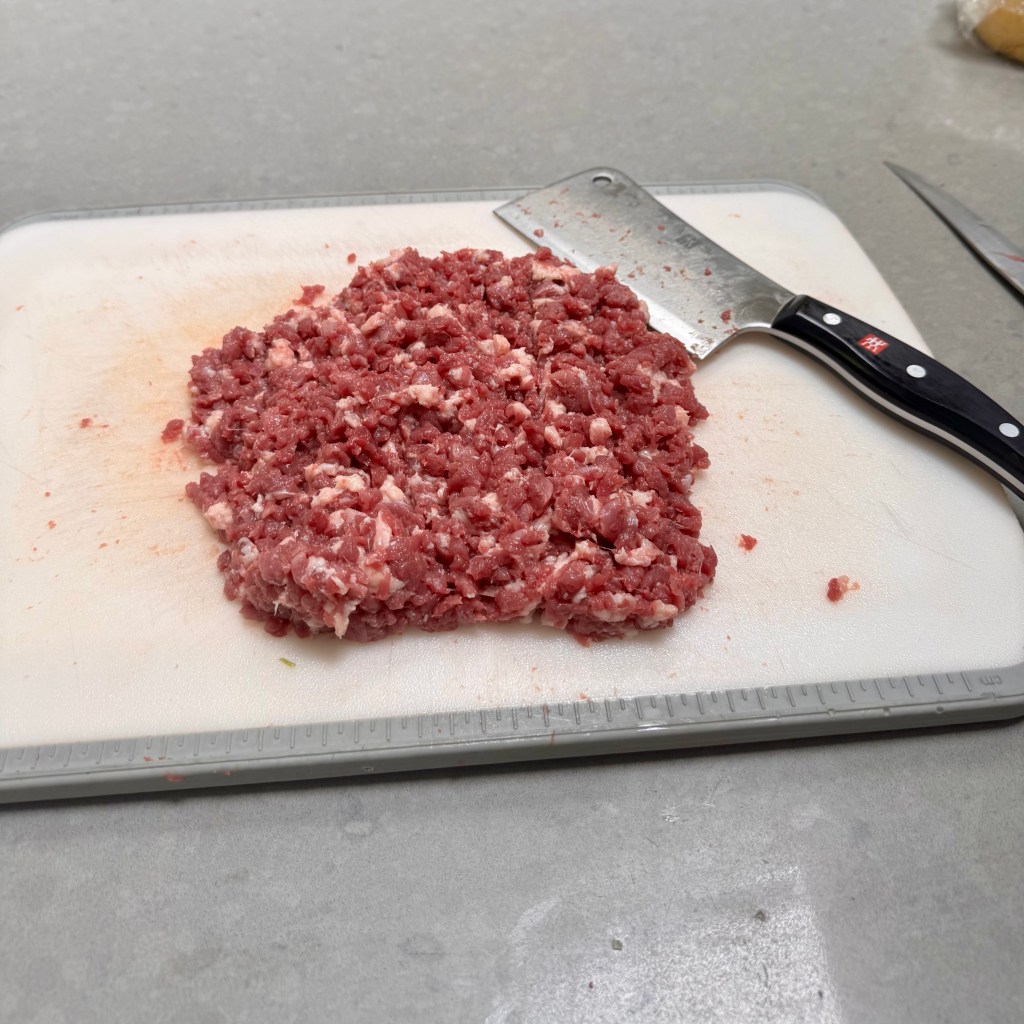
One step I particularly appreciated was hand-mincing the duck breast, including the fat. It takes a little more time than using ground duck or a food processor, but it creates a wonderful texture and allows the fat to slowly melt into the sauce as it cooks.

If I make the ragù again, I’d probably hold back about a quarter of the stock and add it only if needed. Mine took considerably longer than the recipe suggested to reduce and thicken, although the extra time was well worth the wait.

The finished dish was outstanding.

The ragù developed a deep, rich duck flavor layered with subtle warmth from the cinnamon and star anise. Bright green fava beans added freshness, color, and just enough texture to balance the richness. The pappardelle absorbed every bit of that flavorful sauce, making each bite deeply satisfying.
It’s absolutely a recipe I’ll make again.

One of the things I love most about cooking from the cookbooks I collect is how a single meal can transport me back to a place. Sitting at my kitchen table in Luxembourg, a bowl of pappardelle in front of me, I could almost picture the streets of Monti again! The cafés, the market, the bookstore, and the feeling of wandering through Rome with nowhere particular to be.

That’s what makes travel cookbooks so special to me. They’re not just recipes.

They reinforce memories.

Pappardelle al Ragù d’Anatra

Serves 4

Pappardelle Pasta

The dish has two components: fresh pappardelle and a slow-simmered duck ragù. Both are straightforward and well worth the effort.

Ingredients

400 g 00 flour
100 g semolina flour (optional)
4 whole eggs
4 egg yolks

Method

Combine the 00 flour and semolina, if using, then dump it onto a clean countertop. Make a well in the center of the flour, ensuring the walls are high enough to hold the eggs.

Crack the whole eggs and egg yolks into the well. Using a fork, gently whisk the eggs while slowly incorporating flour from the inside of the well until the mixture is no longer runny.

Once a shaggy dough begins to form, bring it together with your hands and knead briefly. At this point, I transfer the dough to a stand mixer fitted with a dough hook and knead on low speed for about 10 minutes.

Remove the dough and shape it into a smooth ball. Do the finger test by lightly pressing a dent into the dough. If it springs back, it’s ready. If not, return it to the mixer and knead for a few more minutes.

If the dough feels dry, whisk an additional egg and add a little at a time until the dough is smooth, glossy, and passes the finger test.

Wrap loosely in plastic wrap and let the dough rest for at least 1 hour.

Cut the dough into four equal pieces and shape each piece into a rectangle.

Using a pasta machine, roll each piece through setting #2 twice, then once each through settings #3, #4, #5, and finally #6.

Lightly flour a tray or countertop. Lay the pasta sheets flat, cover loosely with plastic wrap, and let them rest for about 10 minutes.

Roll each sheet into a loose cylinder and cut into strips about ¾ to 1 inch wide. Dust lightly with flour and place on a tray until ready to cook.

Bring a large pot of generously salted water to a boil. Cook the pasta until al dente.Ragù d’Anatra

Ragù d’Anatra

Ingredients

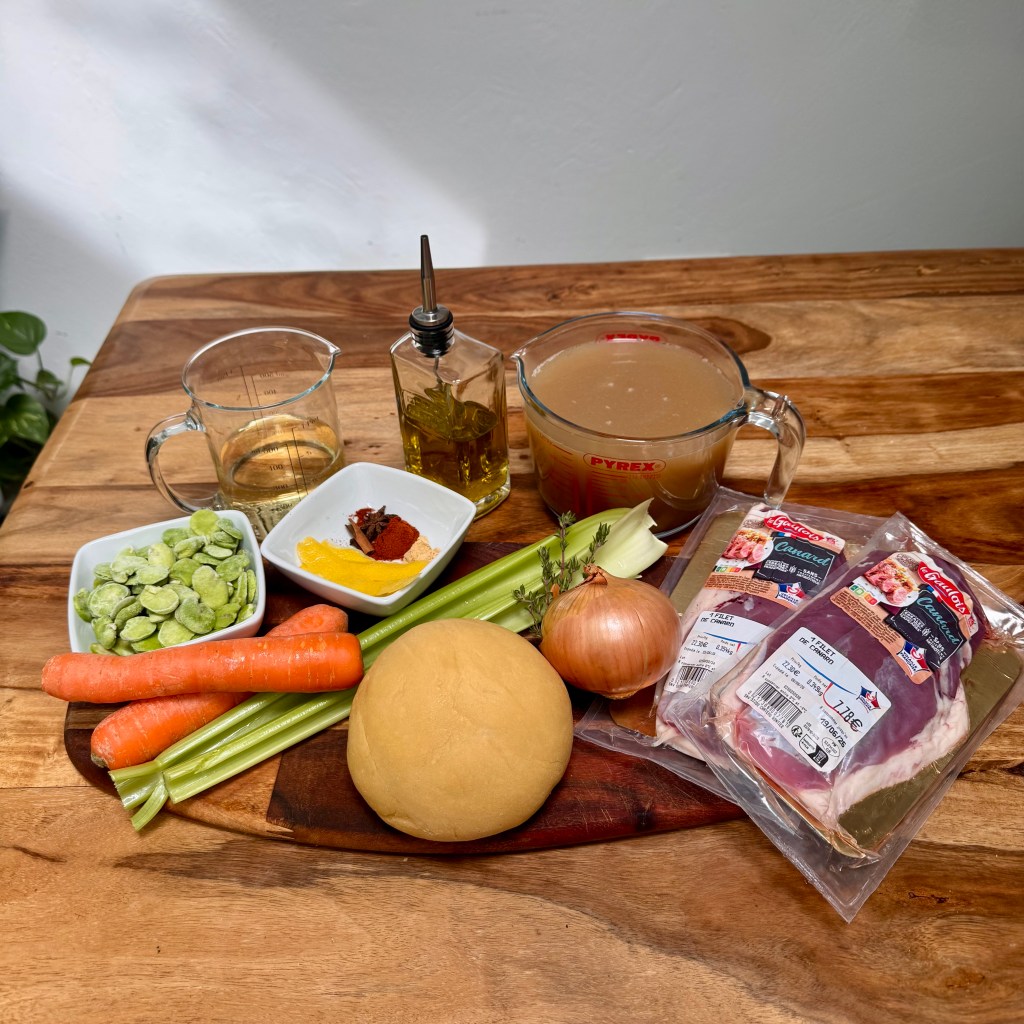
1½ lbs duck breasts, skin and fat included
Olive oil
½ cinnamon stick
1 star anise
2 whole cloves
½ tsp ground ginger
1 tsp paprika
Zest of 1 lemon
2 bay leaves
⅓ cup finely diced carrot
⅓ cup finely diced onion
⅓ cup finely diced celery
1 cup dry white wine
1 quart duck stock (or substitute chicken stock)
5 oz fava beans, lightly blanched
Salt and freshly ground black pepper
Fresh thyme leaves
Smoked ricotta salata or parmesan cheese, for serving

Method

Slice and dice the duck breasts, including the skin and fat. Spread the meat out on a cutting board and mince it by repeatedly chopping across the meat both lengthwise and crosswise until finely minced.

Heat a heavy saucepan or large skillet over medium-high heat. Add a drizzle of olive oil, followed by the minced duck.

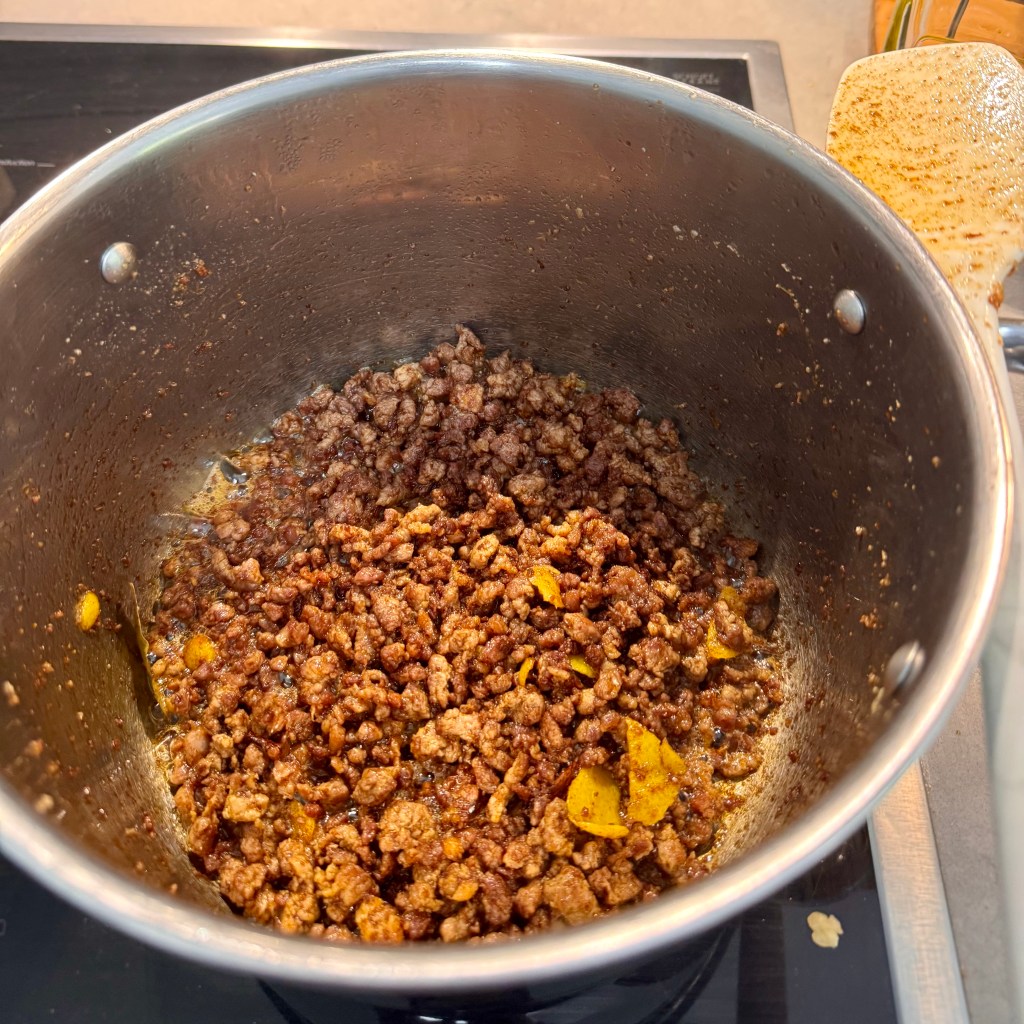
Add the cinnamon stick, star anise, cloves, ground ginger, paprika, lemon zest, and bay leaves. Cook until the moisture has evaporated and the duck has browned and caramelized. You want deep color without burning the meat.

Reduce the heat to medium-low and add the carrot, onion, and celery. Cook slowly for 15–20 minutes, stirring occasionally, until the vegetables are soft and lightly caramelized.

Pour in the white wine and reduce by about half.

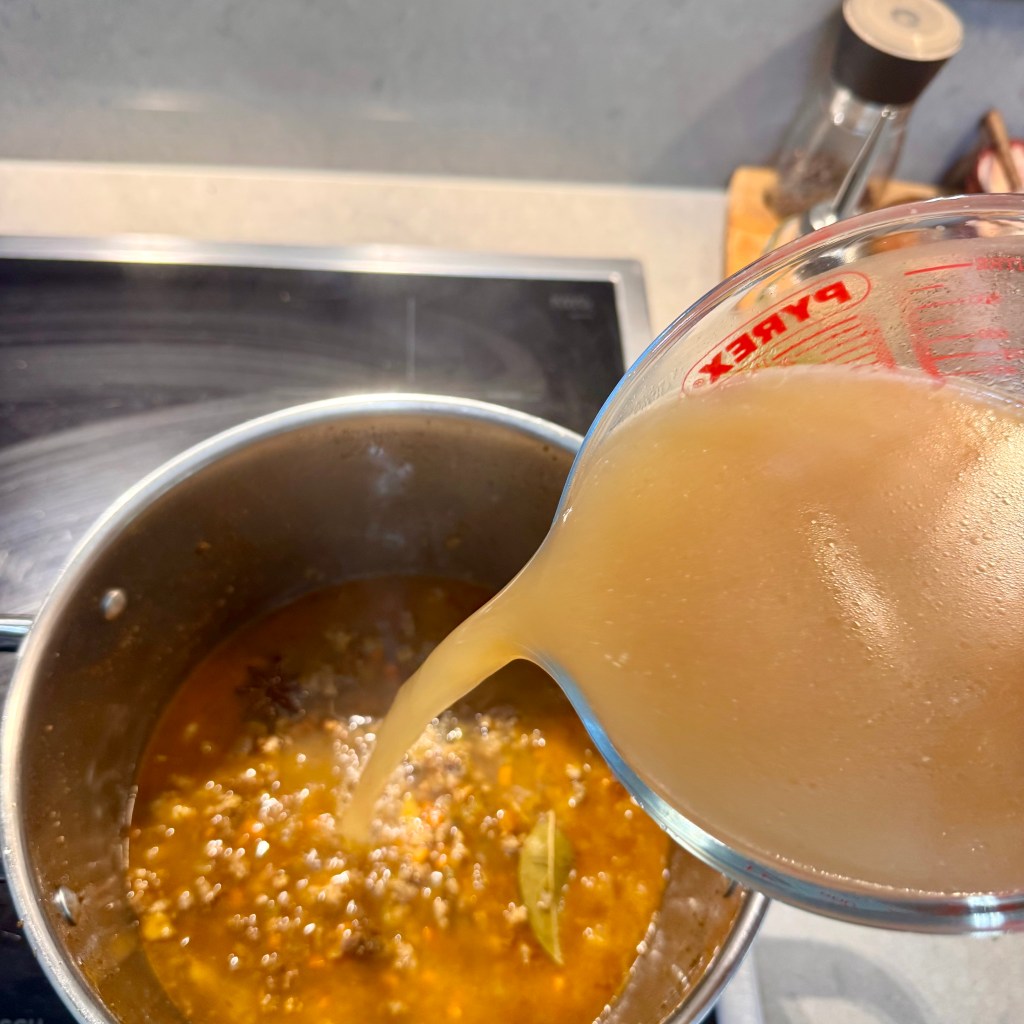
Add about two-thirds of the duck stock and season lightly with salt. Remember that as the liquid reduces, the flavors will concentrate, so avoid over-salting at this stage.

Bring the ragù to a boil, then reduce to a gentle simmer. Cook for about 2 hours, stirring occasionally, until the ragù has thickened. If it reduces too quickly, add additional stock as needed. Depending on your pan and the moisture in the duck, the ragù may need another 30–60 minutes to reach the proper consistency.

Remove and discard the cinnamon stick, star anise, cloves, and bay leaves. Season with salt and freshly ground black pepper to taste.

Add the cooked pappardelle, the blanched fava beans, and just enough pasta water to help the sauce coat the pasta. Toss over medium heat for 1–2 minutes until the sauce clings to the pasta. Be careful not to overcook the pasta or the fava beans.

Transfer to a serving platter or individual bowls. Sprinkle with fresh thyme leaves and finish with smoked ricotta salata or freshly grated Parmesan.

Serve immediately.

Manestra (Orzo), Ouzo, and Memories of the Greek Coast

Recipe Below

While visiting Greece, it’s hard not to be drawn to the sea. Whether you’re on the mainland or one of the islands, the coast has a way of inviting you to slow down. Spending a day at the beach, soaking up the sun and listening to the waves, is one of the best ways to connect with the country. The Mediterranean sparkles in a way that’s hard to describe until you’ve seen it for yourself. The water is cool, the breeze is soothing, and time seems to move a little more slowly.

When we visited Rhodes, we spent quite a bit of time exploring the coast. One day we drove down to Prasonisi where the windsurfers and kite-surfers seemed to cover the water. At times it looked like they were all headed straight for each other, and I kept wondering how they didn’t collide. Somehow they always managed to miss one another. It was quite a sight to watch.

We also spent time at Afantou Beach and Anthony Quinn Bay. As we drove, we passed goats wandering along the roadside and small market stands selling local honey, fruit, vegetables, and baklava.

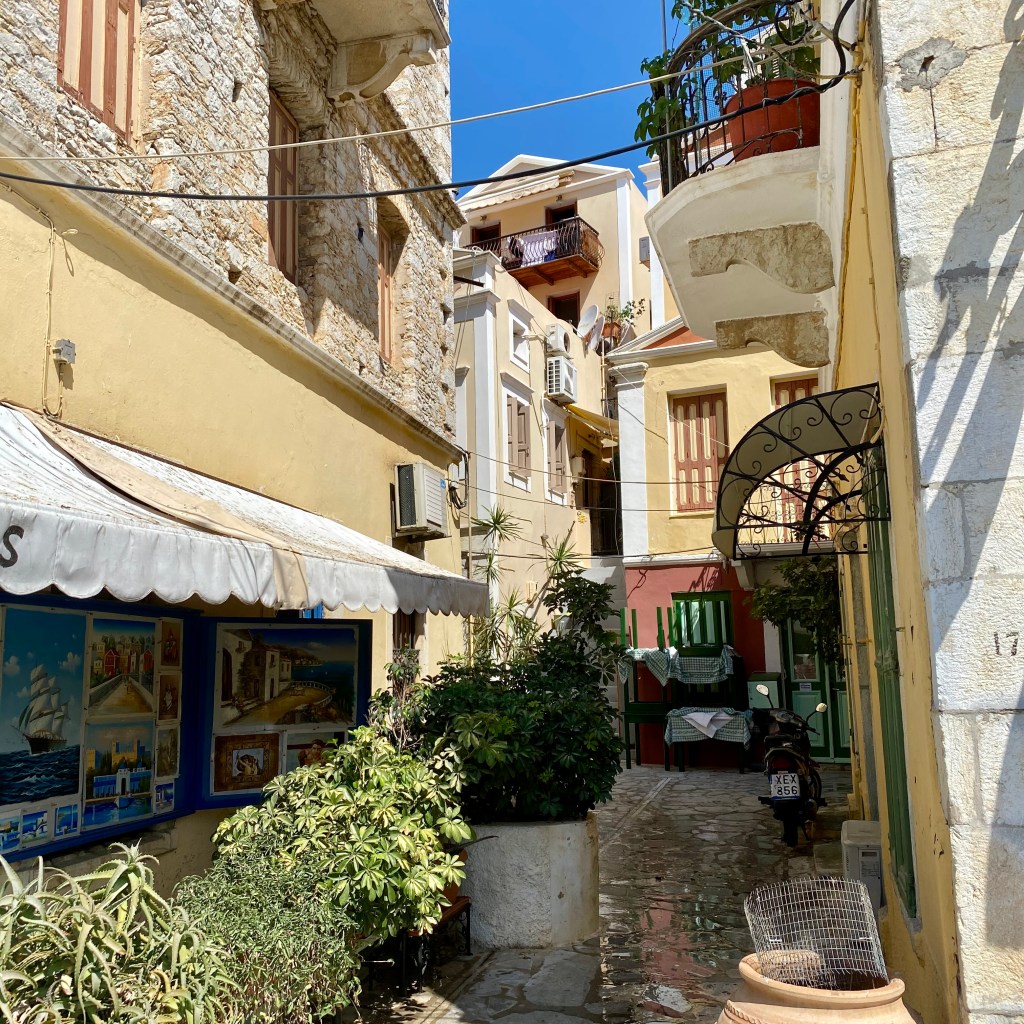
One of my favorite memories was taking the ferry from Rhodes to Symi. As we approached the harbor, the colorful houses came into view and we were awestruck. We spent the day wandering through town, stopping for lunch, exploring side streets, and simply enjoying being there. Like so many places in Greece, it felt both busy and relaxed at the same time.

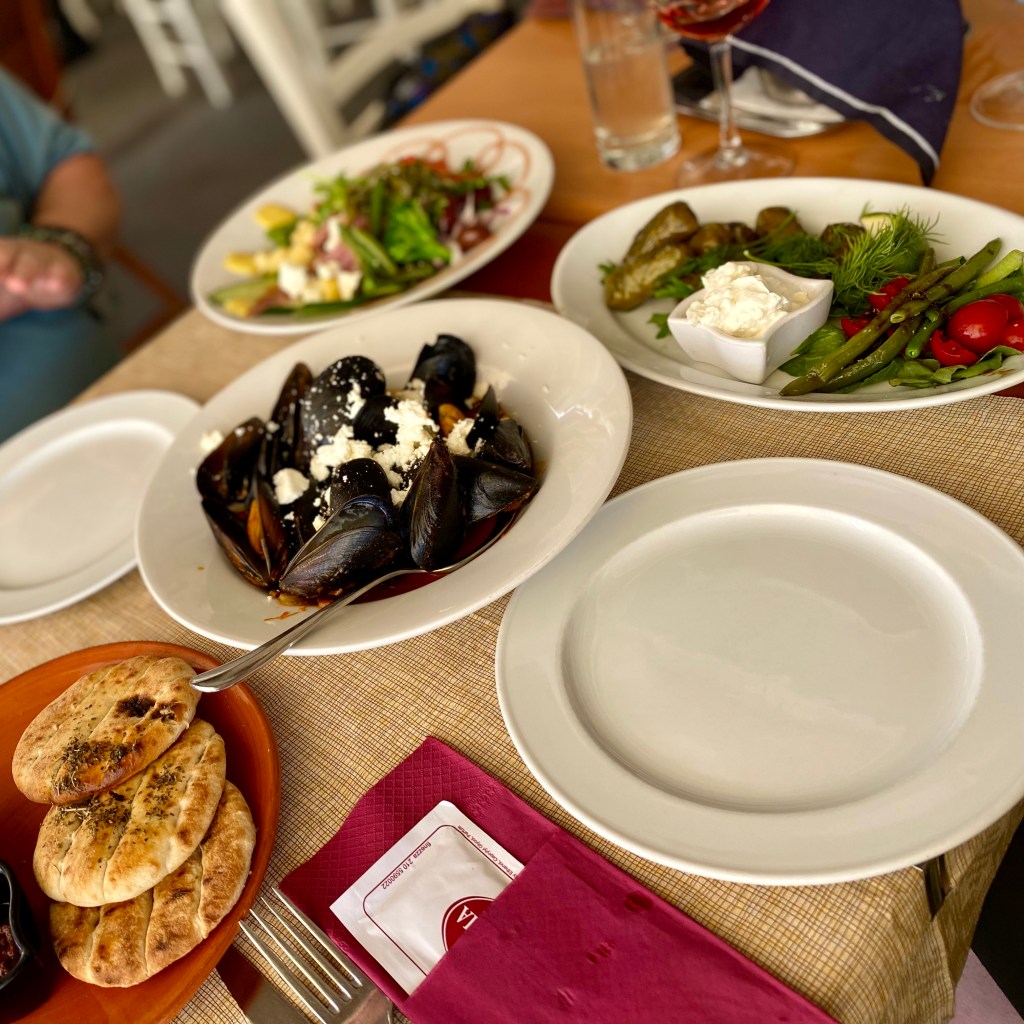
After a day in Symi, we returned to Rhodes and headed into the old town for dinner. We ended up at Mama Sofia’s near the Clock Tower where we shared mussels saganaki, a traditional Greek salad, and plenty of pita bread. After a full day exploring and being on the water, it was exactly the kind of meal we were hoping for.

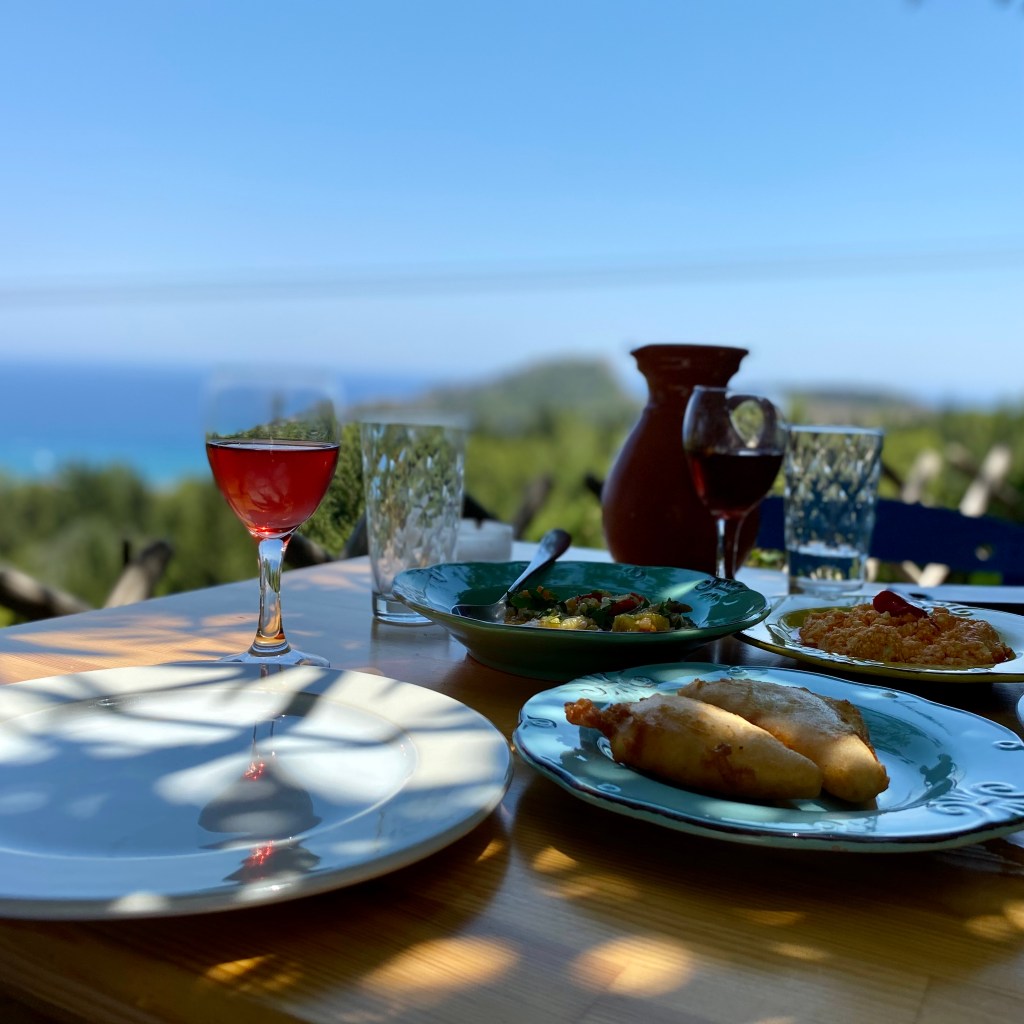
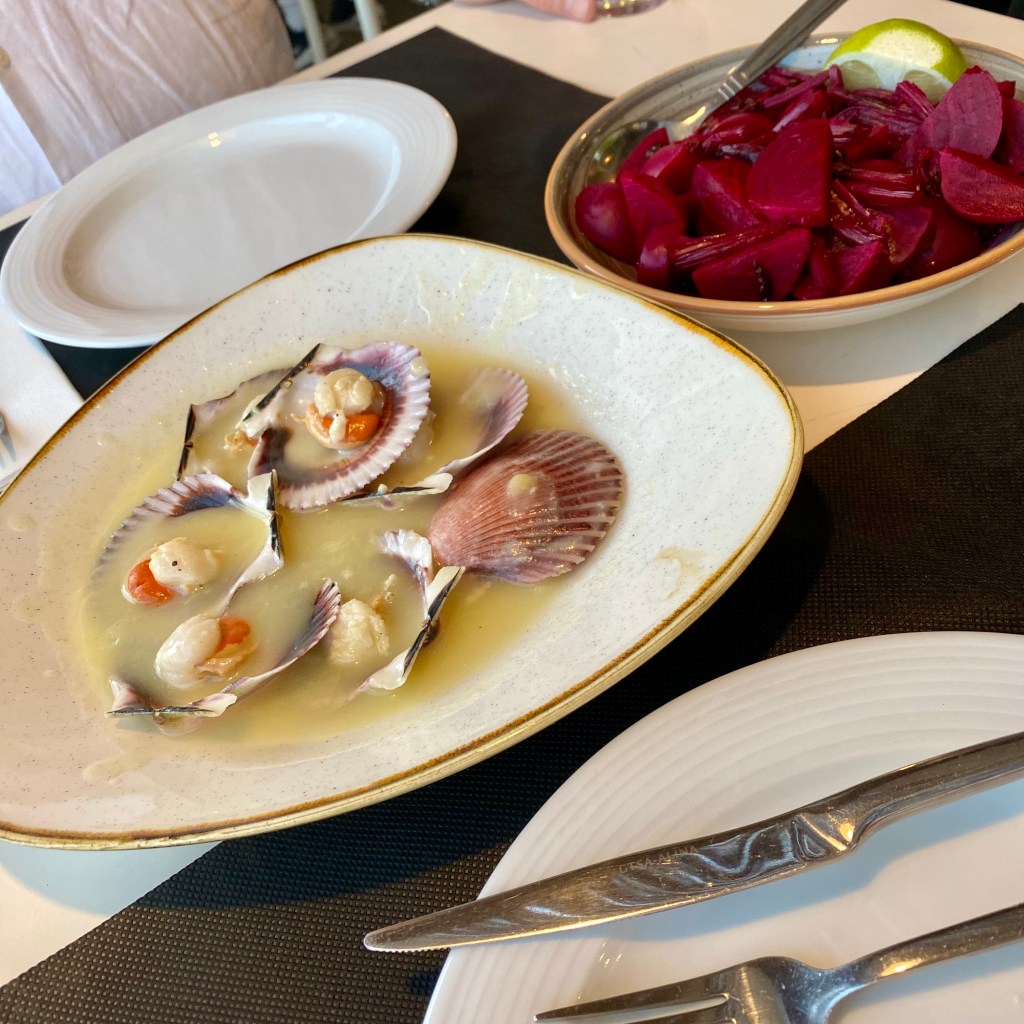
Some of our favorite meals were along the Afantou coast at Limanaki Seafood Restaurant. Sitting on the terrace overlooking the sea, we enjoyed queen scallops with a citrusy olive oil and lime sauce along with their traditional beetroot salad.

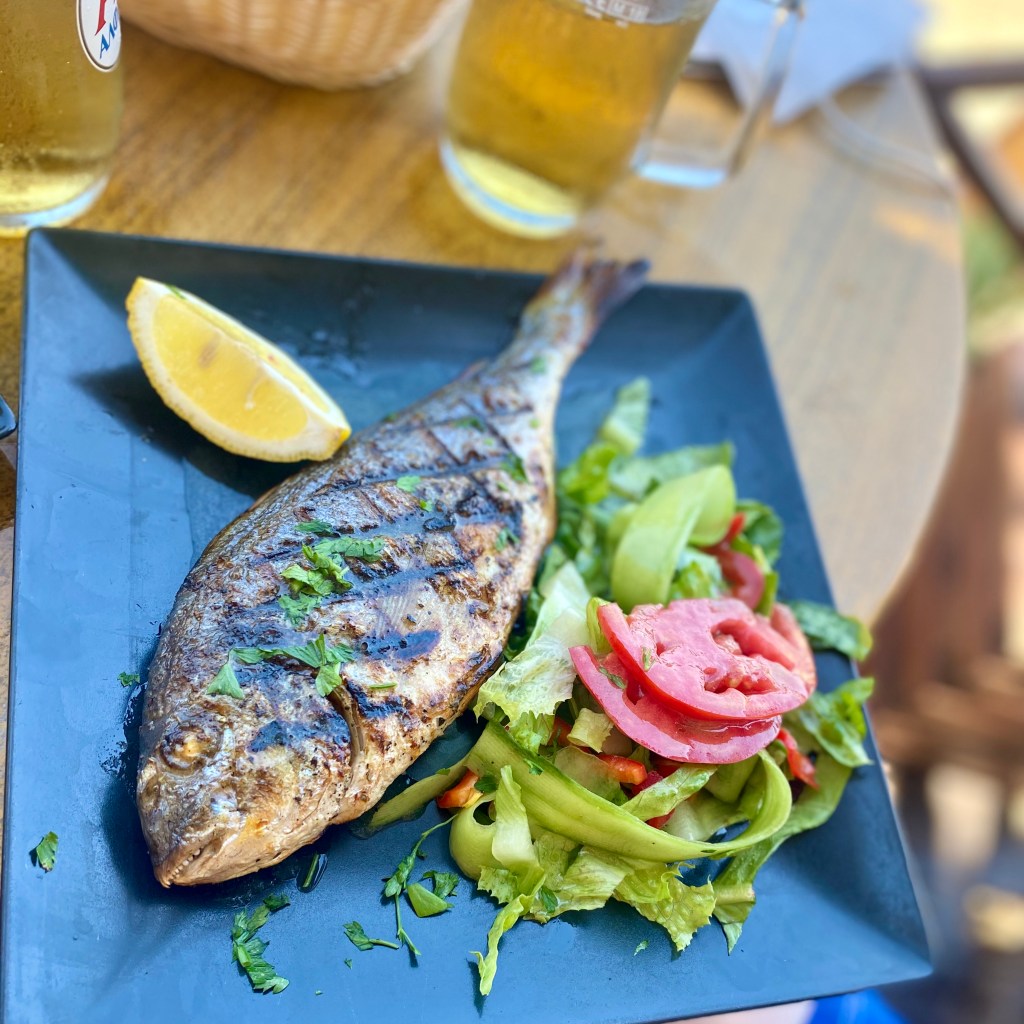
One of the things I enjoyed most about Greece was how naturally the food and the surroundings seemed to go together. A day at the beach, a ferry ride to a nearby island, or a walk through an old town often ended at a coastal restaurant overlooking the water. Fresh fish and seafood were everywhere, often caught that same day and prepared simply. Add a glass of local wine, good conversation, and maybe a little ouzo, and it was hard to ask for much more.

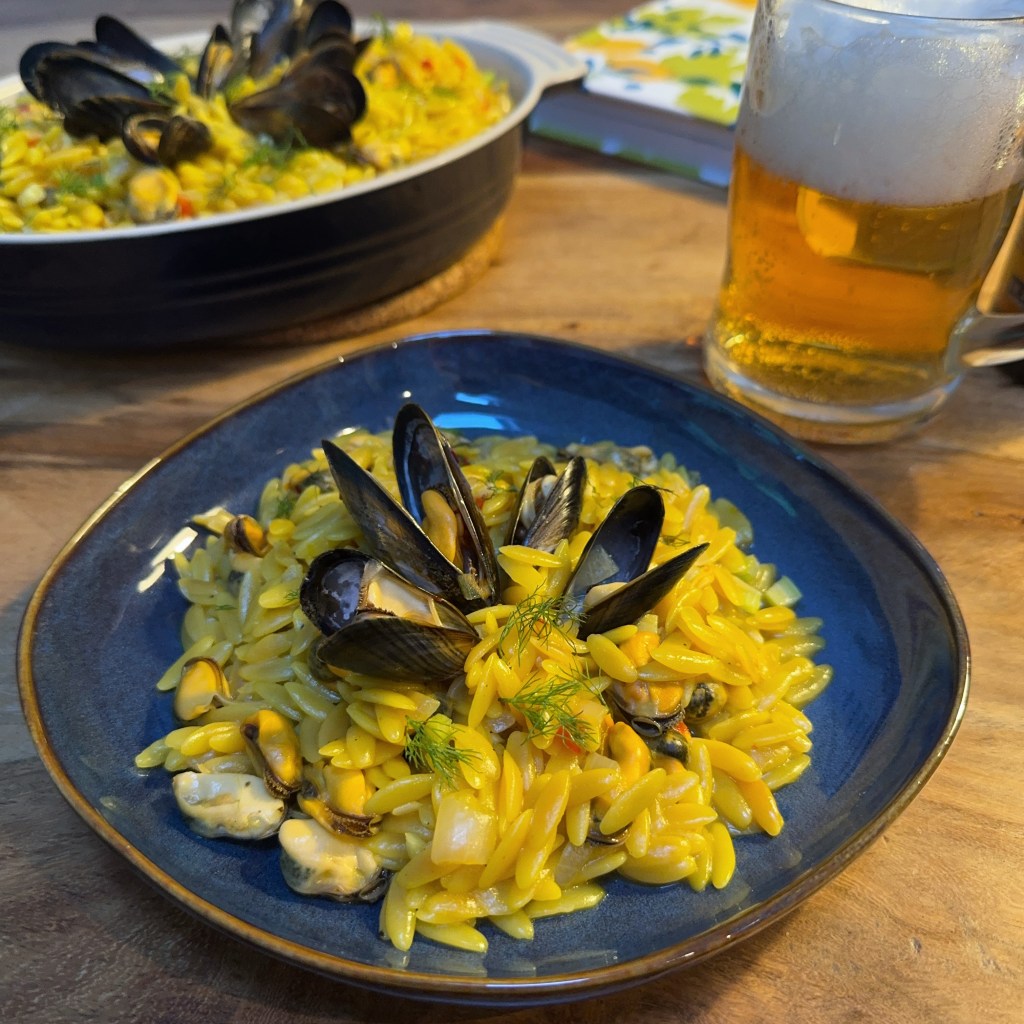
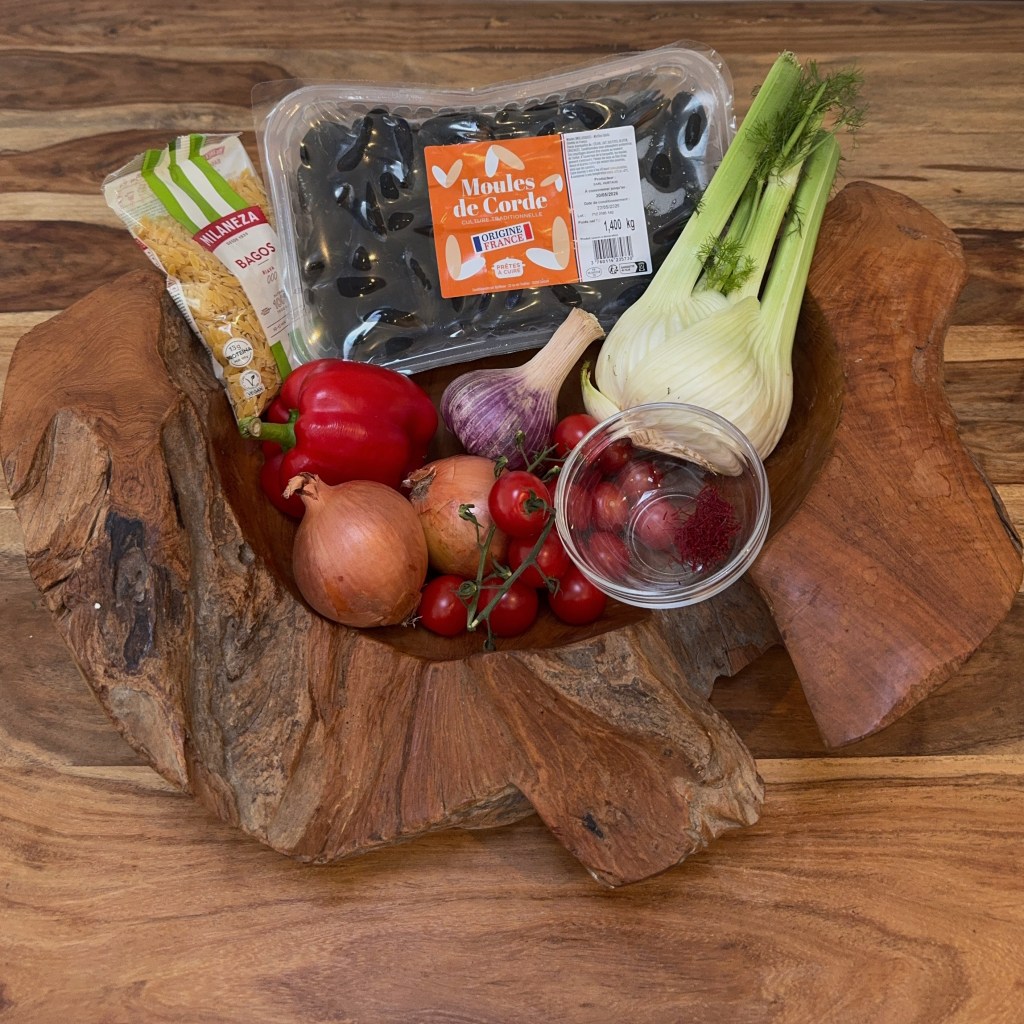
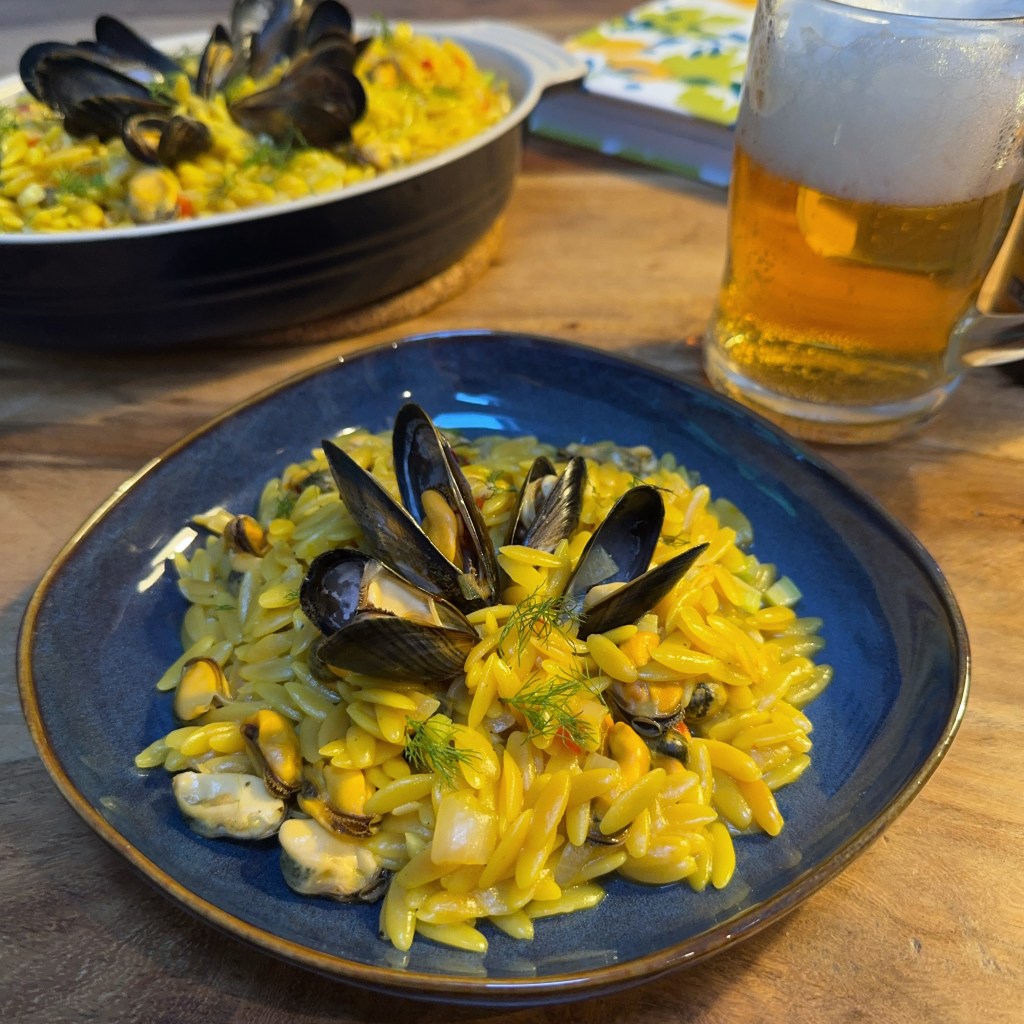
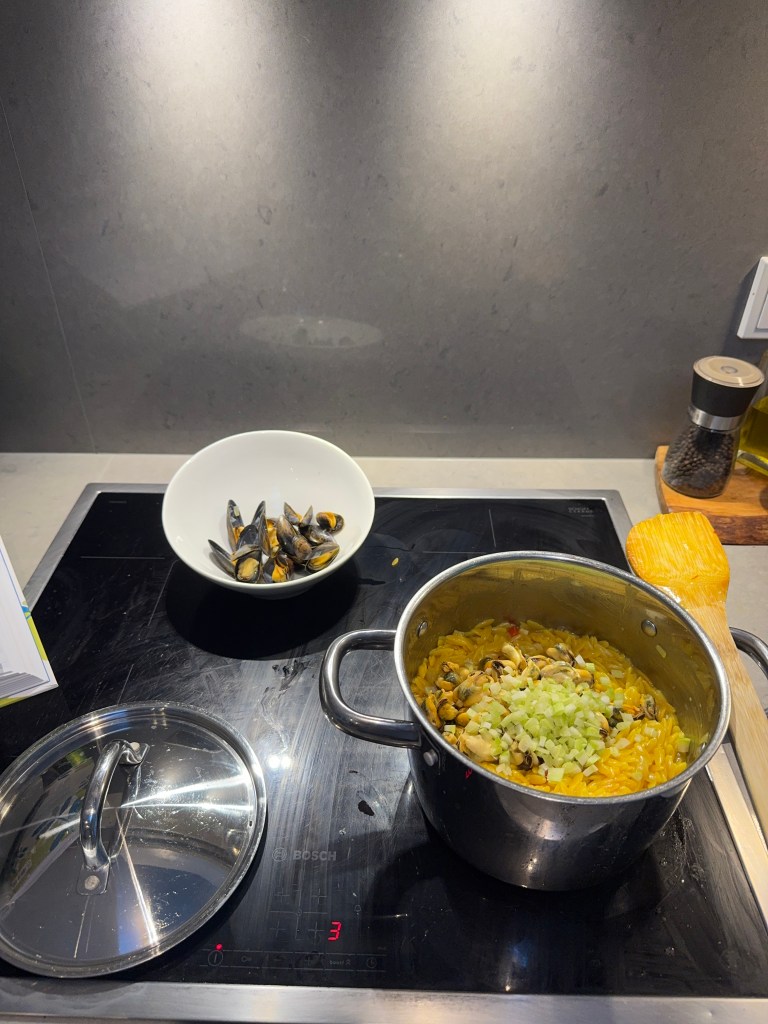
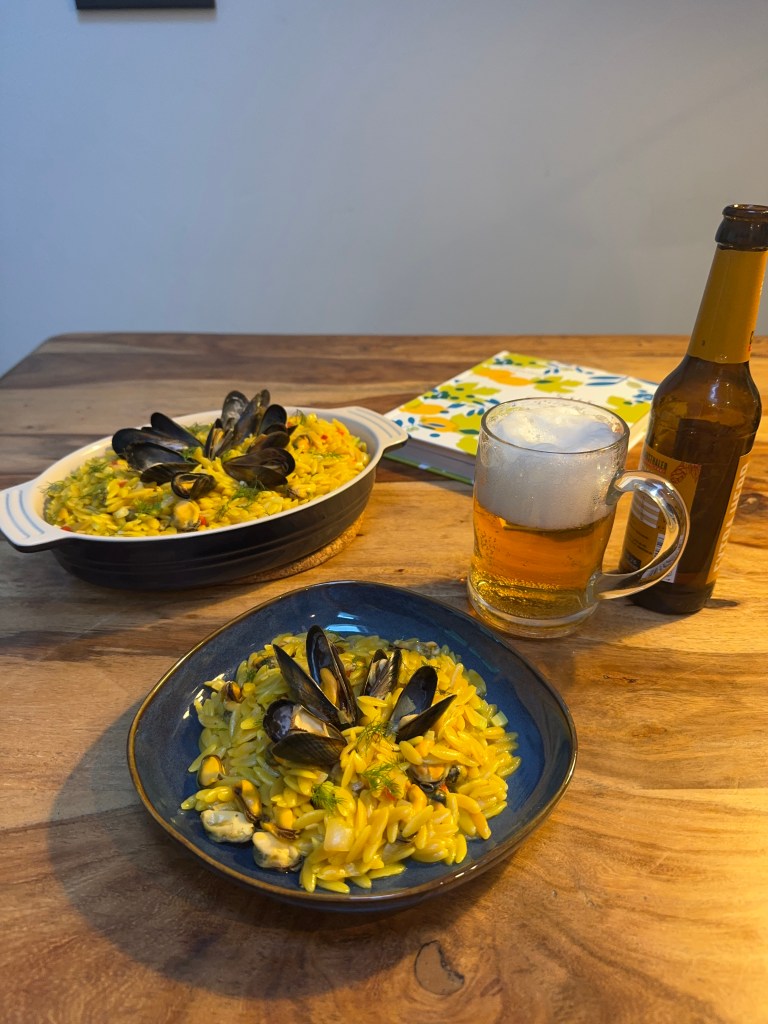
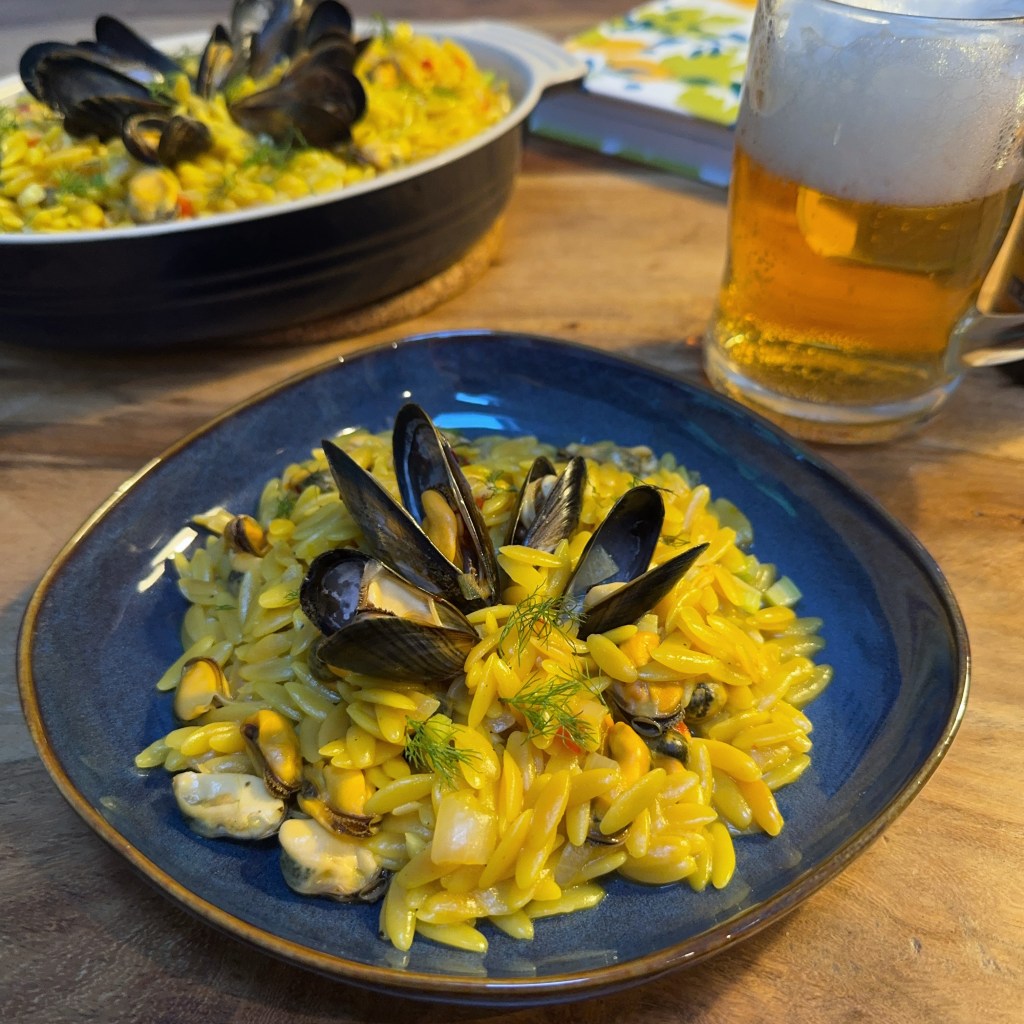
My second selection from Salt of the Earth was Manestra with Mussels, Saffron, and Ouzo. This dish immediately brought back memories of those days along the coast. The saffron and ouzo are what make it stand out.

The slight licorice note from the ouzo adds an unexpected layer of flavor that works beautifully with the mussels and seafood broth.

I wasn’t quite sure what to expect from the ouzo, but it ended up being one of the flavors that made the dish memorable.

Ouzo isn’t just for raising a glass and shouting “Opa!” It brings a subtle depth to the dish that balances the richness of the mussels and the creaminess of the orzo.

The taste of the sea from the mussels, the saffron, the touch of licorice from the ouzo, the crunch of the fennel fronds, and the creamy texture of the orzo all come together in a meal that feels connected to the Greek coast. As I sat down to enjoy it in Luxembourg, it was easy to think back to Rhodes, Symi, and afternoons spent beside the Mediterranean.

Manestra (Orzo) with Mussels, Saffron, and Ouzo

Serves 4

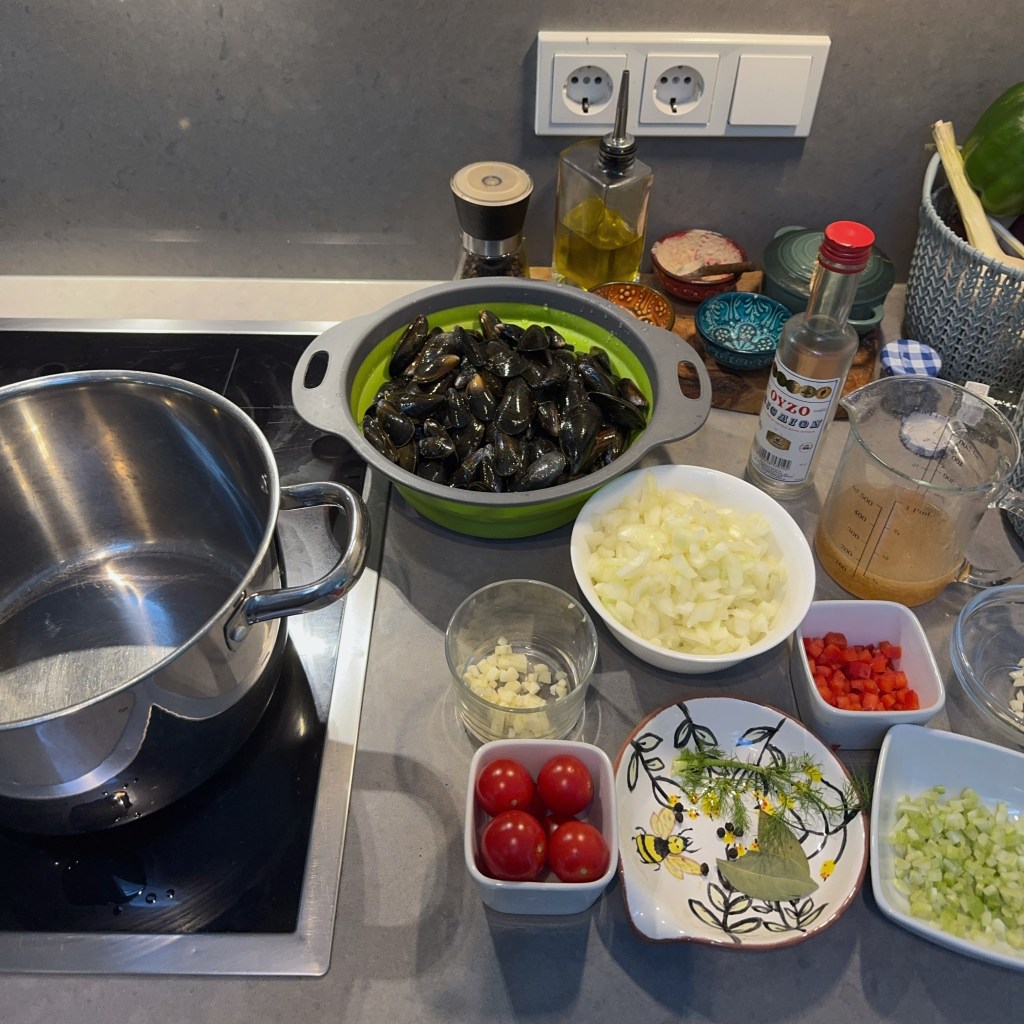
Ingredients:

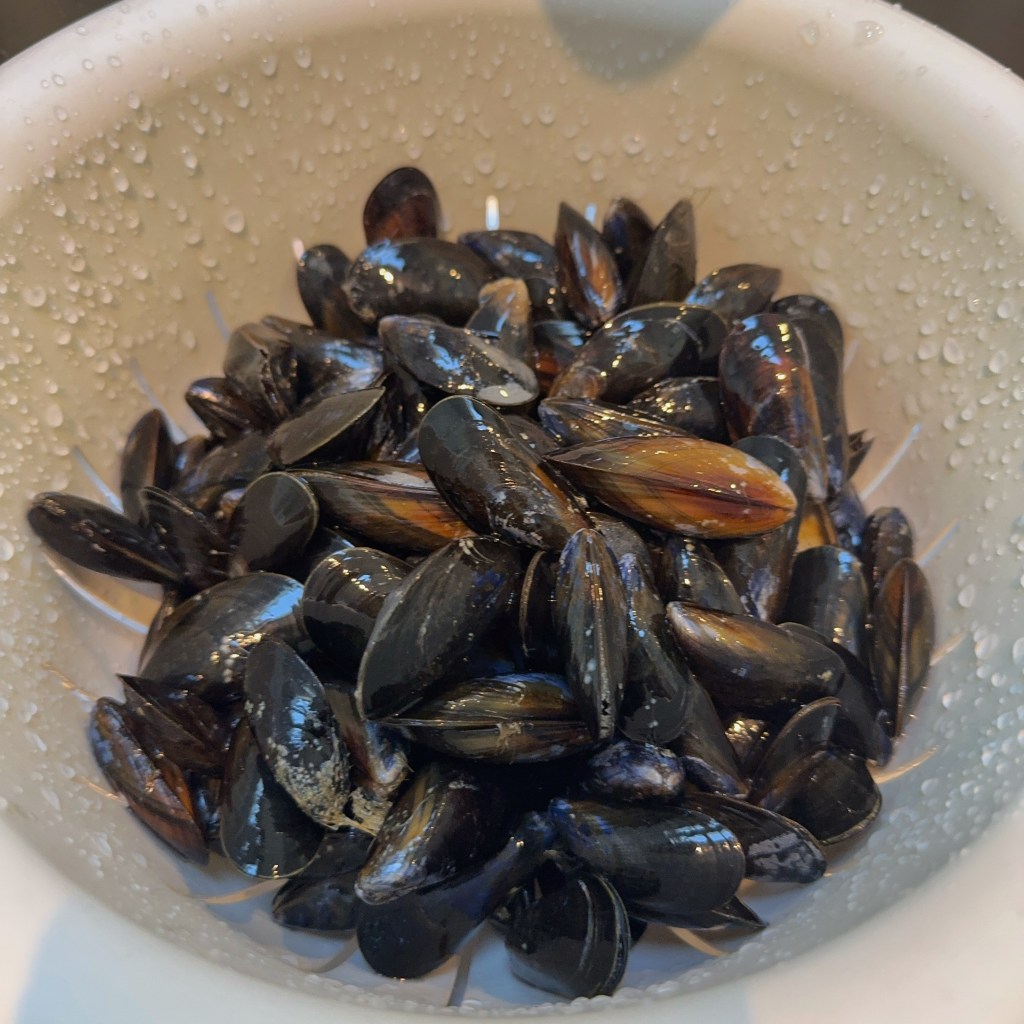
2 lbs fresh mussels in shells
Olive oil
1 large onion, chopped
3 garlic cloves, chopped
2 bay leaves
Pinch of saffron threads
8 black peppercorns
8 cherry tomatoes, halved
2 to 3 fennel sprigs
6 oz ouzo, or dry white wine with star anise
32 oz chicken stock, heated

For the Orzo:

Olive oil
12 oz orzo
1 medium onion, chopped
2 garlic cloves, chopped
1/2 red bell pepper, diced
1/4 cup fennel fronds, chopped
Ground black pepper, to taste

Method:

Clean the mussels thoroughly and remove the beards. Discard any mussels with broken shells. Grind the saffron threads in a mortar, add 2 tablespoons of water, and let bloom for 15 minutes.

Heat a deep pot over medium-high heat and add olive oil. Add the onion and sauté until translucent. Add the garlic and cook until fragrant, about 2 to 3 minutes. Add the saffron water, bay leaves, and peppercorns, and stir to combine.

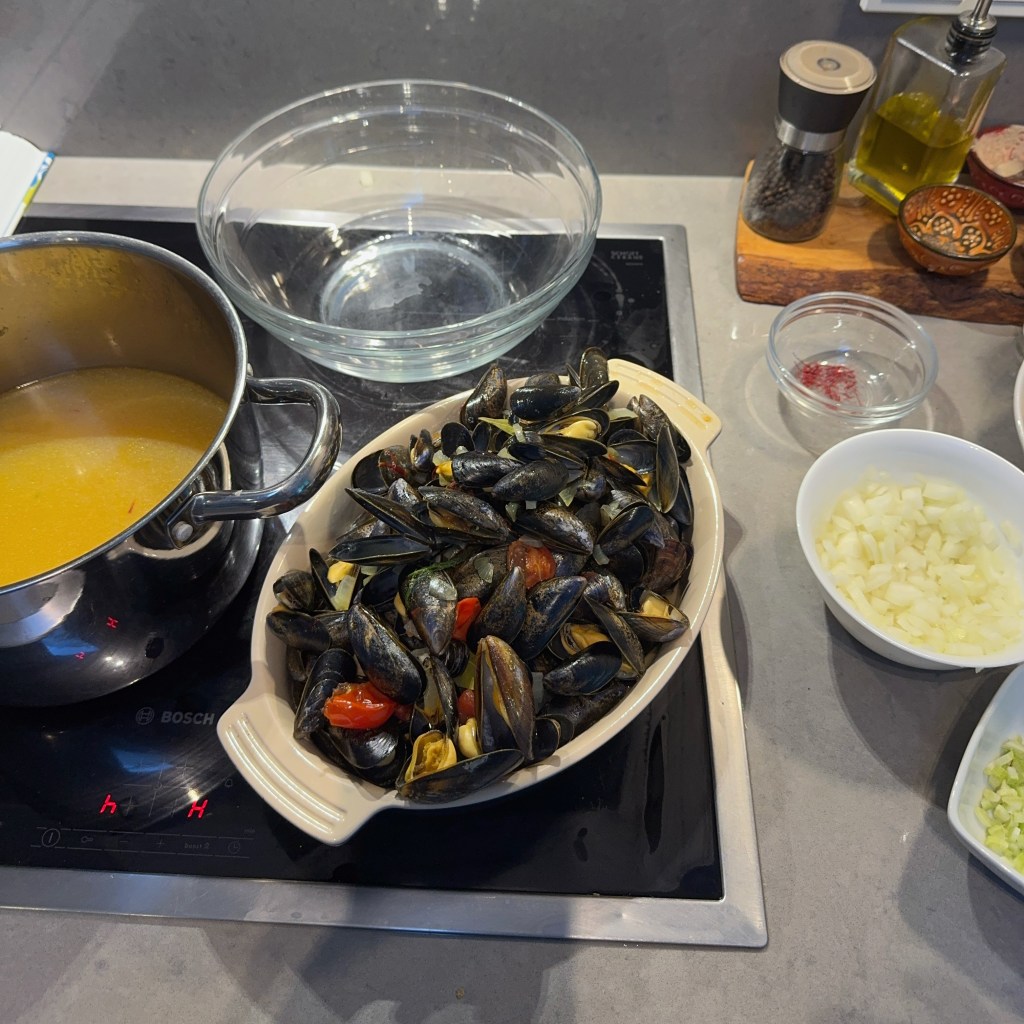
Stir in the tomatoes and fennel sprigs, then add the ouzo and hot stock. Cover and bring to a boil. Add the mussels, cover, and cook until the mussels open, about 5 minutes.

Remove the mussels from the broth and discard any that have not opened. Strain the cooking liquid and keep warm. Set aside about a dozen of the nicer mussels in their shells for garnish.

Remove the remaining mussels from their shells and set aside.

Place a saucepan with a lid over medium-high heat. Add olive oil and the orzo. Stir and toast the orzo until slightly golden. Using a slotted spoon, remove the orzo from the pan and set aside.

Return the pan to the heat and add more olive oil. Sauté the onion until translucent, then add the garlic and cook until fragrant, about 2 to 3 minutes. Add the red bell pepper and stir to combine. Add the toasted orzo back to the pan.

Add 32 oz of the reserved mussel broth and bring to a boil. Cover, reduce the heat to low, and simmer for about 15 minutes, or until most of the liquid is absorbed and the orzo is tender.

Add the shelled mussels and fennel fronds. Season to taste with black pepper. Transfer to a serving bowl and garnish with the reserved mussels in their shells and a few chopped fennel fronds. Drizzle with a little olive oil and serve.