A Summer Kitchen Project
Every summer I tell myself I’m going to make jam, and somehow life gets busy. This year I finally carved out a little time after seeing beautiful cherries everywhere I went.
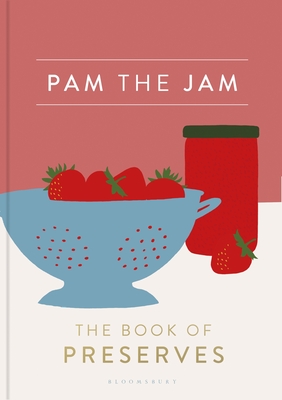
I chose the cherry jam recipe from Pam the Jam because I wanted to get back into preserving. It reminded me that making jam isn’t difficult. It just takes a little time and patience.
Gathering Everything Together
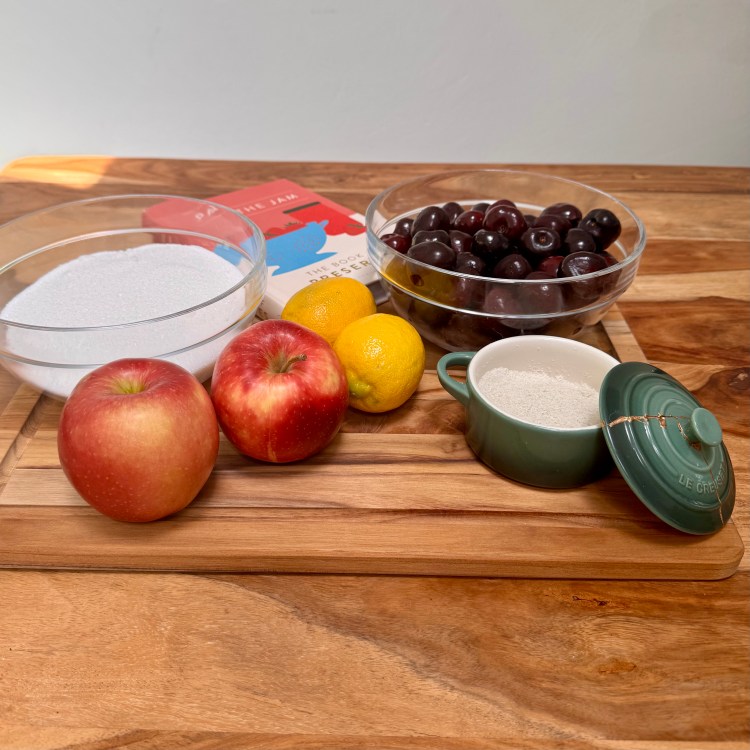
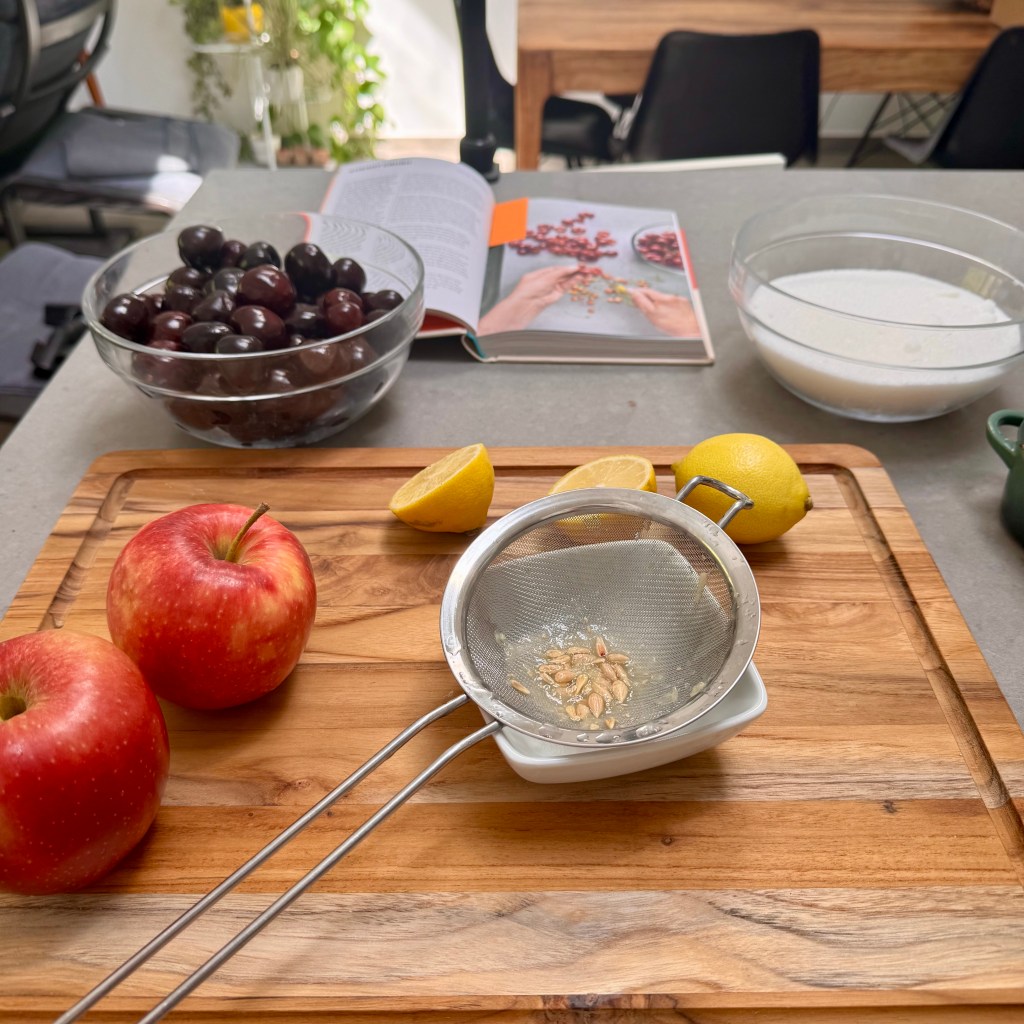
Fresh cherries, apples, lemons, sugar and salt. Good Jam starts with good fruit.
Preparing the Fruit
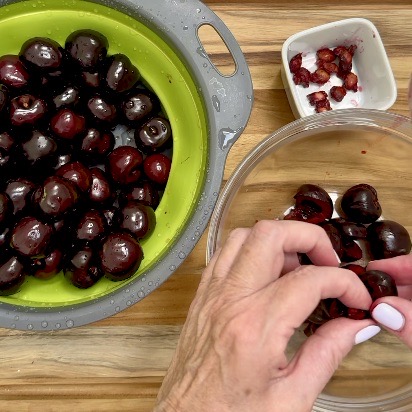
Pitting the cherries took the longest.
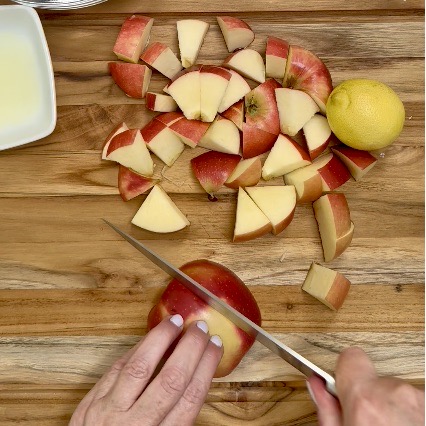
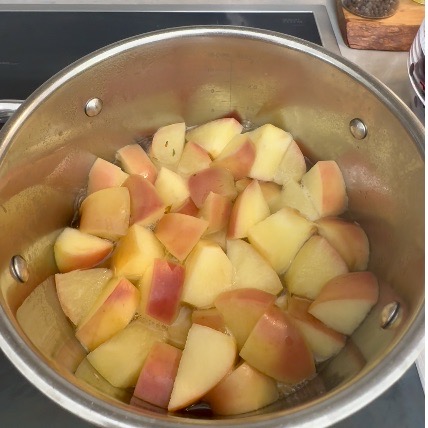
The apples are cooked separately to make a natural apple pectin. I thought this was a clever technique and one I’ll happily use again.
Letting the Fruit Rest

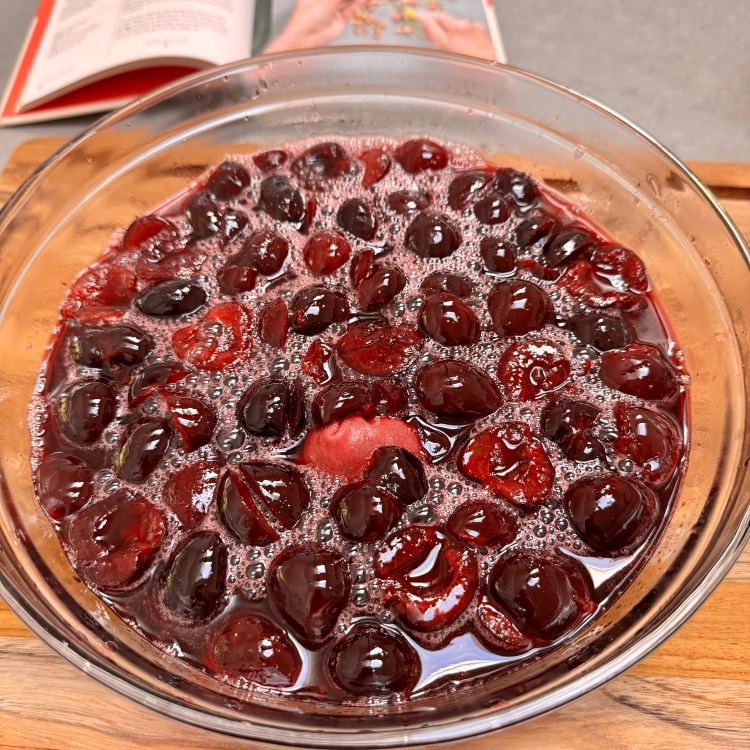
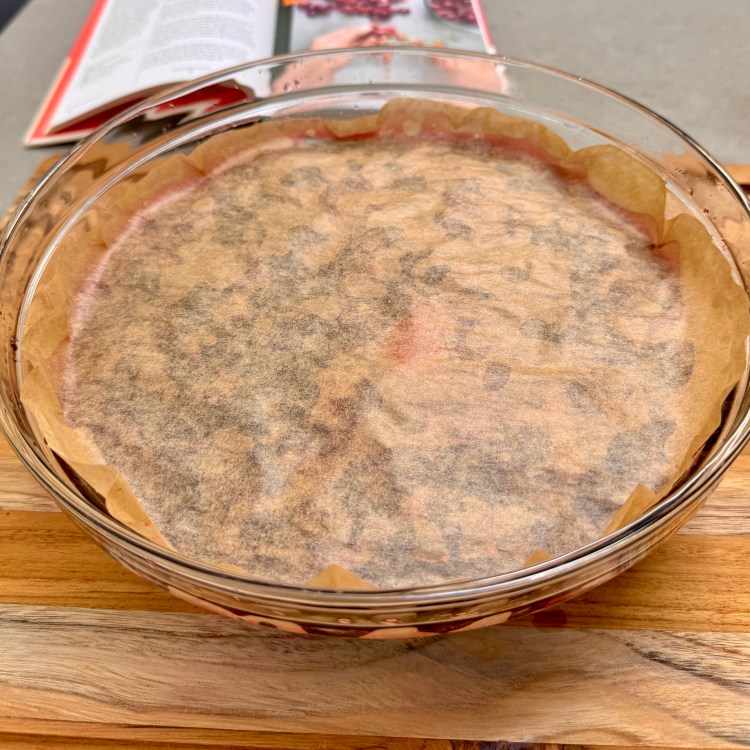
Once everything is mixed together, it’s slowly simmered until the sugar melts. Then you let it come to room temperature and cover with parchment. This helps to retain the deep shiny color. The fruit then rests in the refrigerator overnight.
This gives the cherries time to soak up the sugar, making for evenly distributed jars of jam
Sterilizing the Jars
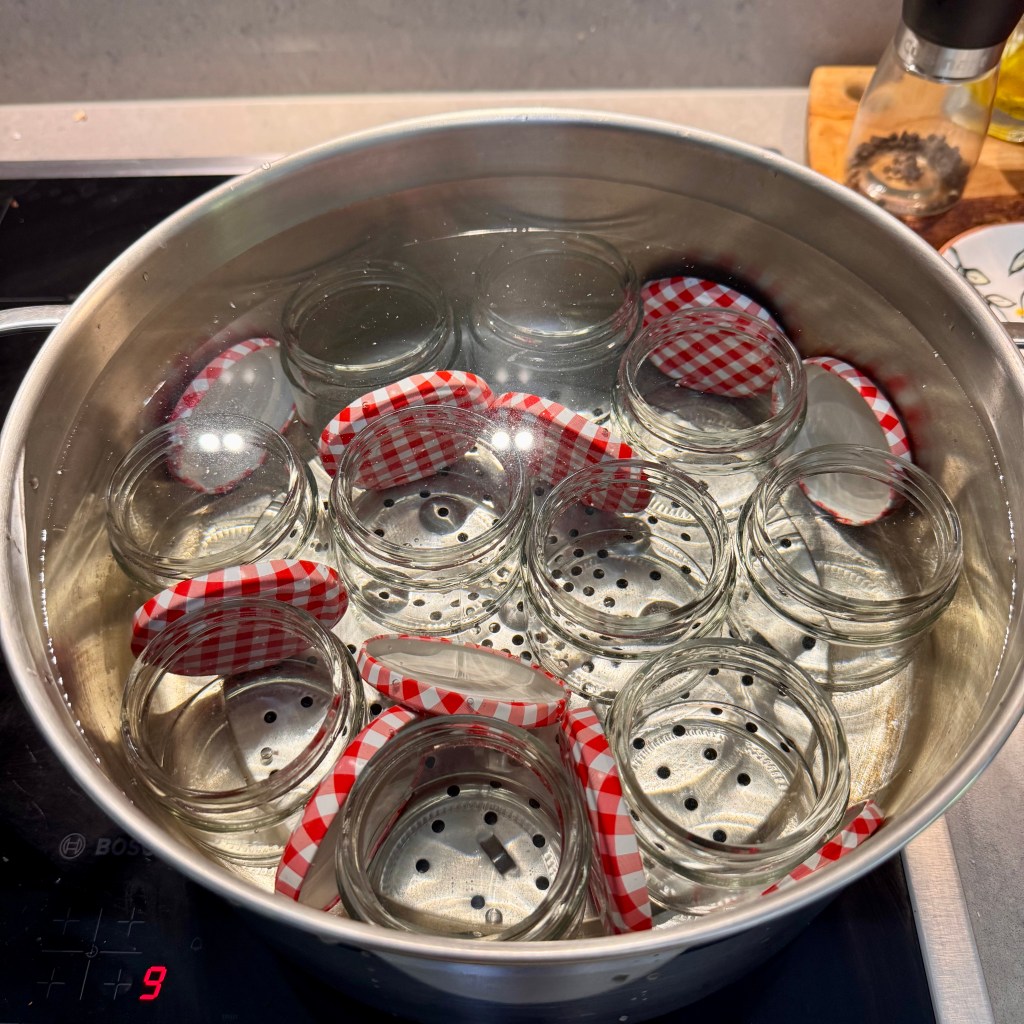
The next day, I sterilized the jars and lids.
Having everything ready before the jam reaches temperature makes the whole process much less stressful.
Making the Jam
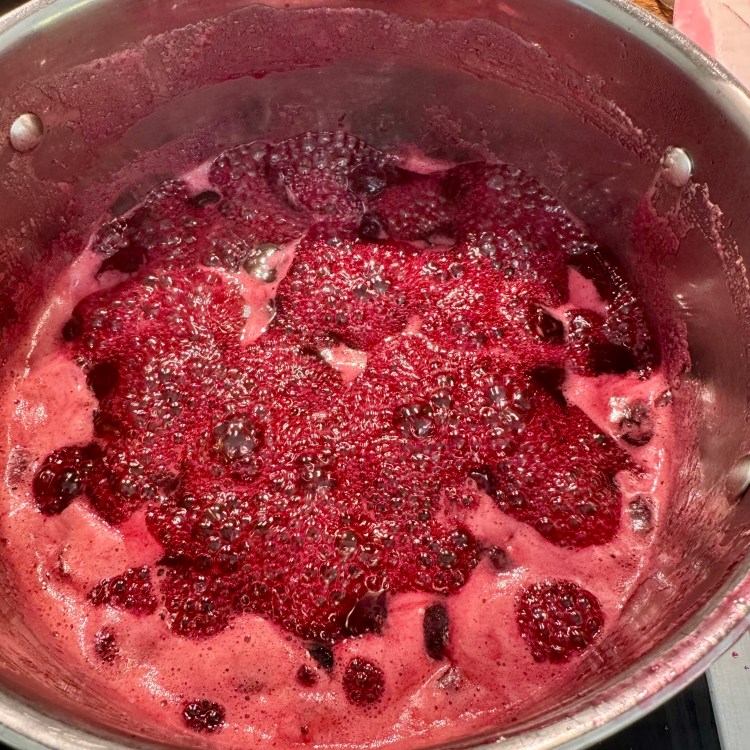
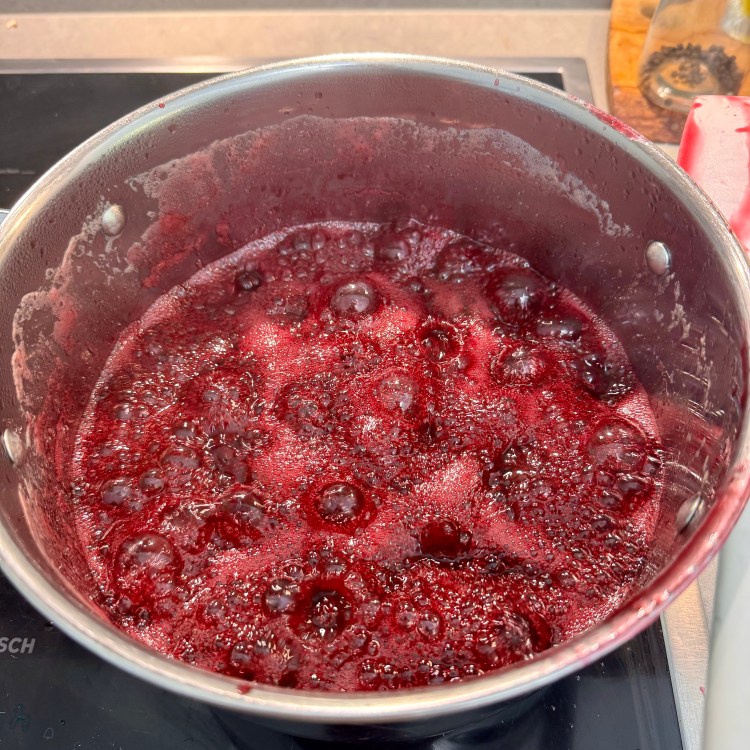

Watching the cherries bubble away was my favorite part.
The kitchen smelled like summer, and the color became darker and richer as the jam cooked.
At some point you stop thinking about recipes and simply watch for the right consistency.
Worth the Wait
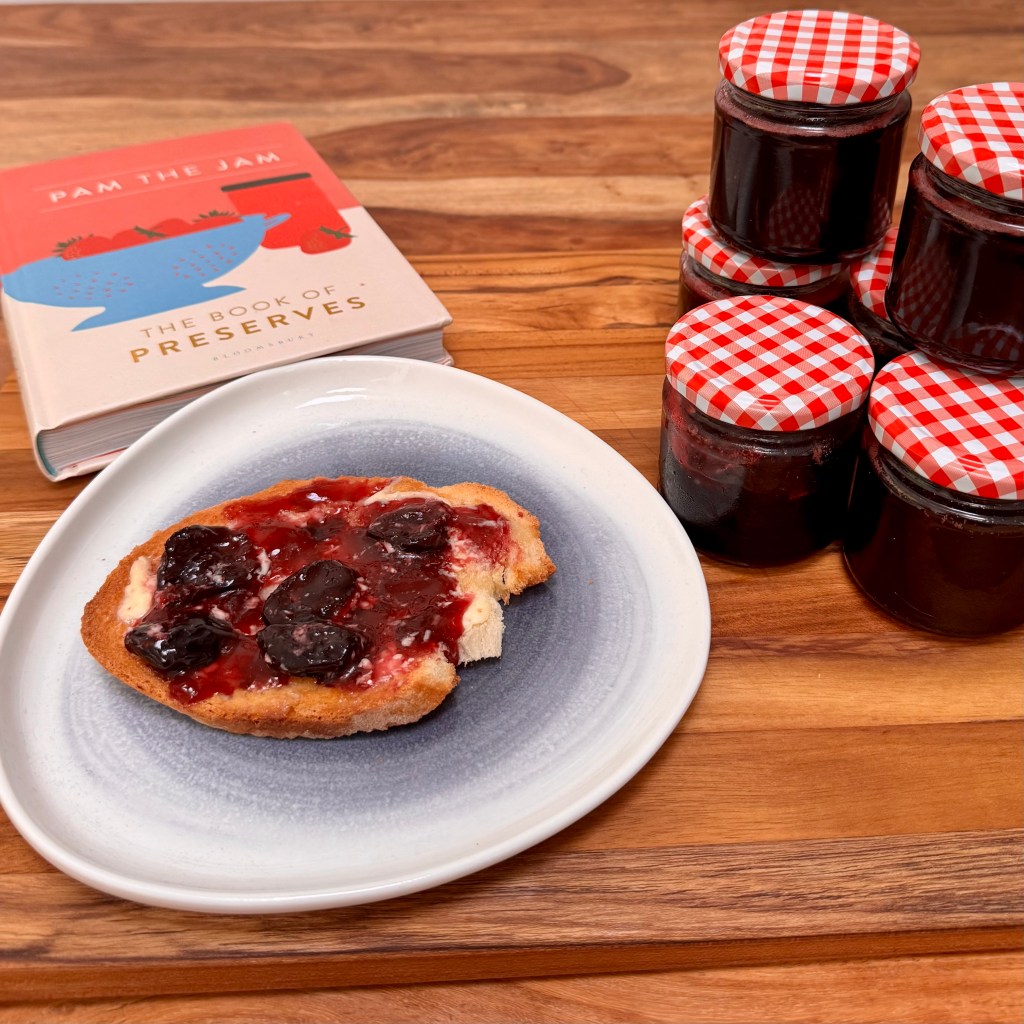
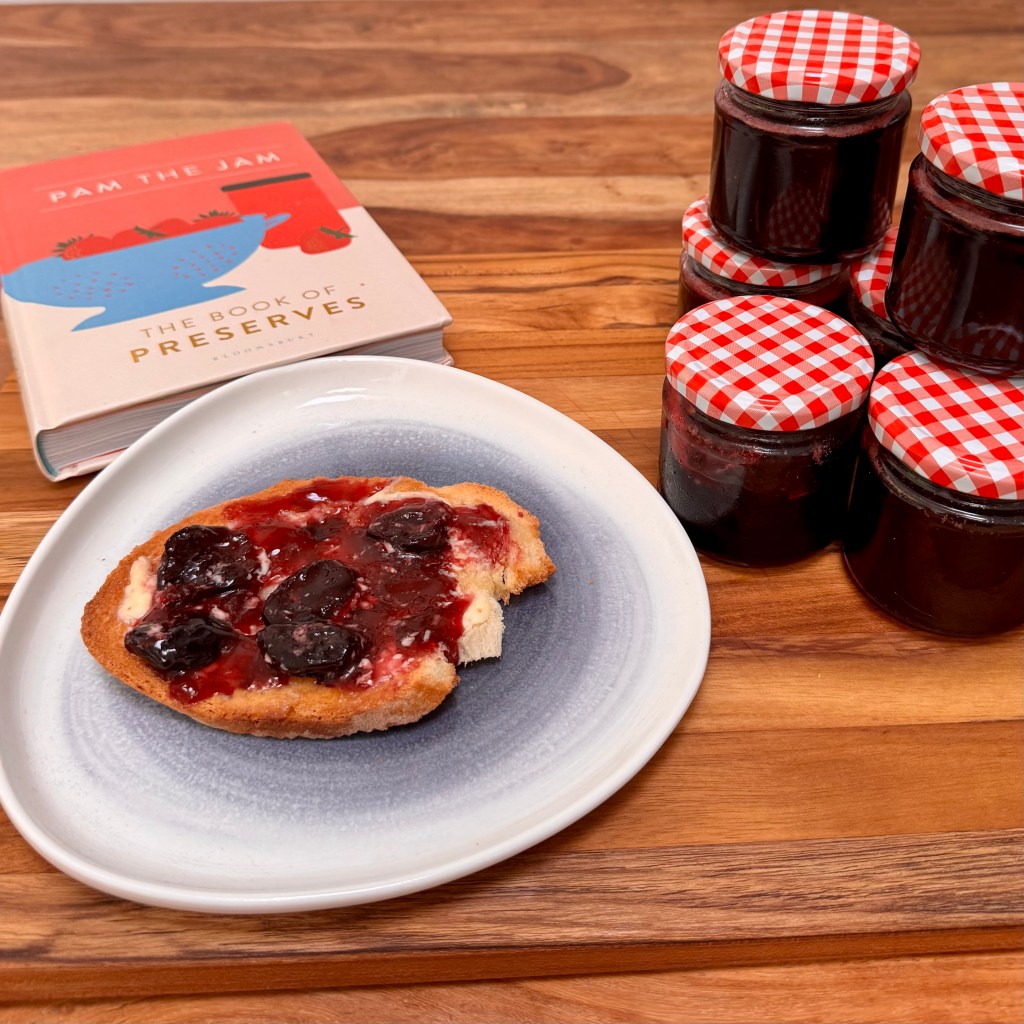
Six jars of cherry jam ready for the cupboard. The first slice of buttered toast didn’t last very long.
What I Learned
- Apples make an excellent natural source of pectin.
- Preparing everything before cooking makes the process much easier.
- Jam making is much simpler than I remembered.
- Summer really is the best time to fill the pantry.

