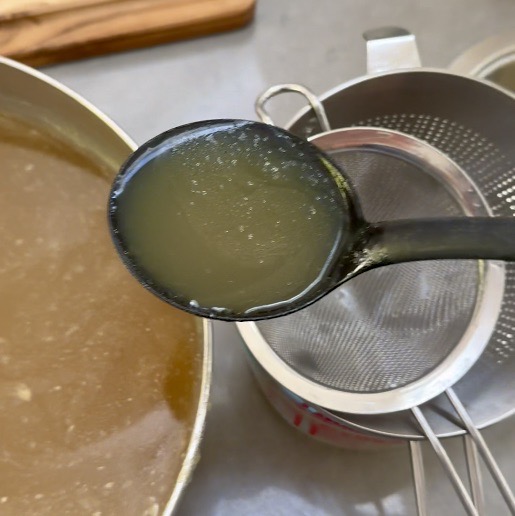
Good cooking begins with a few simple ingredients and a little time.
Making my own stock is one of the most rewarding parts of cooking for me. As it simmers, I think about how I’ll use it. Often, that’s when the idea for something new begins.
I like to make chicken stock in two ways. A light stock, made with unroasted bones, is lovely for more delicate dishes and can become the foundation for a clear consommé. Roasting the bones first makes a richer stock, with a deeper flavor that I love in soups, sauces and braised dishes.
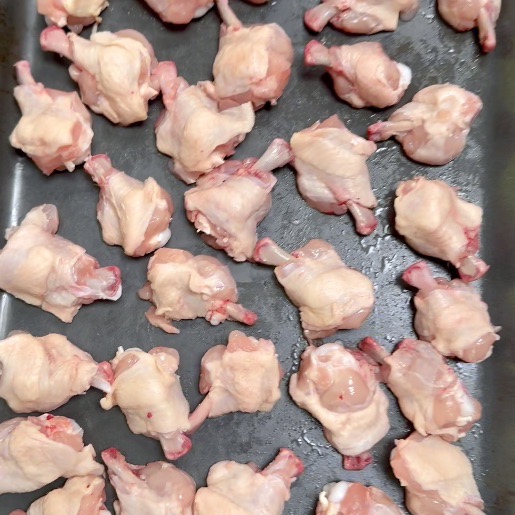
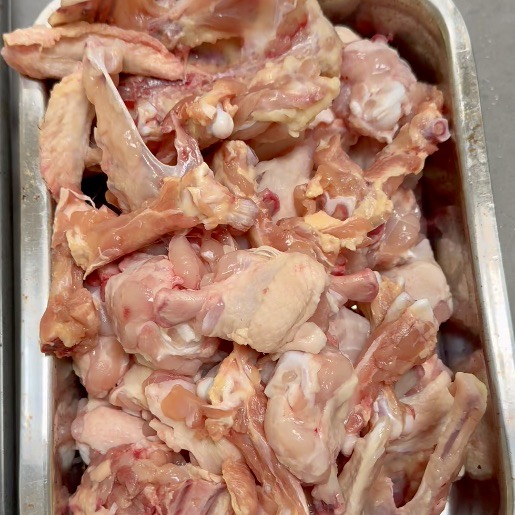
Both begin with uncooked chicken bones. When I am using chicken pieces for a particular dish, I often buy a whole chicken and cut it up myself. I save the backbone, wing tips and sometimes the breast ribs in the freezer. Over a few months, I collect enough for a pot of stock, adding chicken wings or legs when I need a little more.
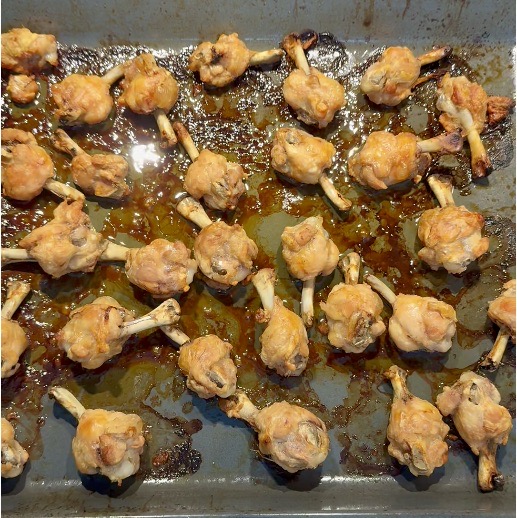
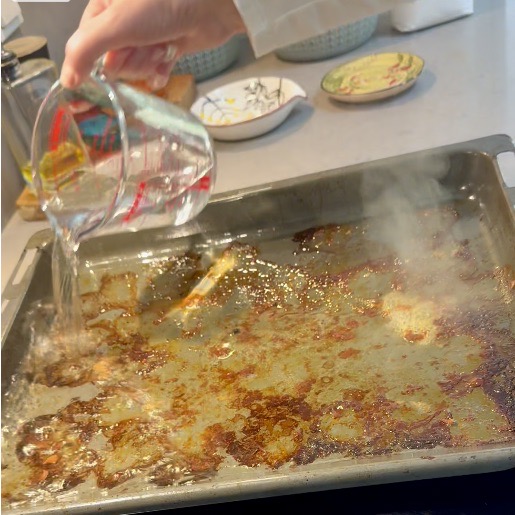
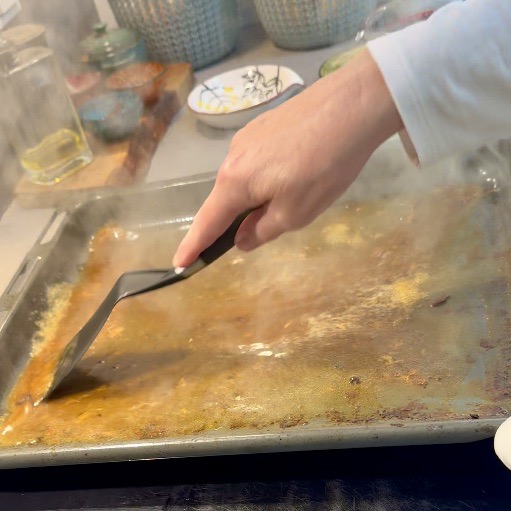
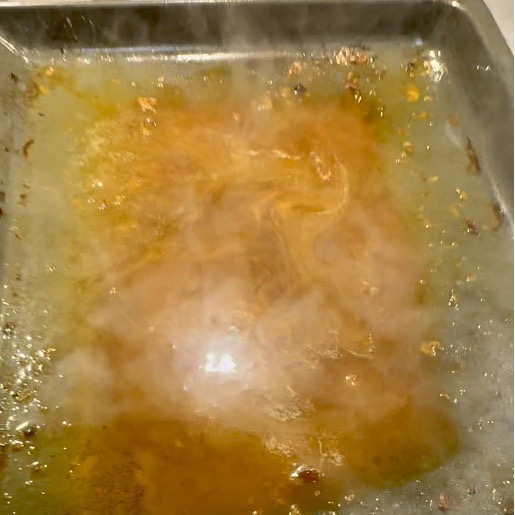
This time, I wanted a hearty stock for fall cooking. I roasted the chicken pieces until golden, then deglazed the roasting pan to capture all those flavorful browned bits.
For chicken stock, I use onion, celery, leeks and thyme. I leave out the carrots that I use in my veal stock. I like the gentle flavor of the leeks and the way these vegetables complement the chicken without adding the sweetness or warmer color of carrots.
Now I have plenty of stock tucked away for fall. Let the cooking begin!
From My Kitchen
- Save uncooked chicken bones and trimmings in the freezer until you have enough for a batch.
- Add wings or legs for more chicken flavor and body.
- Roast the bones for a deeper flavor, or leave them unroasted for a lighter stock.
- Deglaze the roasting pan to collect the browned bits.
- Add the vegetables at the beginning.
- Keep the stock at a gentle simmer and skim away foam and fat throughout cooking.
- Leave it unsalted so you can season the finished dish later.
Homemade Roasted Chicken Stock
Ingredients
Uncooked chicken bones, backs and wing tips
Chicken wings or legs, as needed
Cold water, enough to cover
Onion, roughly chopped
Celery, roughly chopped
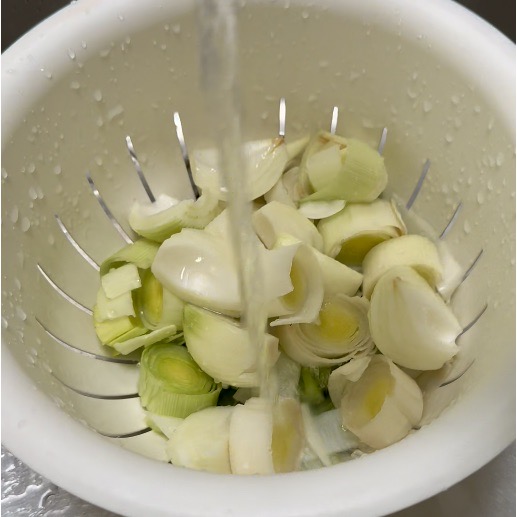
Leeks, thoroughly washed and roughly chopped
A few sprigs of fresh thyme
Water for deglazing the roasting pan
Method
Roast the chicken pieces
Heat the oven to 220°C. Arrange the chicken bones and pieces in a single layer in roasting trays, leaving a little space between them. Use more than one tray if needed.
Roast for about 45 minutes, turning as needed, until well browned. Watch the smaller pieces so they do not burn.
Deglaze the pan
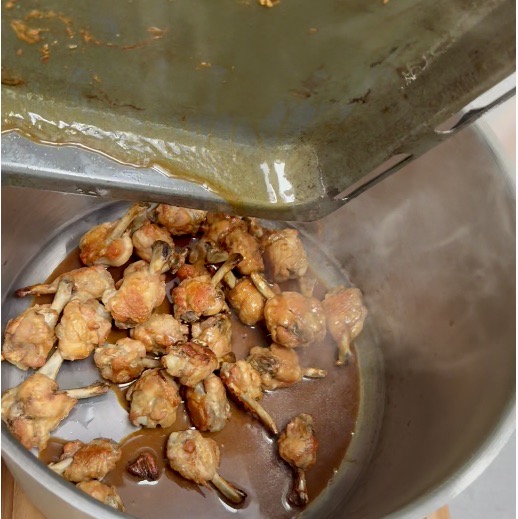
Transfer the roasted chicken pieces to a large stockpot.
Pour a little water into the warm roasting pan and scrape up the browned bits. If needed, warm the pan gently on the stovetop, provided it is suitable for stovetop use. Pour this liquid into the stockpot, leaving behind any burned bits.
Add the mirepoix
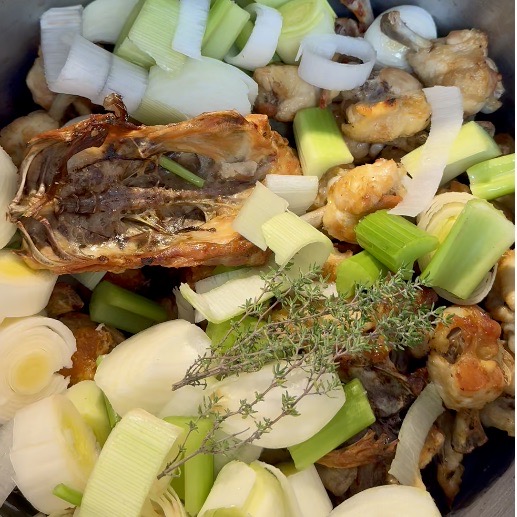
Add the onion, celery, leeks and thyme to the pot with the roasted chicken pieces. Do not stir.
Add the water
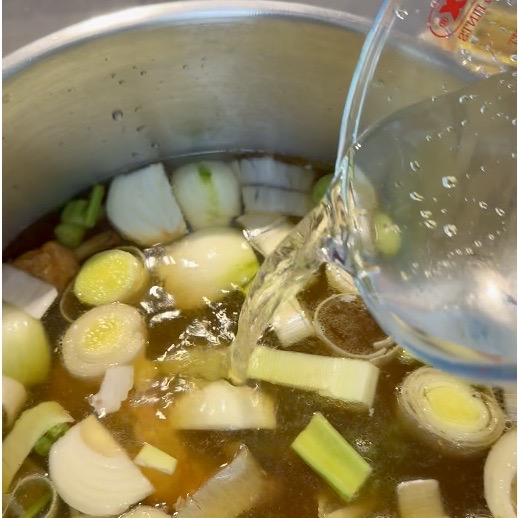
Gently pour in enough cold water to cover the chicken pieces by a few centimeters. Slowly bring to a gentle simmer. Avoid stirring or disturbing the contents to help keep the finished stock clear.
Skim the surface
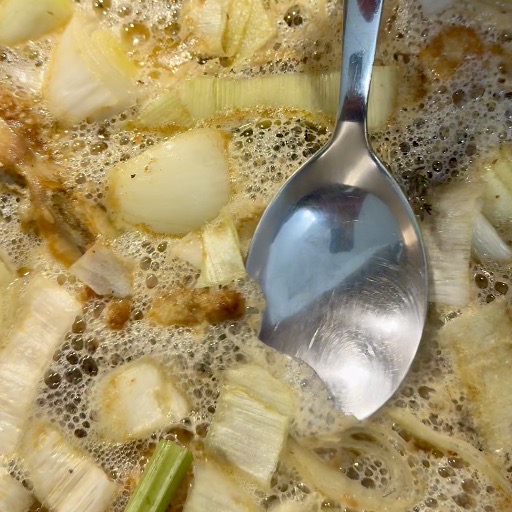
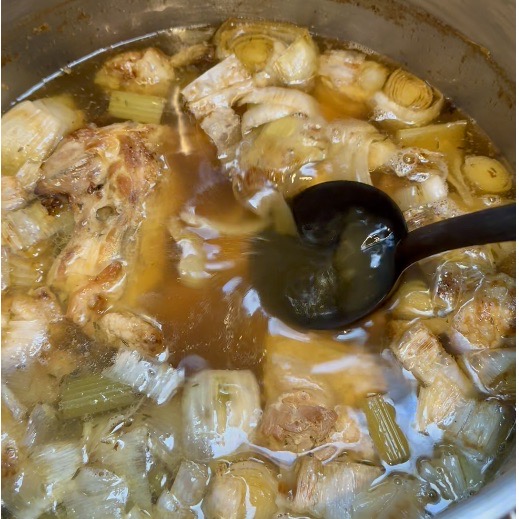
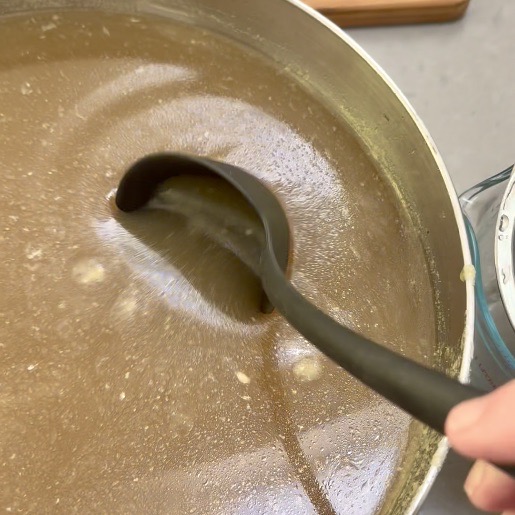
As the stock heats, foam will begin to collect on the surface. Gently skim it off with a spoon or small ladle, taking care not to disturb the ingredients below.
Continue skimming away the foam and any fat that rises to the surface throughout the cooking process.
Simmer gently
Keep the stock uncovered at a very gentle simmer for about 5 to 6 hours. Look for occasional small bubbles rather than a rolling boil.
Continue skimming regularly, and gently add a little water as needed to keep the bones submerged.
Strain the stock
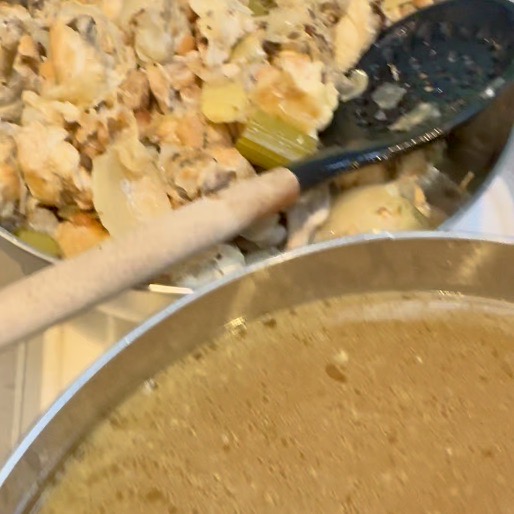
Lift out the larger bones and pieces, then strain the stock through a fine sieve into a clean container. Let it drain without pressing on the solids.
Cool and remove the fat
Cool the strained stock promptly by setting the container in an ice water bath. Stir the strained liquid occasionally to help release the heat, then transfer it to smaller containers and refrigerate.
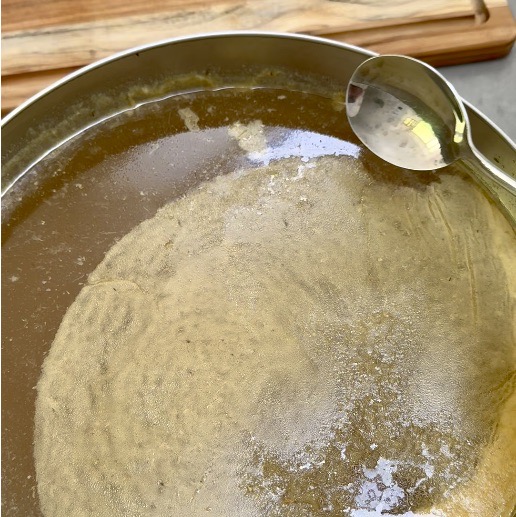
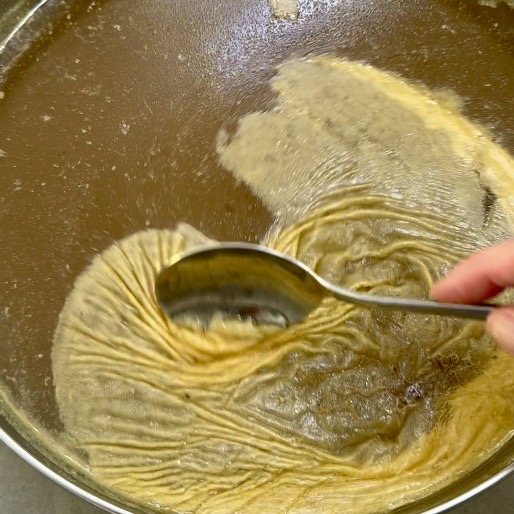
Once thoroughly chilled, lift off any remaining firm layer of fat from the surface.
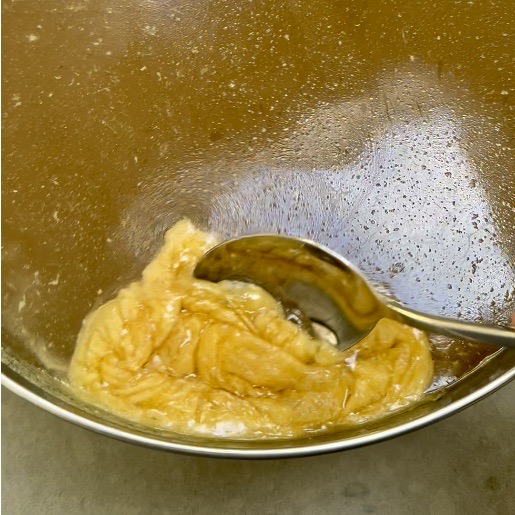
Strain again
After removing the fat, strain the stock again through a fine mesh chinois to catch any remaining small bits and solidified fat.
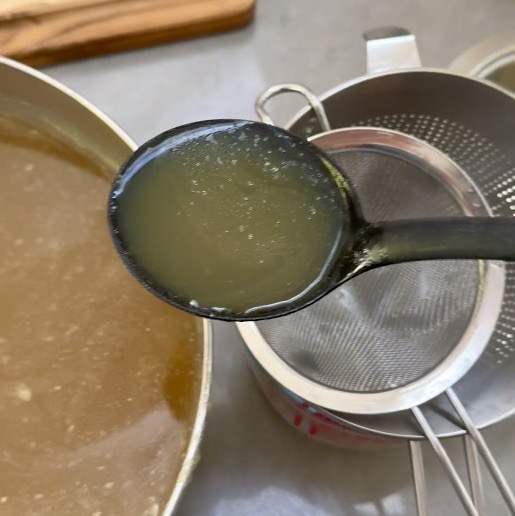
Portion and store
Keep refrigerated stock for 3 to 4 days from the day it was made, or freeze it in portions that suit your cooking.
Label each portion with the date and amount. If using freezer bags, leave room for expansion and lay them flat to freeze.
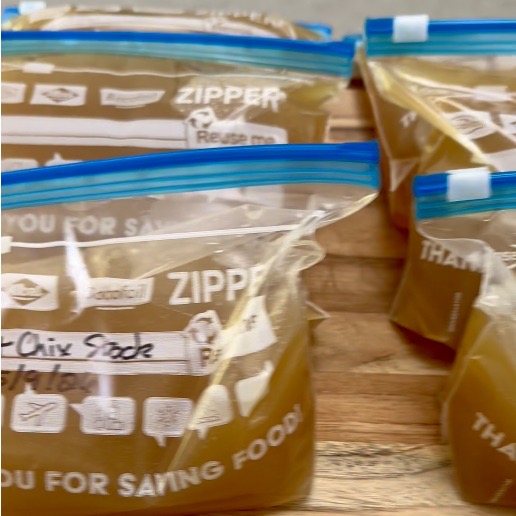
How I Use It
This roasted chicken stock is a foundation for soups, sauces, braises and dishes where I want a deeper chicken flavor. A small portion is also useful for deglazing a pan or adding a little richness to vegetables.
I freeze it in different amounts so I can pull out just what I need, whether that’s a little for a sauce or enough for a pot of soup.
What to Look For
The chicken pieces should be golden brown after roasting, with browned bits in the pan. Those bits add flavor, but anything burned should be left behind.
During cooking, the surface should move gently, with only a few small bubbles breaking through. A hard boil can make the stock cloudy. Skim away the foam and fat as they collect on the surface.
Once chilled, the stock may set into a soft gel. That comes from the gelatin extracted from the bones and connective tissue. It will become liquid again when warmed.
Make It Your Own
For a lighter chicken stock, skip the roasting step and begin with uncooked bones and cold water. This gives a gentler flavor for delicate soups and sauces.
A light stock can also be used to make consommé, which involves a separate clarification step to produce a clear broth.
For a richer stock, roast the bones as I did here. Adjust the vegetables to suit your cooking, keeping their flavors in the background so the chicken remains the focus.
What I Learned
- Saving chicken trimmings makes good use of a whole chicken.
- Roasting the bones gives the stock a deeper flavor.
- Deglazing the pan brings those flavorful browned bits into the pot.
- Onion, celery and leeks give me the flavor I prefer for chicken stock.
- Skimming throughout cooking removes the foam and fat as they rise.
- A gentle simmer and careful straining help keep the stock clearer.
- Freezing it in useful portions makes the next meal easier.
Simple ingredients, a little patience and plenty of possibilities.

