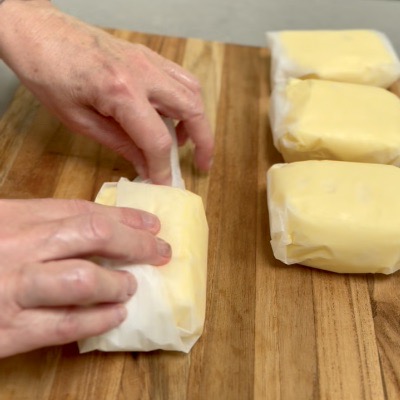
Rich, tangy butter made from cream, time and a little patience.
I have always wanted to make my own butter, and I finally decided to go for it. I love the rich, tangy flavor of European style butter, so I chose to make cultured butter.
For my first attempt, it turned out remarkably well. The process was interesting, a little messy and incredibly rewarding. Watching cultured cream transform into butter felt almost magical.
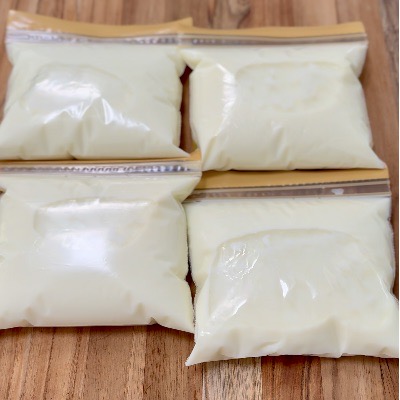
One of the best parts is that you also get cultured buttermilk. I froze mine in portions to use for biscuits or perhaps even in a sourdough recipe.
Making butter feels like a turning point for me. I want to begin experimenting with compound butters, and what better way to make them truly from scratch than by starting with my own homemade butter?
The possibilities are endless. That is what I love about cooking: the creativity, the imagination and the enjoyment of sharing something made with care.
From My Kitchen
- Start with good cream containing at least 35 percent fat.
- Use plain yogurt with live cultures to culture the cream.
- Give the cream enough time to become thick and pleasantly tangy.
- The cream will become whipped cream before it turns grainy and separates.
- Wash the butter thoroughly to remove the remaining buttermilk.
- Save the cultured buttermilk for biscuits, pancakes, baking or sourdough.
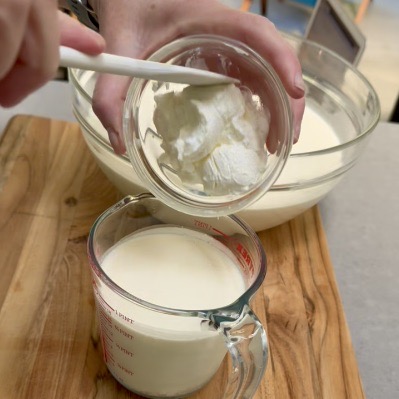
Homemade Cultured Butter
Ingredients
Makes approximately 1.15 kg butter, plus cultured buttermilk
- 3 liters heavy cream, 35 to 36 percent fat
- 6 level tablespoons plain Greek style yogurt with live cultures
- 12 to 17 grams fine sea salt, depending on taste
For lightly salted butter, use approximately 1 gram of fine sea salt for every 100 grams of finished butter. For more noticeable seasoning, use up to 1.5 grams per 100 grams. I used 15 grams for my 1.15 kg batch and found that it seasoned the butter without making it too salty.
Method
Culture the Cream
- Place the cream in a very large, thoroughly clean glass bowl.
- In a separate container, whisk the yogurt with approximately 250 ml of the cream until completely smooth.
- Pour the yogurt mixture into the remaining cream and whisk gently to combine.
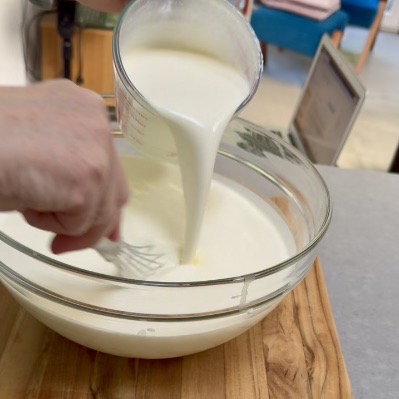
- Cover the bowl with plastic wrap, leaving one small edge slightly loose.
- Leave the cream undisturbed at room temperature, away from direct sunlight or heat, for approximately 20 to 24 hours.
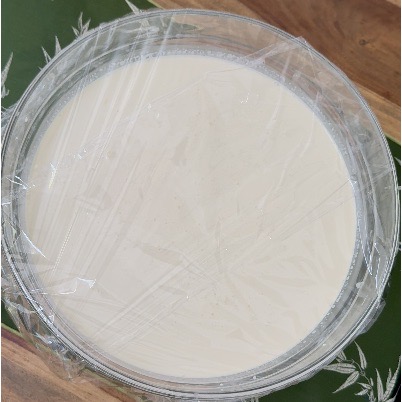
- The cultured cream is ready when it has thickened and smells fresh and pleasantly tangy. A small amount of clear whey is normal.
- Refrigerate the cultured cream for at least 2 hours. Before churning, allow it to warm slightly to approximately 12 to 15°C. It should still feel cool.
Churn the Butter
- Transfer the cultured cream to the bowl of a stand mixer fitted with the whisk attachment. If your mixer bowl is not large enough to hold all the cream comfortably, divide it into two batches.
- Begin whisking at medium low speed, then gradually increase to medium.
- The cream will first become whipped cream. Continue whisking as it becomes stiff, grainy and pale yellow.
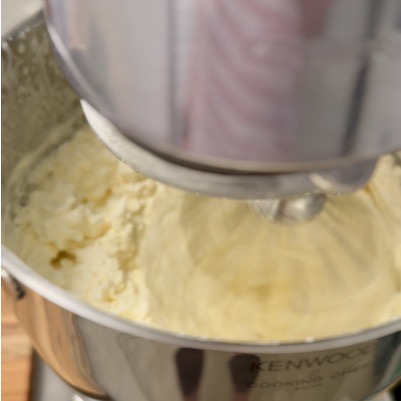
- Reduce the speed when the cream begins to look grainy. The butter is close to separating and the liquid may splash.
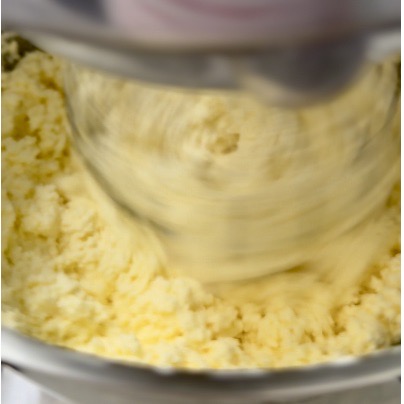
- Continue mixing until the yellow butter solids separate completely from the cultured buttermilk.
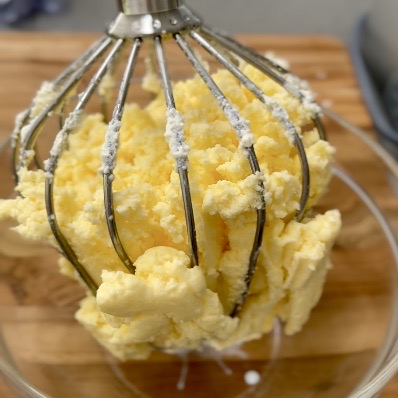
- Pour off the buttermilk and reserve it for another use. Refrigerate it promptly or freeze it in useful portions.
Wash the Butter
- Transfer the butter to a large bowl of ice water.
- Press and fold the butter with clean hands or a sturdy spatula. The water will become cloudy as the remaining buttermilk is released.
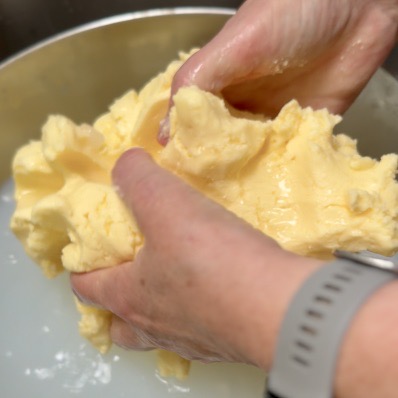
- Pour away the cloudy water and add fresh ice water. Continue washing, pressing and folding until the water remains nearly clear.
- Transfer the butter to a clean work surface and continue pressing and folding it to remove as much moisture as possible. I also used a clean, lint free kitchen towel to blot away some of the remaining moisture.
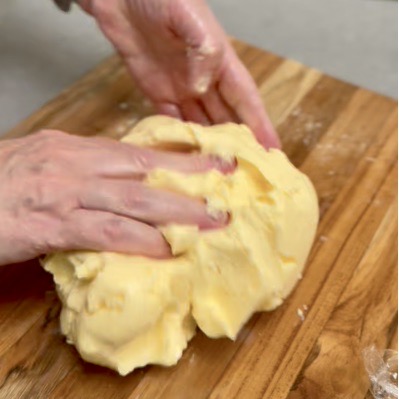
Removing the remaining buttermilk helps the butter stay fresh longer.
Salt and Shape
- Weigh the finished butter and calculate the salt according to your preference. Use 1 to 1.5 grams of fine sea salt for every 100 grams of butter.
- Sprinkle the salt evenly over the butter, then fold and press until it is completely incorporated.
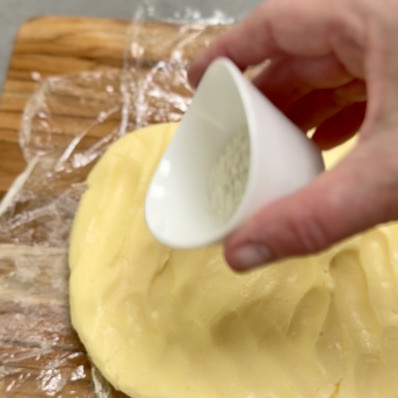
- Divide the butter into portions and shape as desired.
- Wrap each portion tightly and refrigerate. Butter intended for longer storage can be frozen.
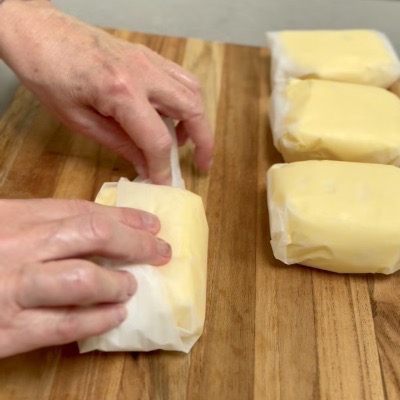
How I Use It
Cultured butter has a slightly tangy, more developed flavor than ordinary sweet cream butter. It is wonderful spread over good bread or toast, but it can also be used in sauces, baking and everyday cooking.
I saved the cultured buttermilk and froze it in portions. I plan to use it for biscuits and would also like to experiment with adding it to a sourdough recipe.
This butter will also become the starting point for my own compound butters. Herbs, roasted garlic, citrus, spices and other seasonings can all be added to create something completely different.
What to Look For
The cultured cream should smell fresh, creamy and pleasantly tangy. It should never smell unpleasant or show signs of mold, bubbling or discoloration.
During churning, the cream will pass through several stages. It will become whipped, then stiff and grainy before the butter separates from the buttermilk. Keep watching closely once it becomes grainy because separation happens quickly.
When washing the butter, continue changing the water until it remains nearly clear. The finished butter should feel smooth and firm rather than wet.
Make It Your Own
Leave the butter unsalted for baking and cooking, or add salt according to your preference.
Once you are comfortable with the basic process, use the homemade butter as the base for compound butter. Fresh herbs, garlic, lemon zest, spices, honey or other flavorings can be folded into softened butter.
This is where homemade butter becomes especially exciting. One basic ingredient can become something entirely your own.
What I Learned
- Culturing the cream gives the butter a deeper, slightly tangy flavor.
- The cream becomes whipped cream before it begins to separate.
- Reducing the mixer speed at the grainy stage helps control splashing.
- Washing the butter thoroughly is essential for removing the remaining buttermilk.
- Pressing out as much liquid as possible helps the butter keep longer.
- Homemade butter can be refrigerated for short term use or frozen in portions.
- The cultured buttermilk is a useful ingredient and should not be discarded.
- Three liters of cream produced approximately 1.15 kg of butter.
- Fifteen grams of sea salt seasoned my batch without making it too salty.
- Making butter from scratch is easier than I expected, and it opens the door to all kinds of compound butter combinations.
 Liz 'N Lux